Who doesn’t love fairies! Iron Orchid Design’s new Fairy Merry Christmas transfer is chock full of the most adorable fairies and forest goodness with touches of holly. How great are these for daily use or Christmas decor!
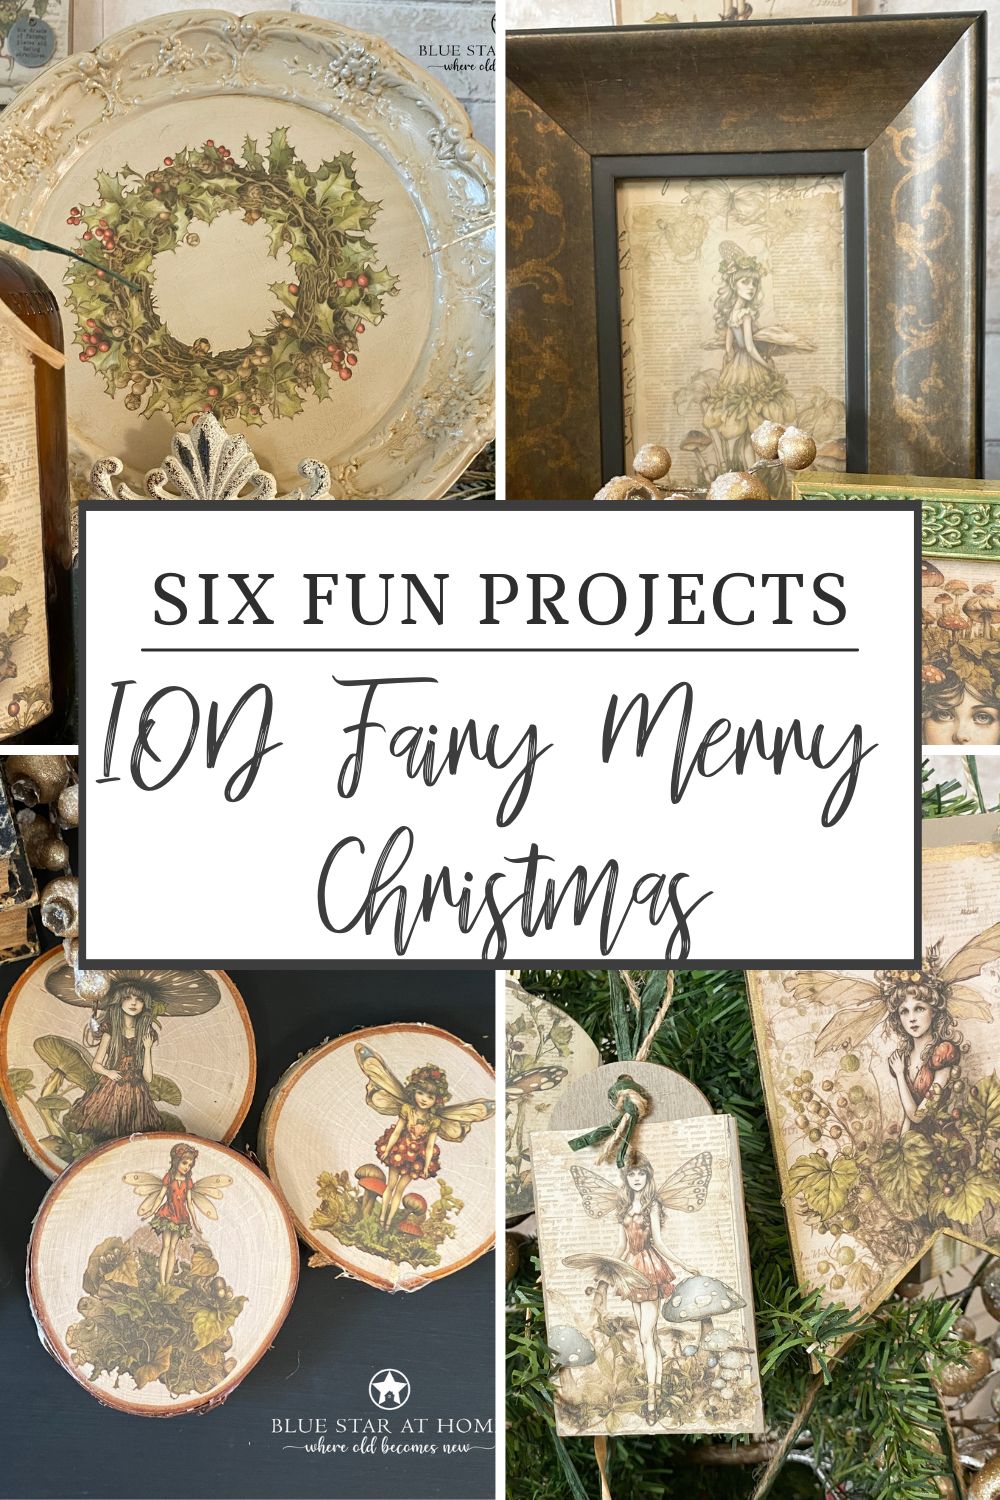
I broke open my package and created six fun projects with the images inside. You can do these too!! Here they are, six fun projects: IOD Fairy Merry Christmas transfer.
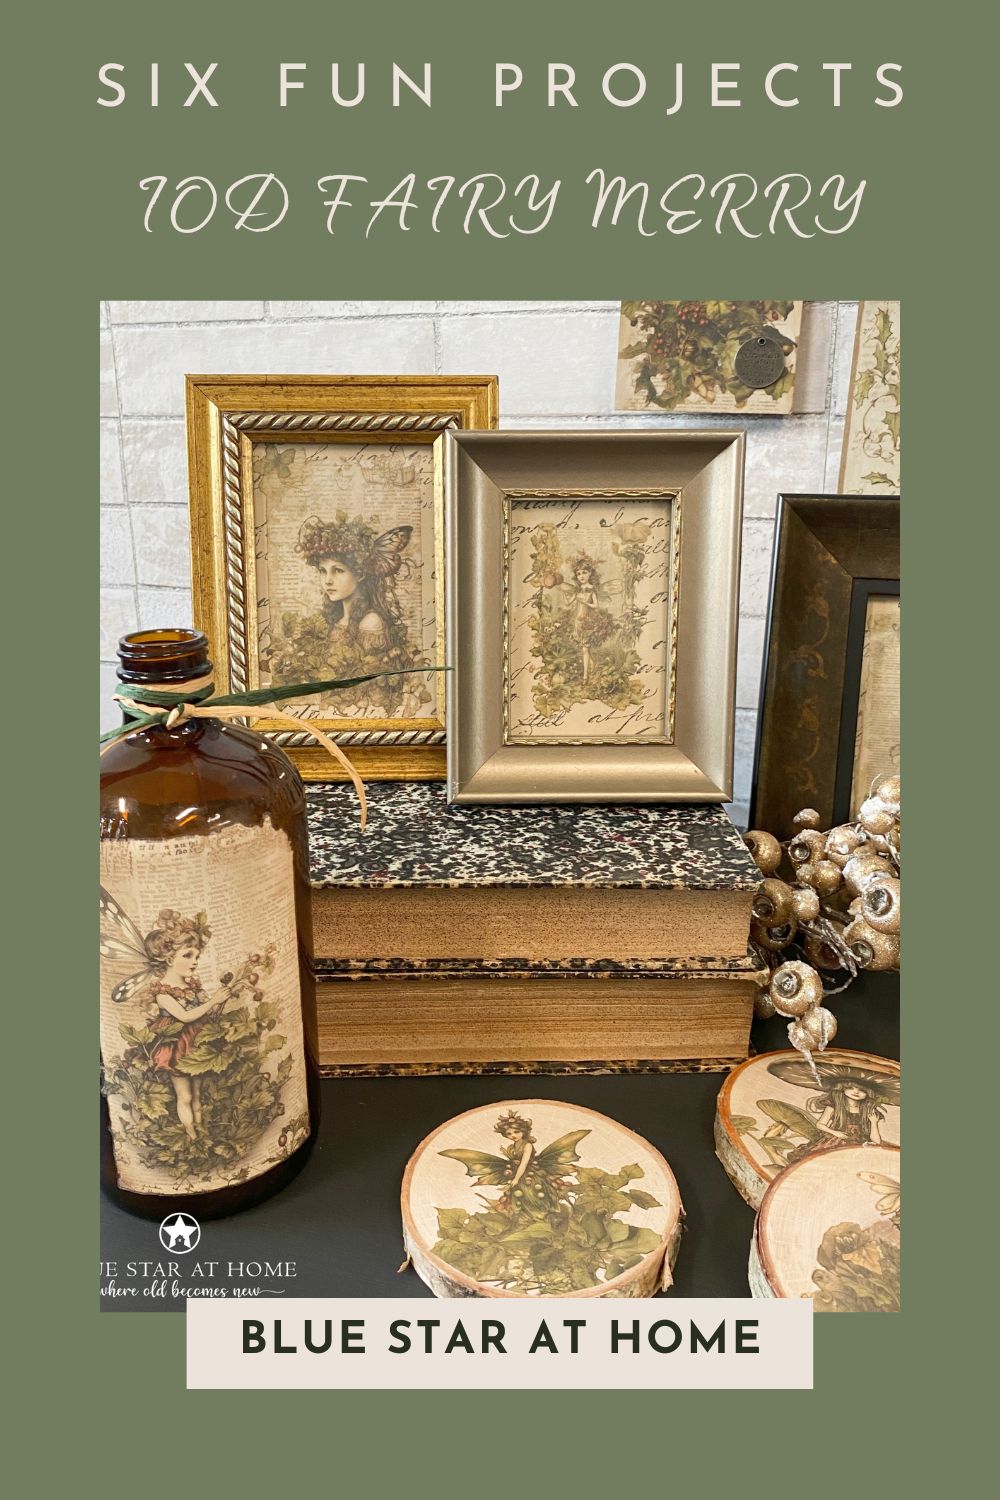
So here are six easy projects you can put together yourself!
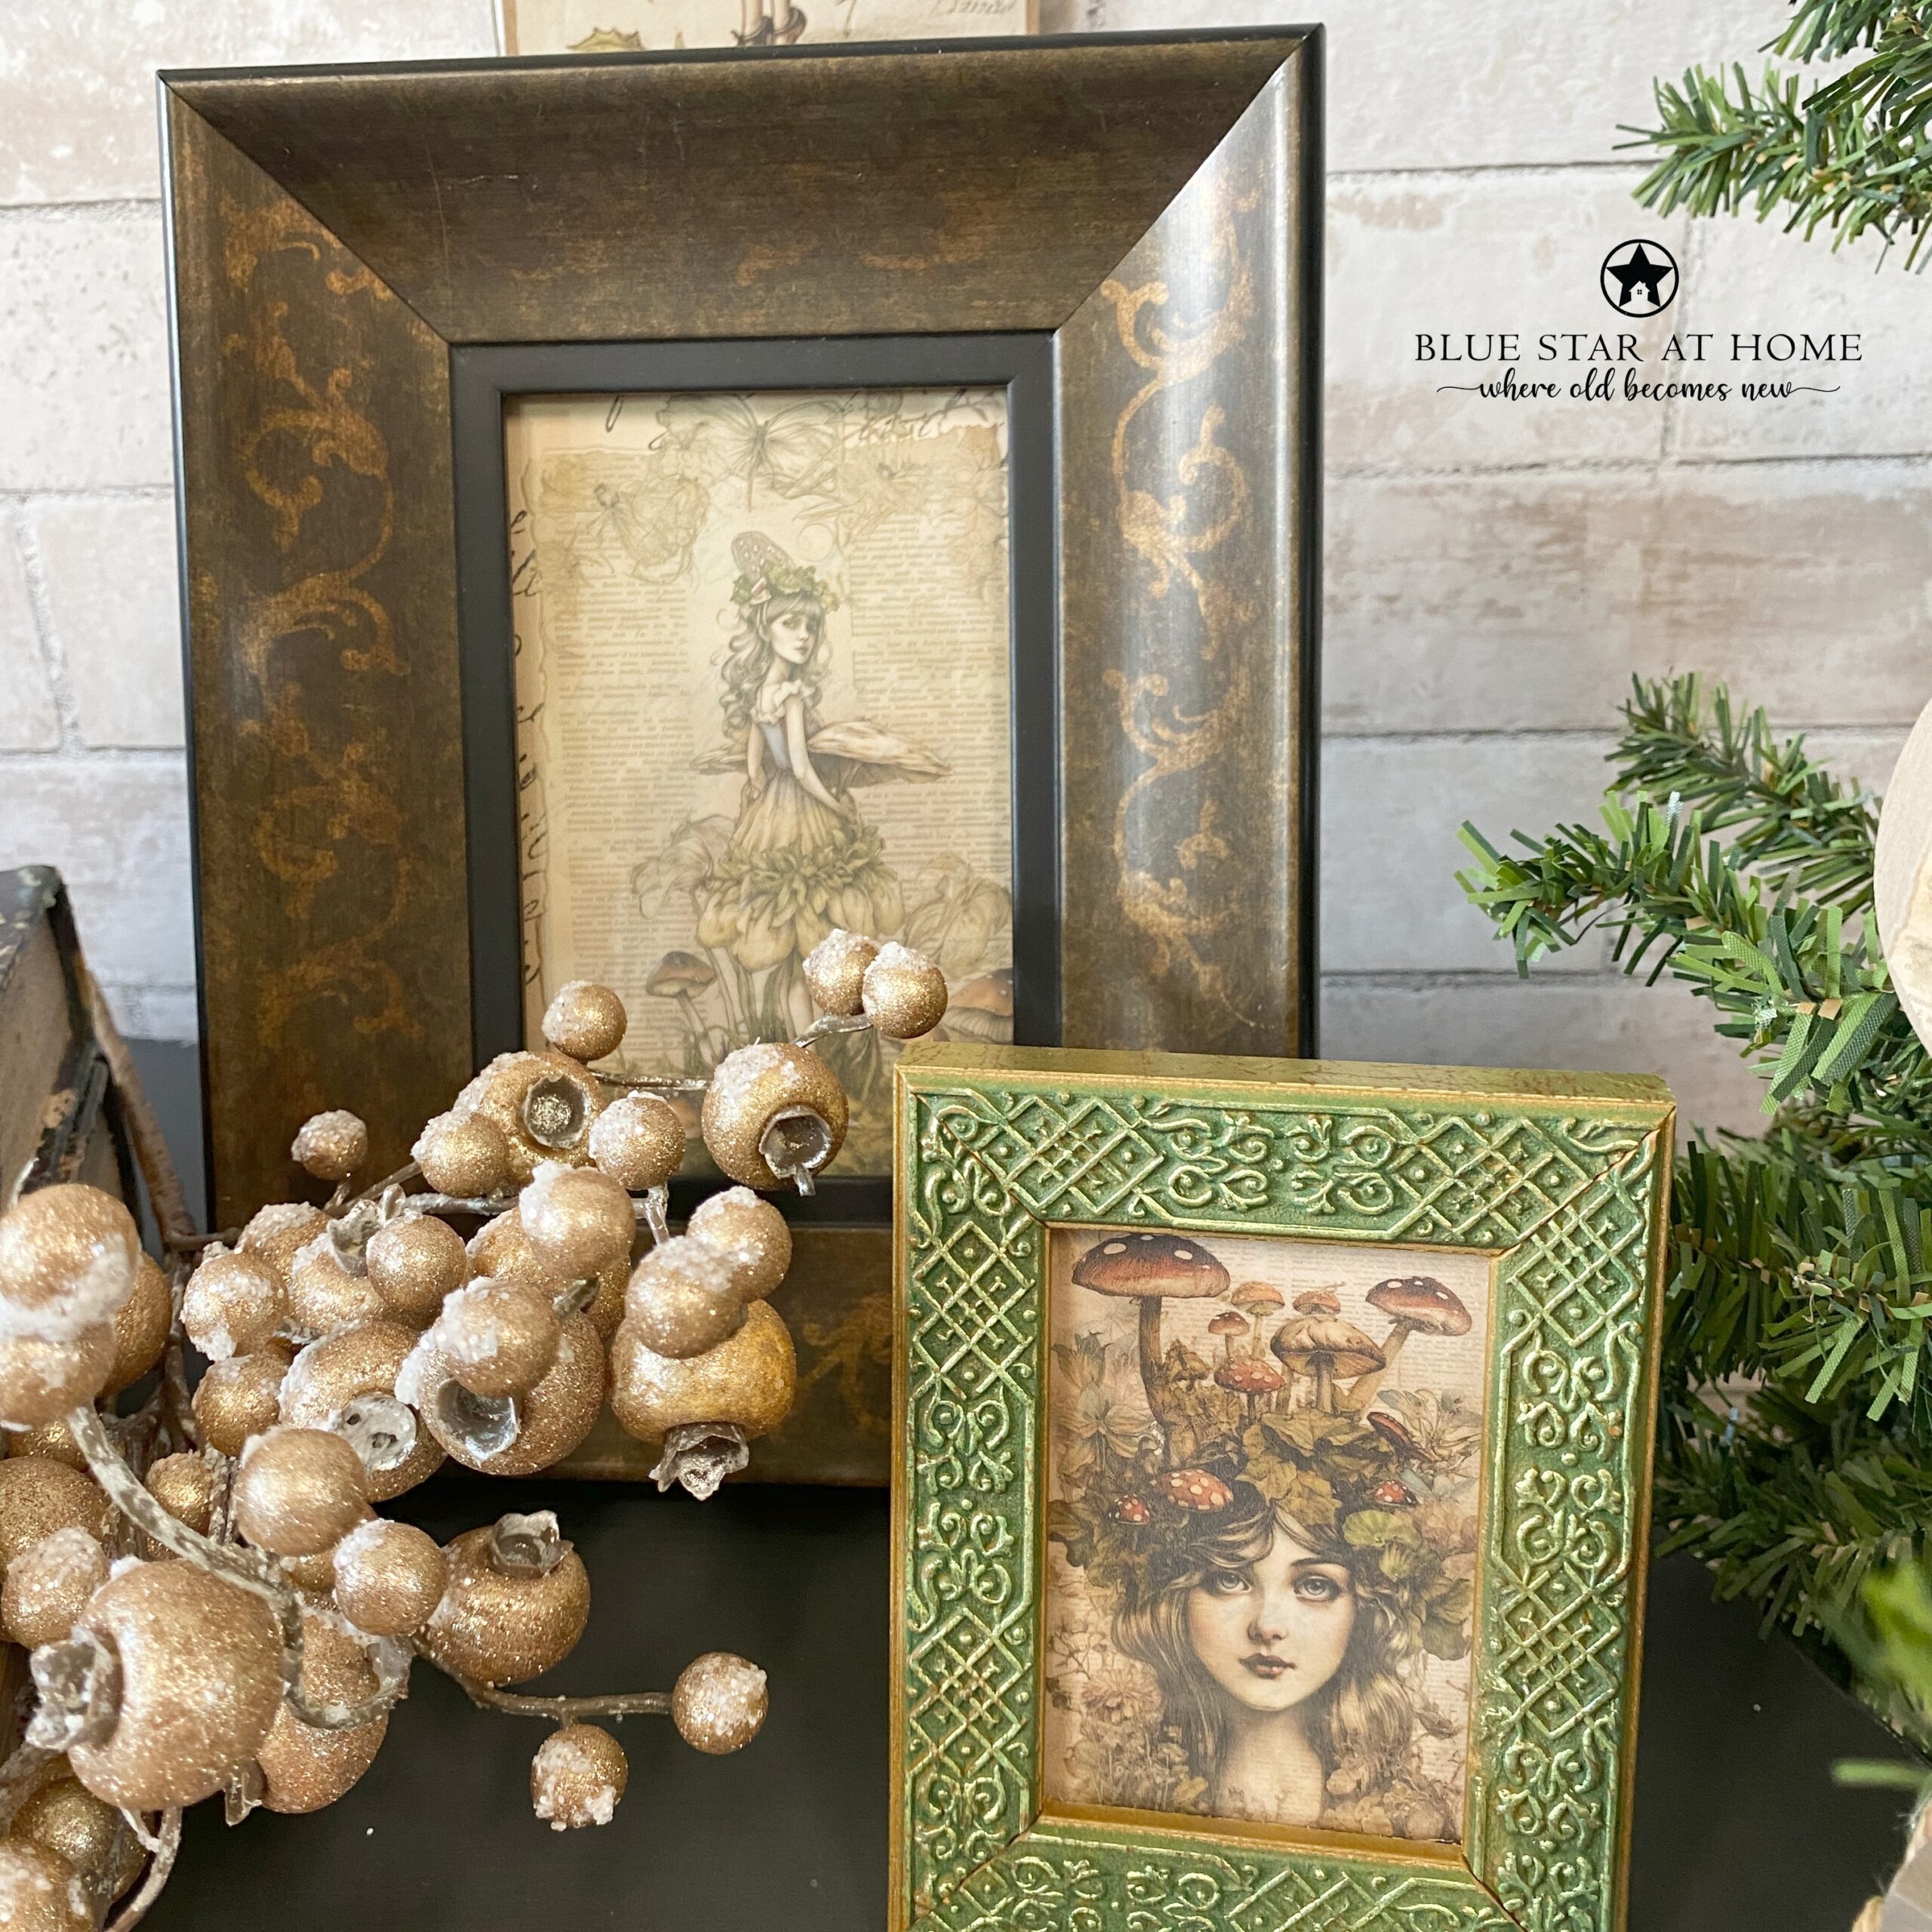
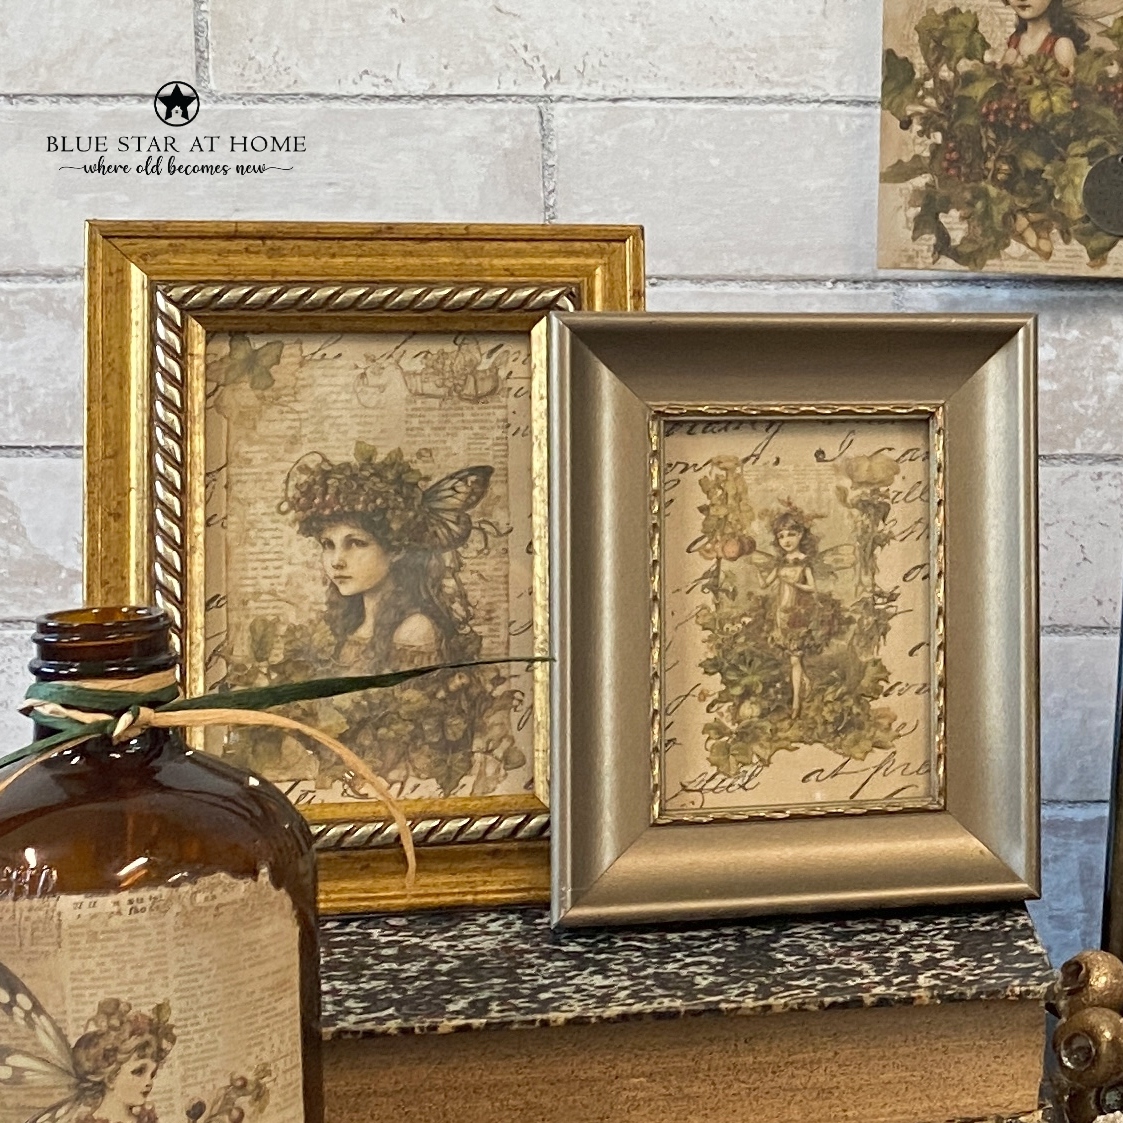
Number 1: Framed Art
These images are beautiful artwork in their own right. I took some tan copy paper, stamped it with the Kindest Regards stamp, transferred the fairies onto the paper, and popped them into thrift store frames.
Number 2: Bottle Decor
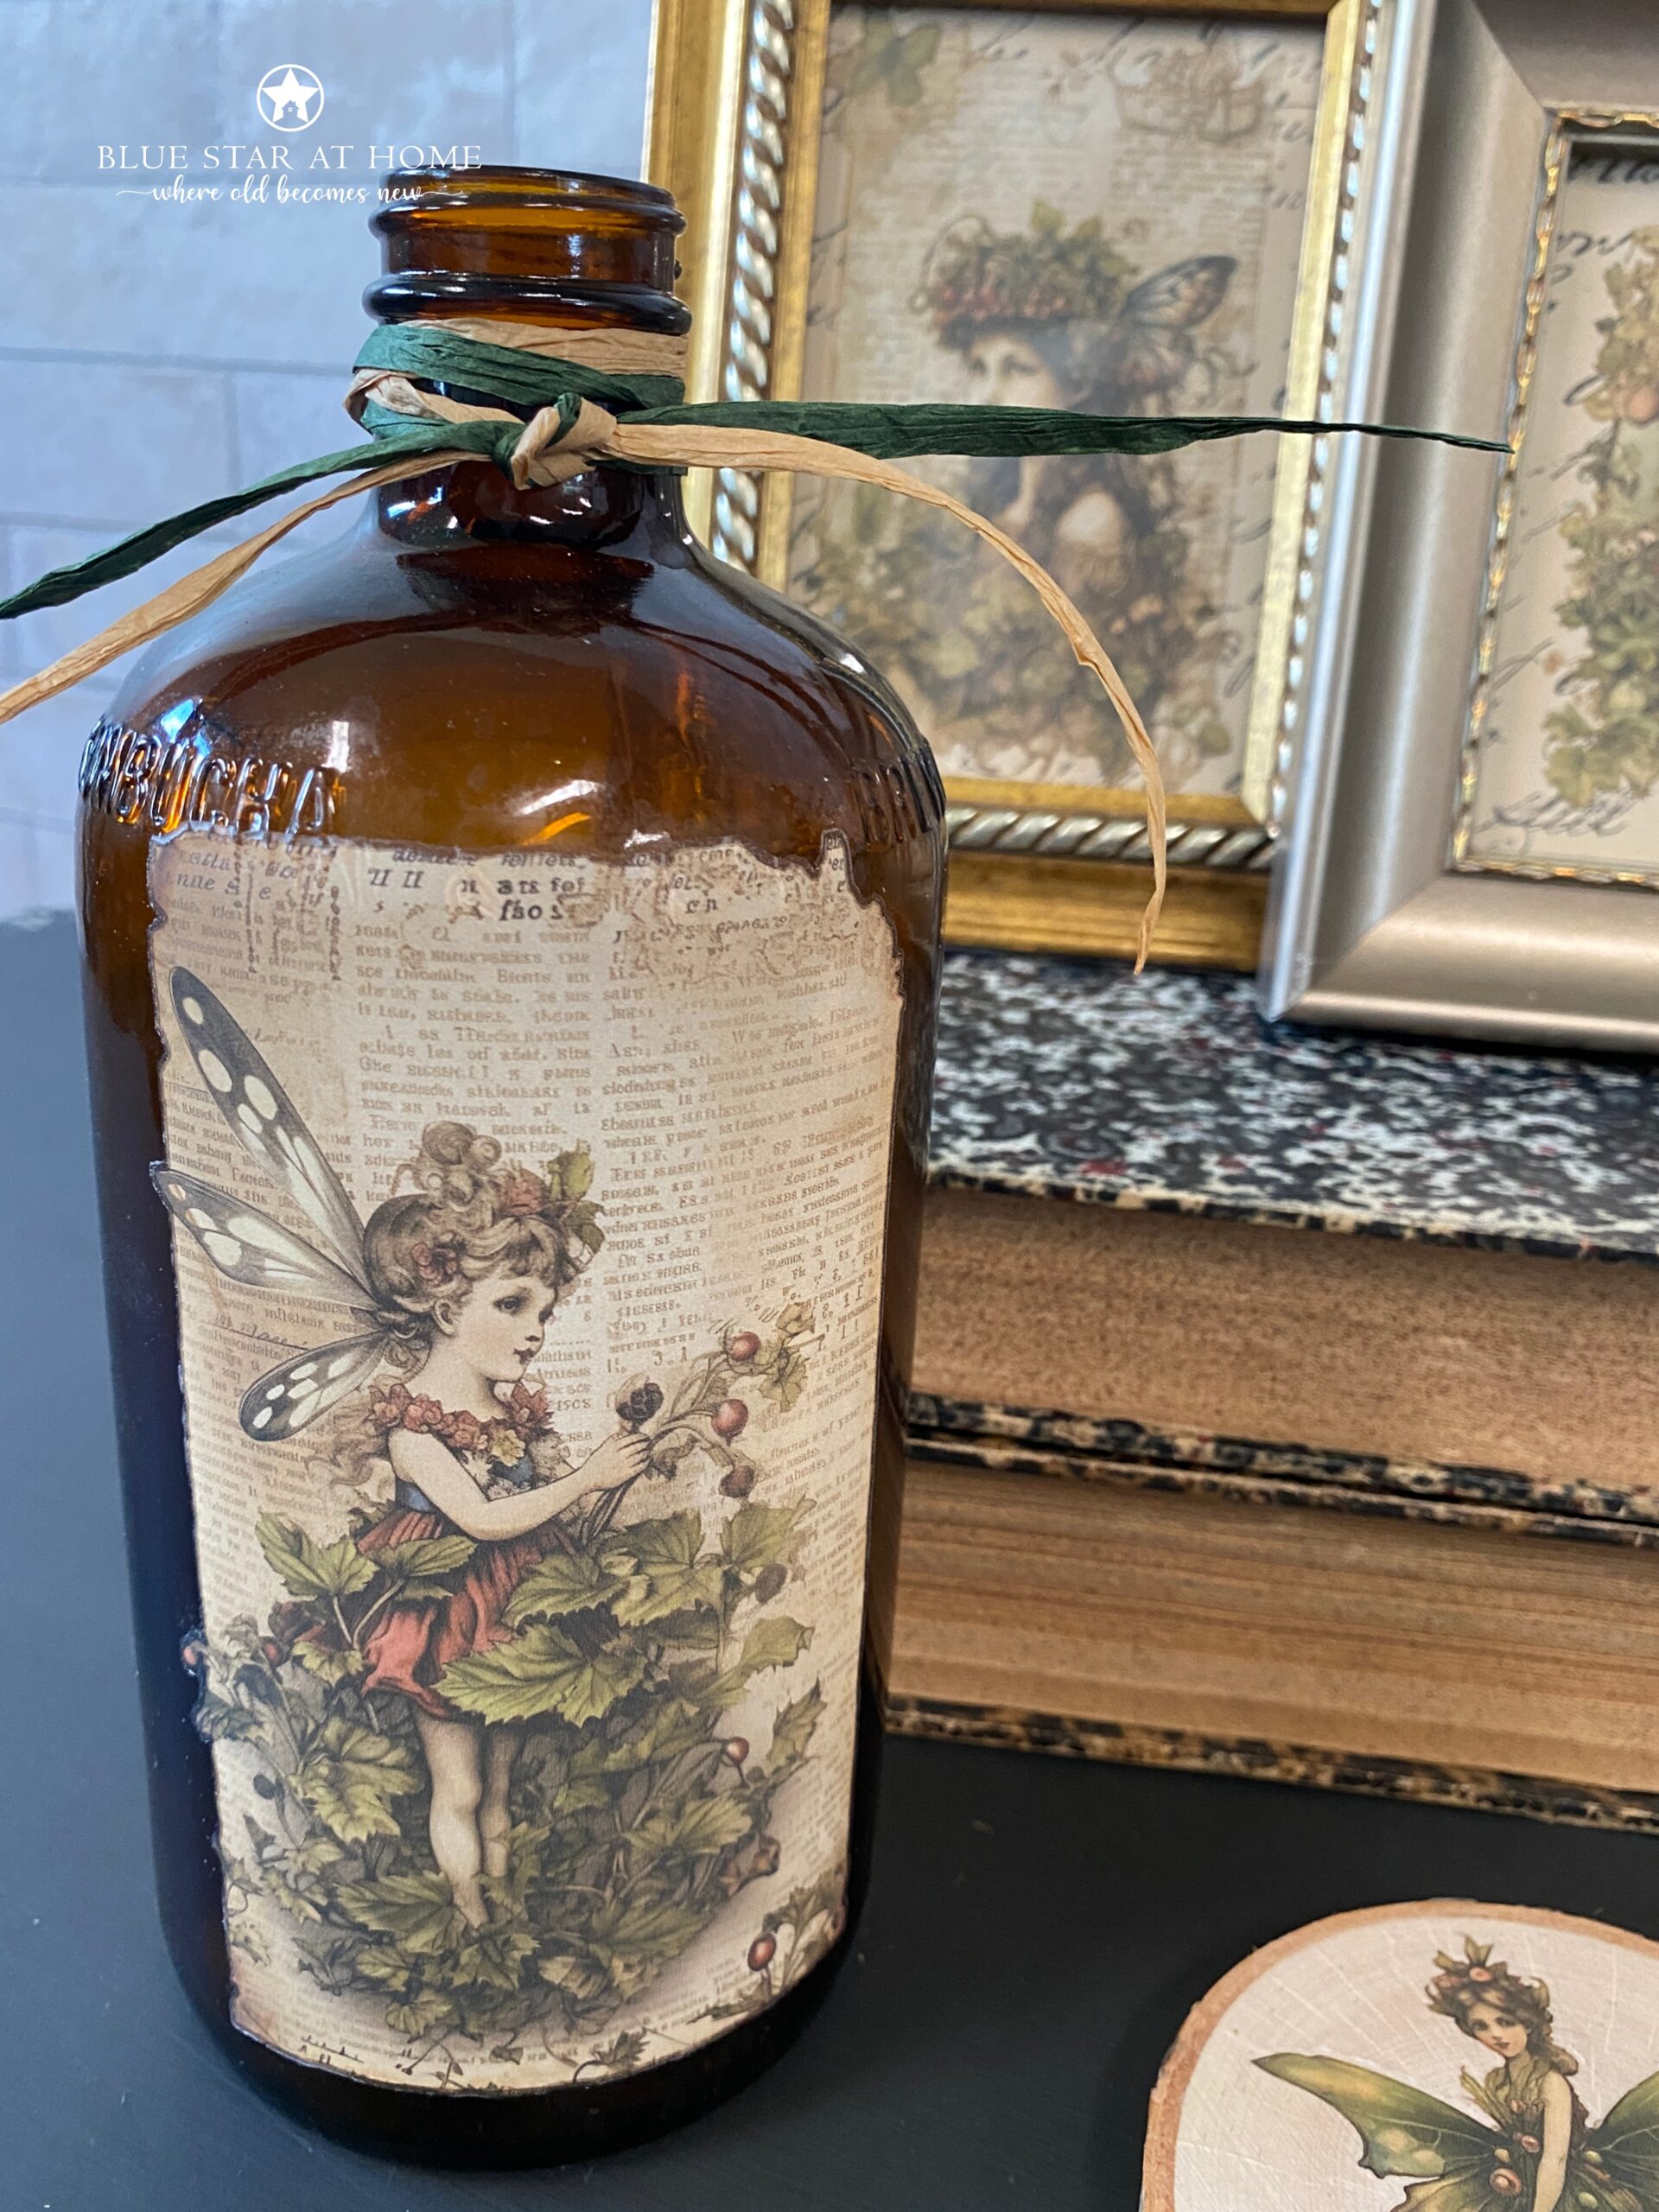
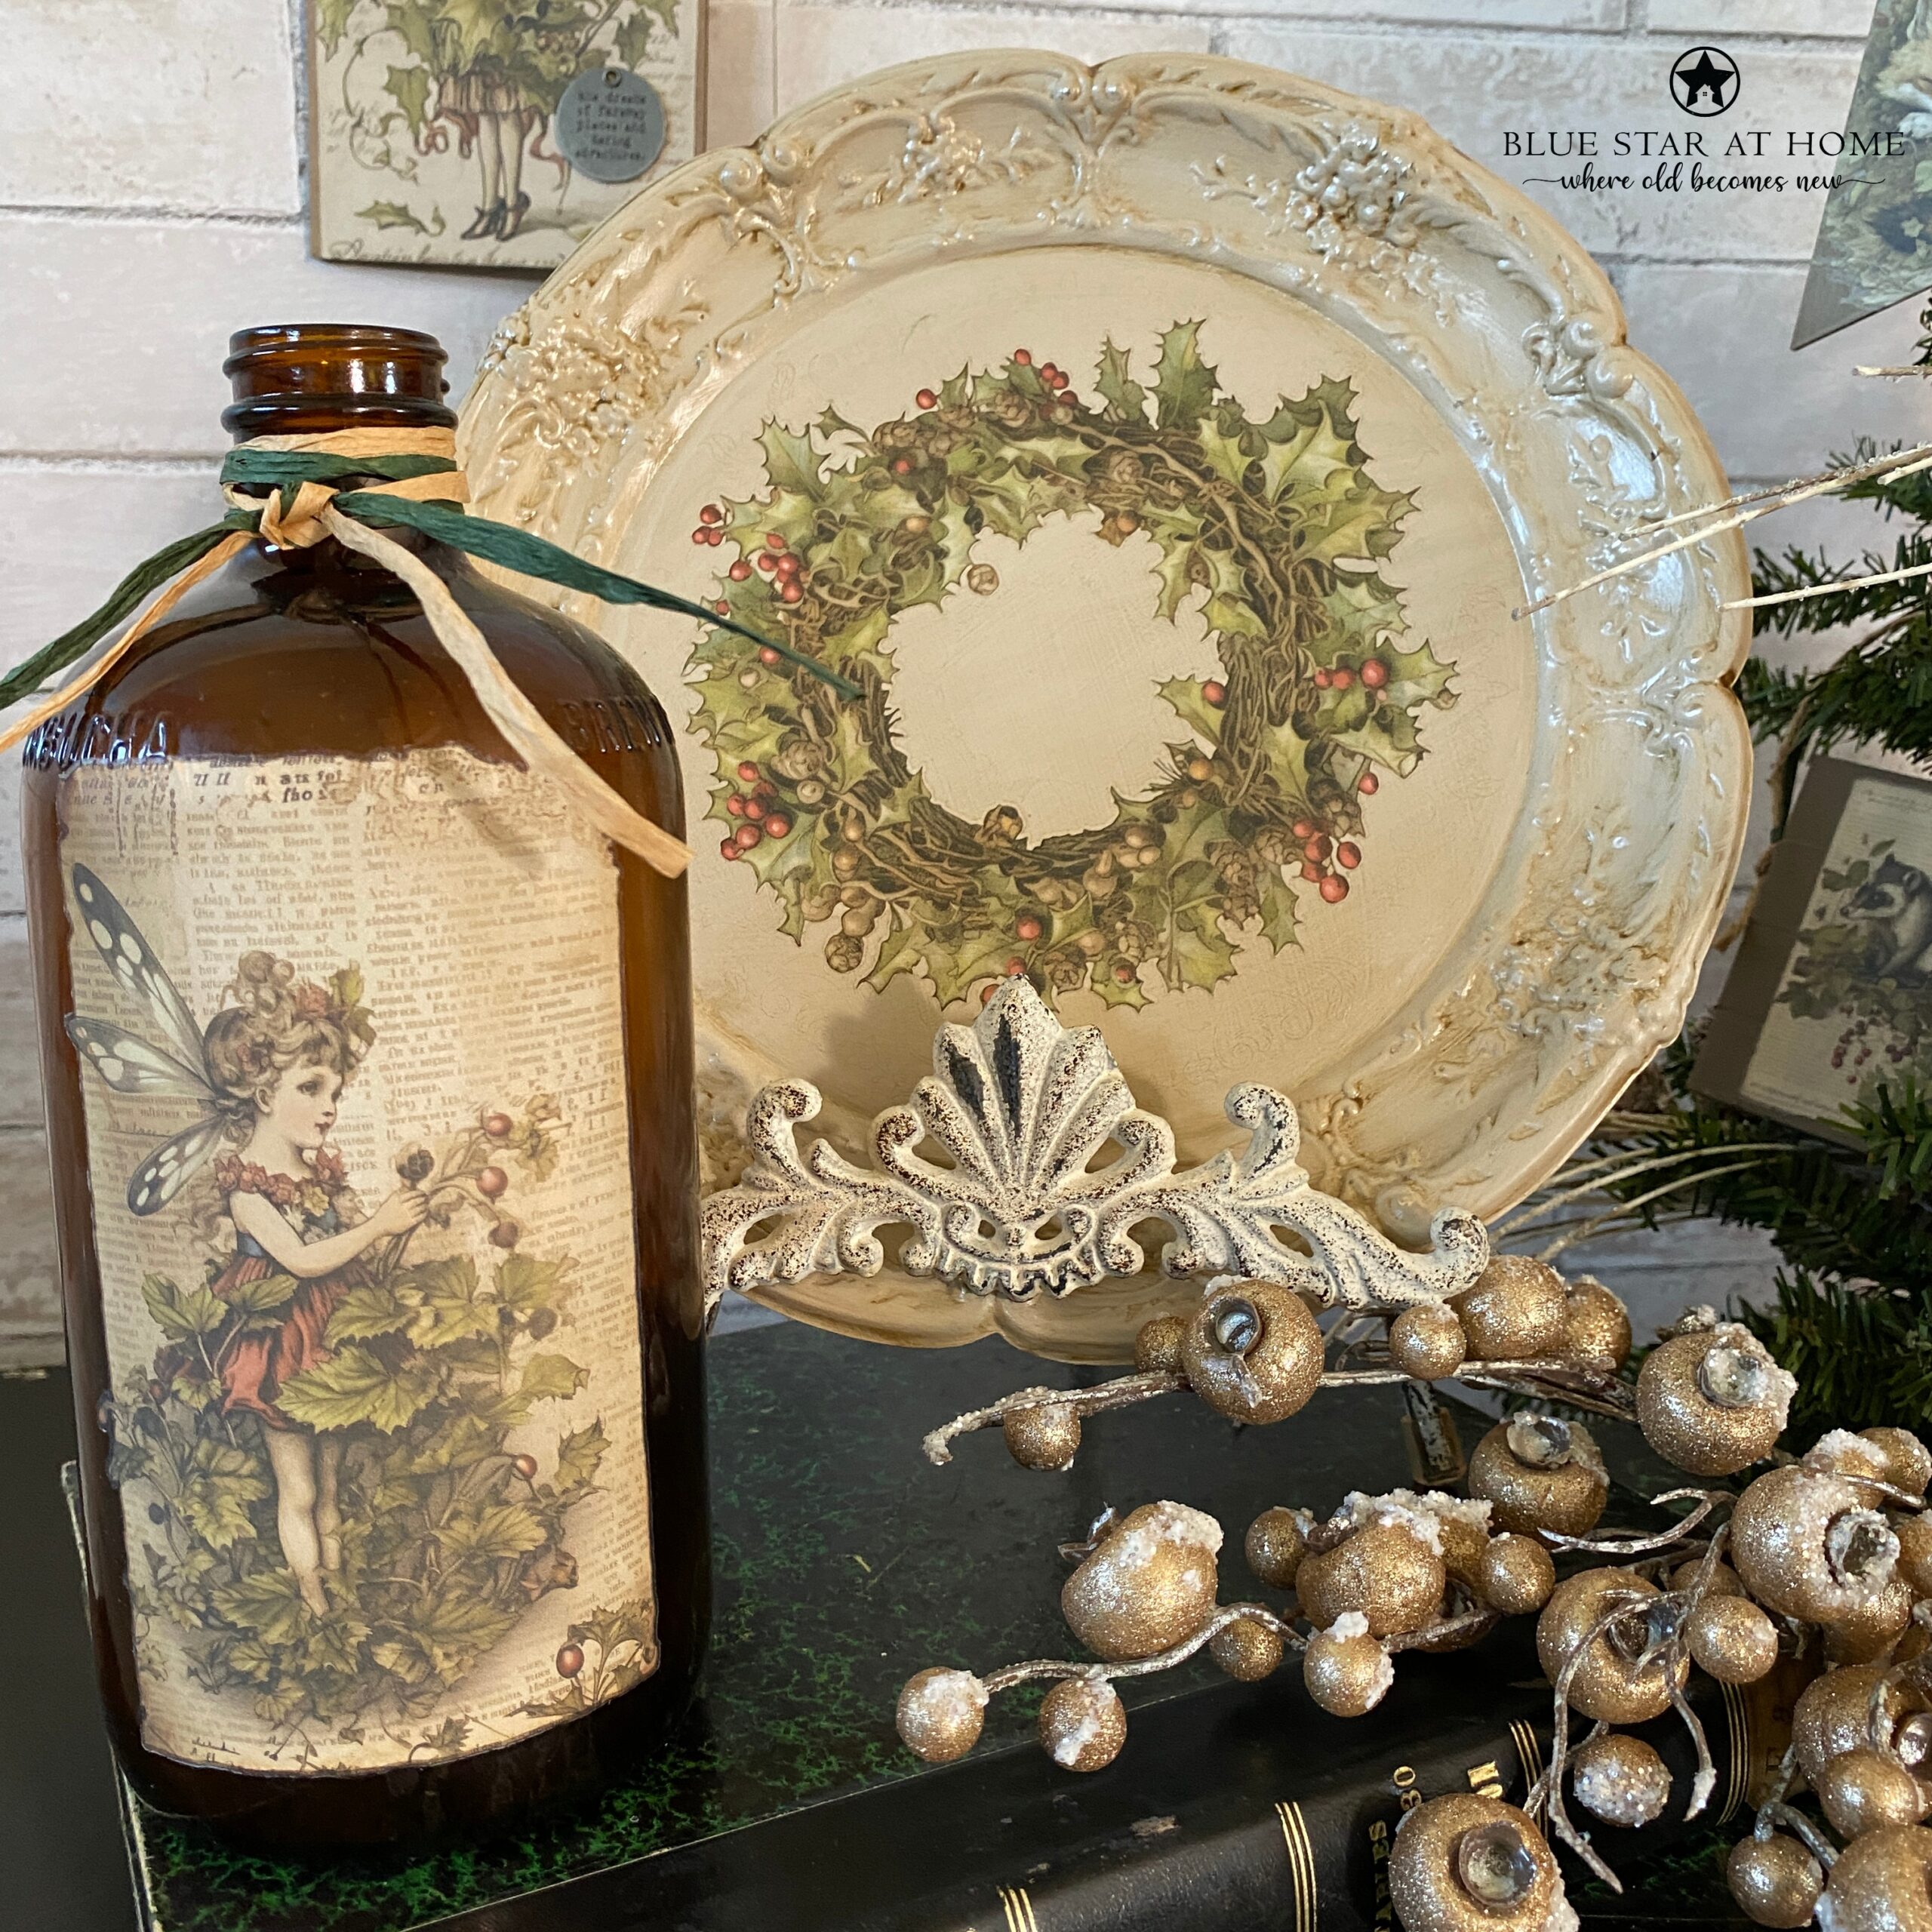
The Fairy Merry transfer set has a yummy, earthy color palette. So when I discovered this vintage brown bottle I knew it would be a great addition to the collection. Grab a bottle or two and make sure they’re clean and dry. Rub a transfer on them and tie some raffia or ribbon around the neck. No need to seal!
Number 3: Ornaments
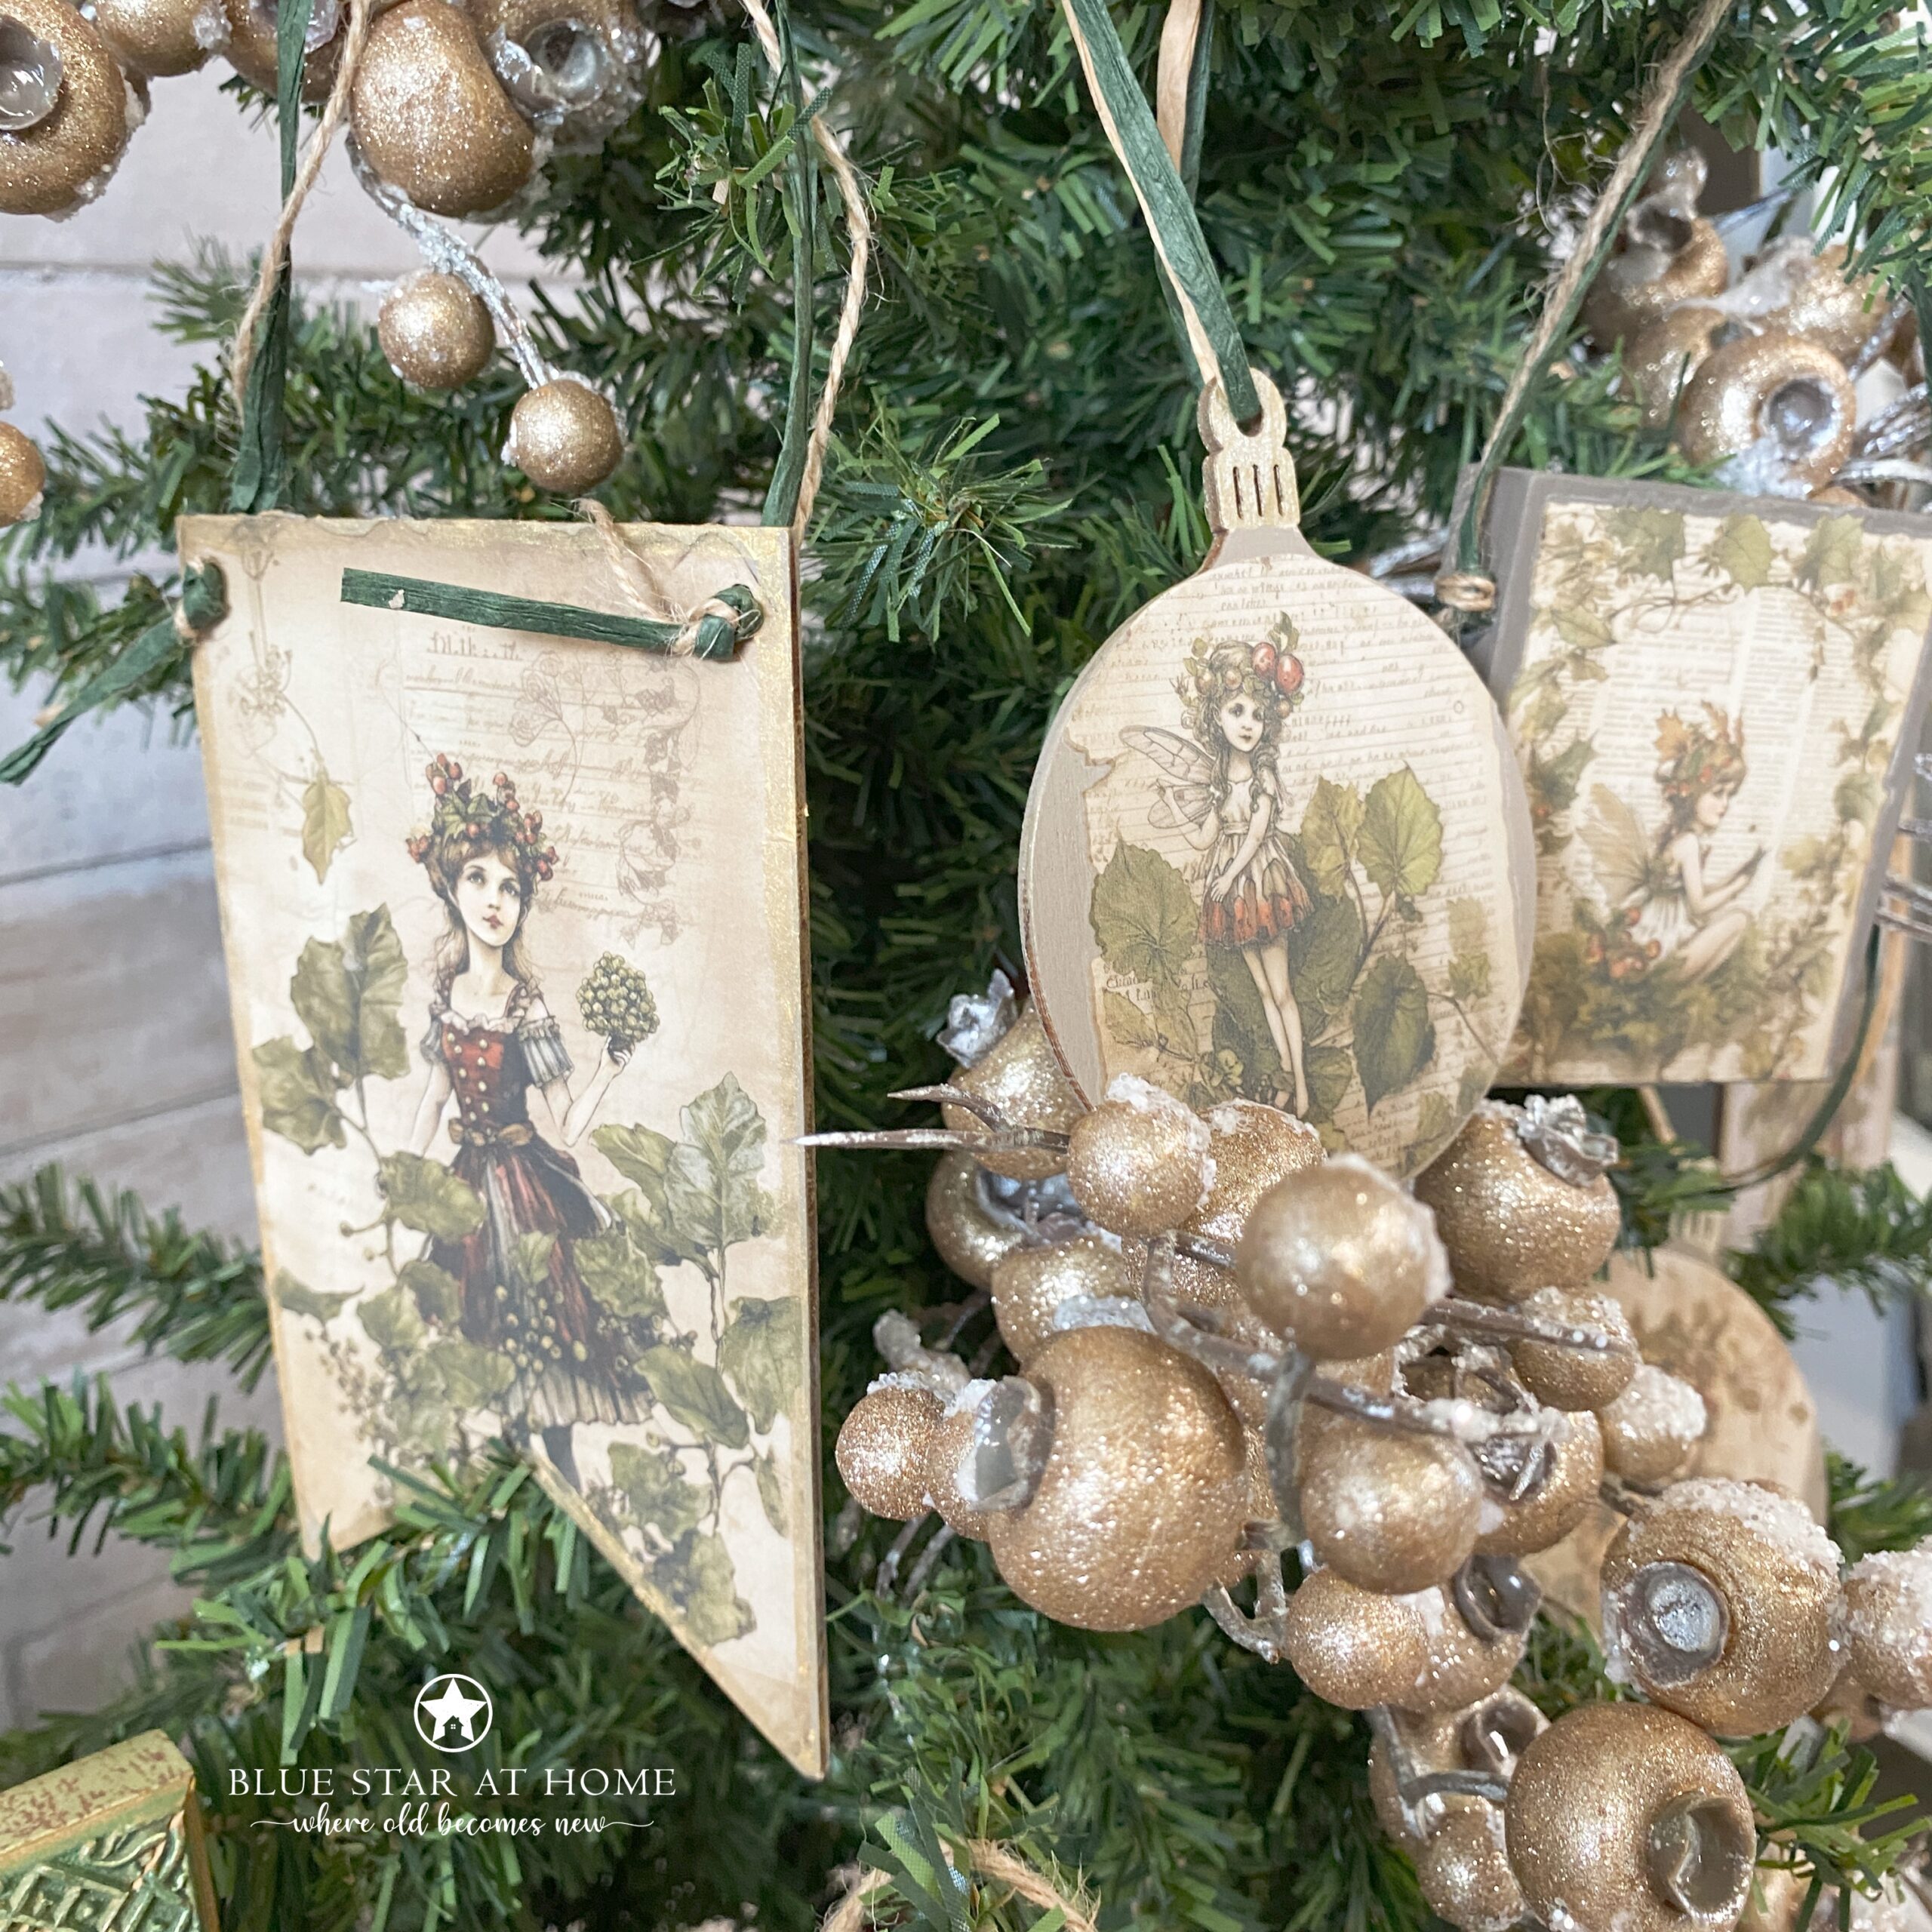
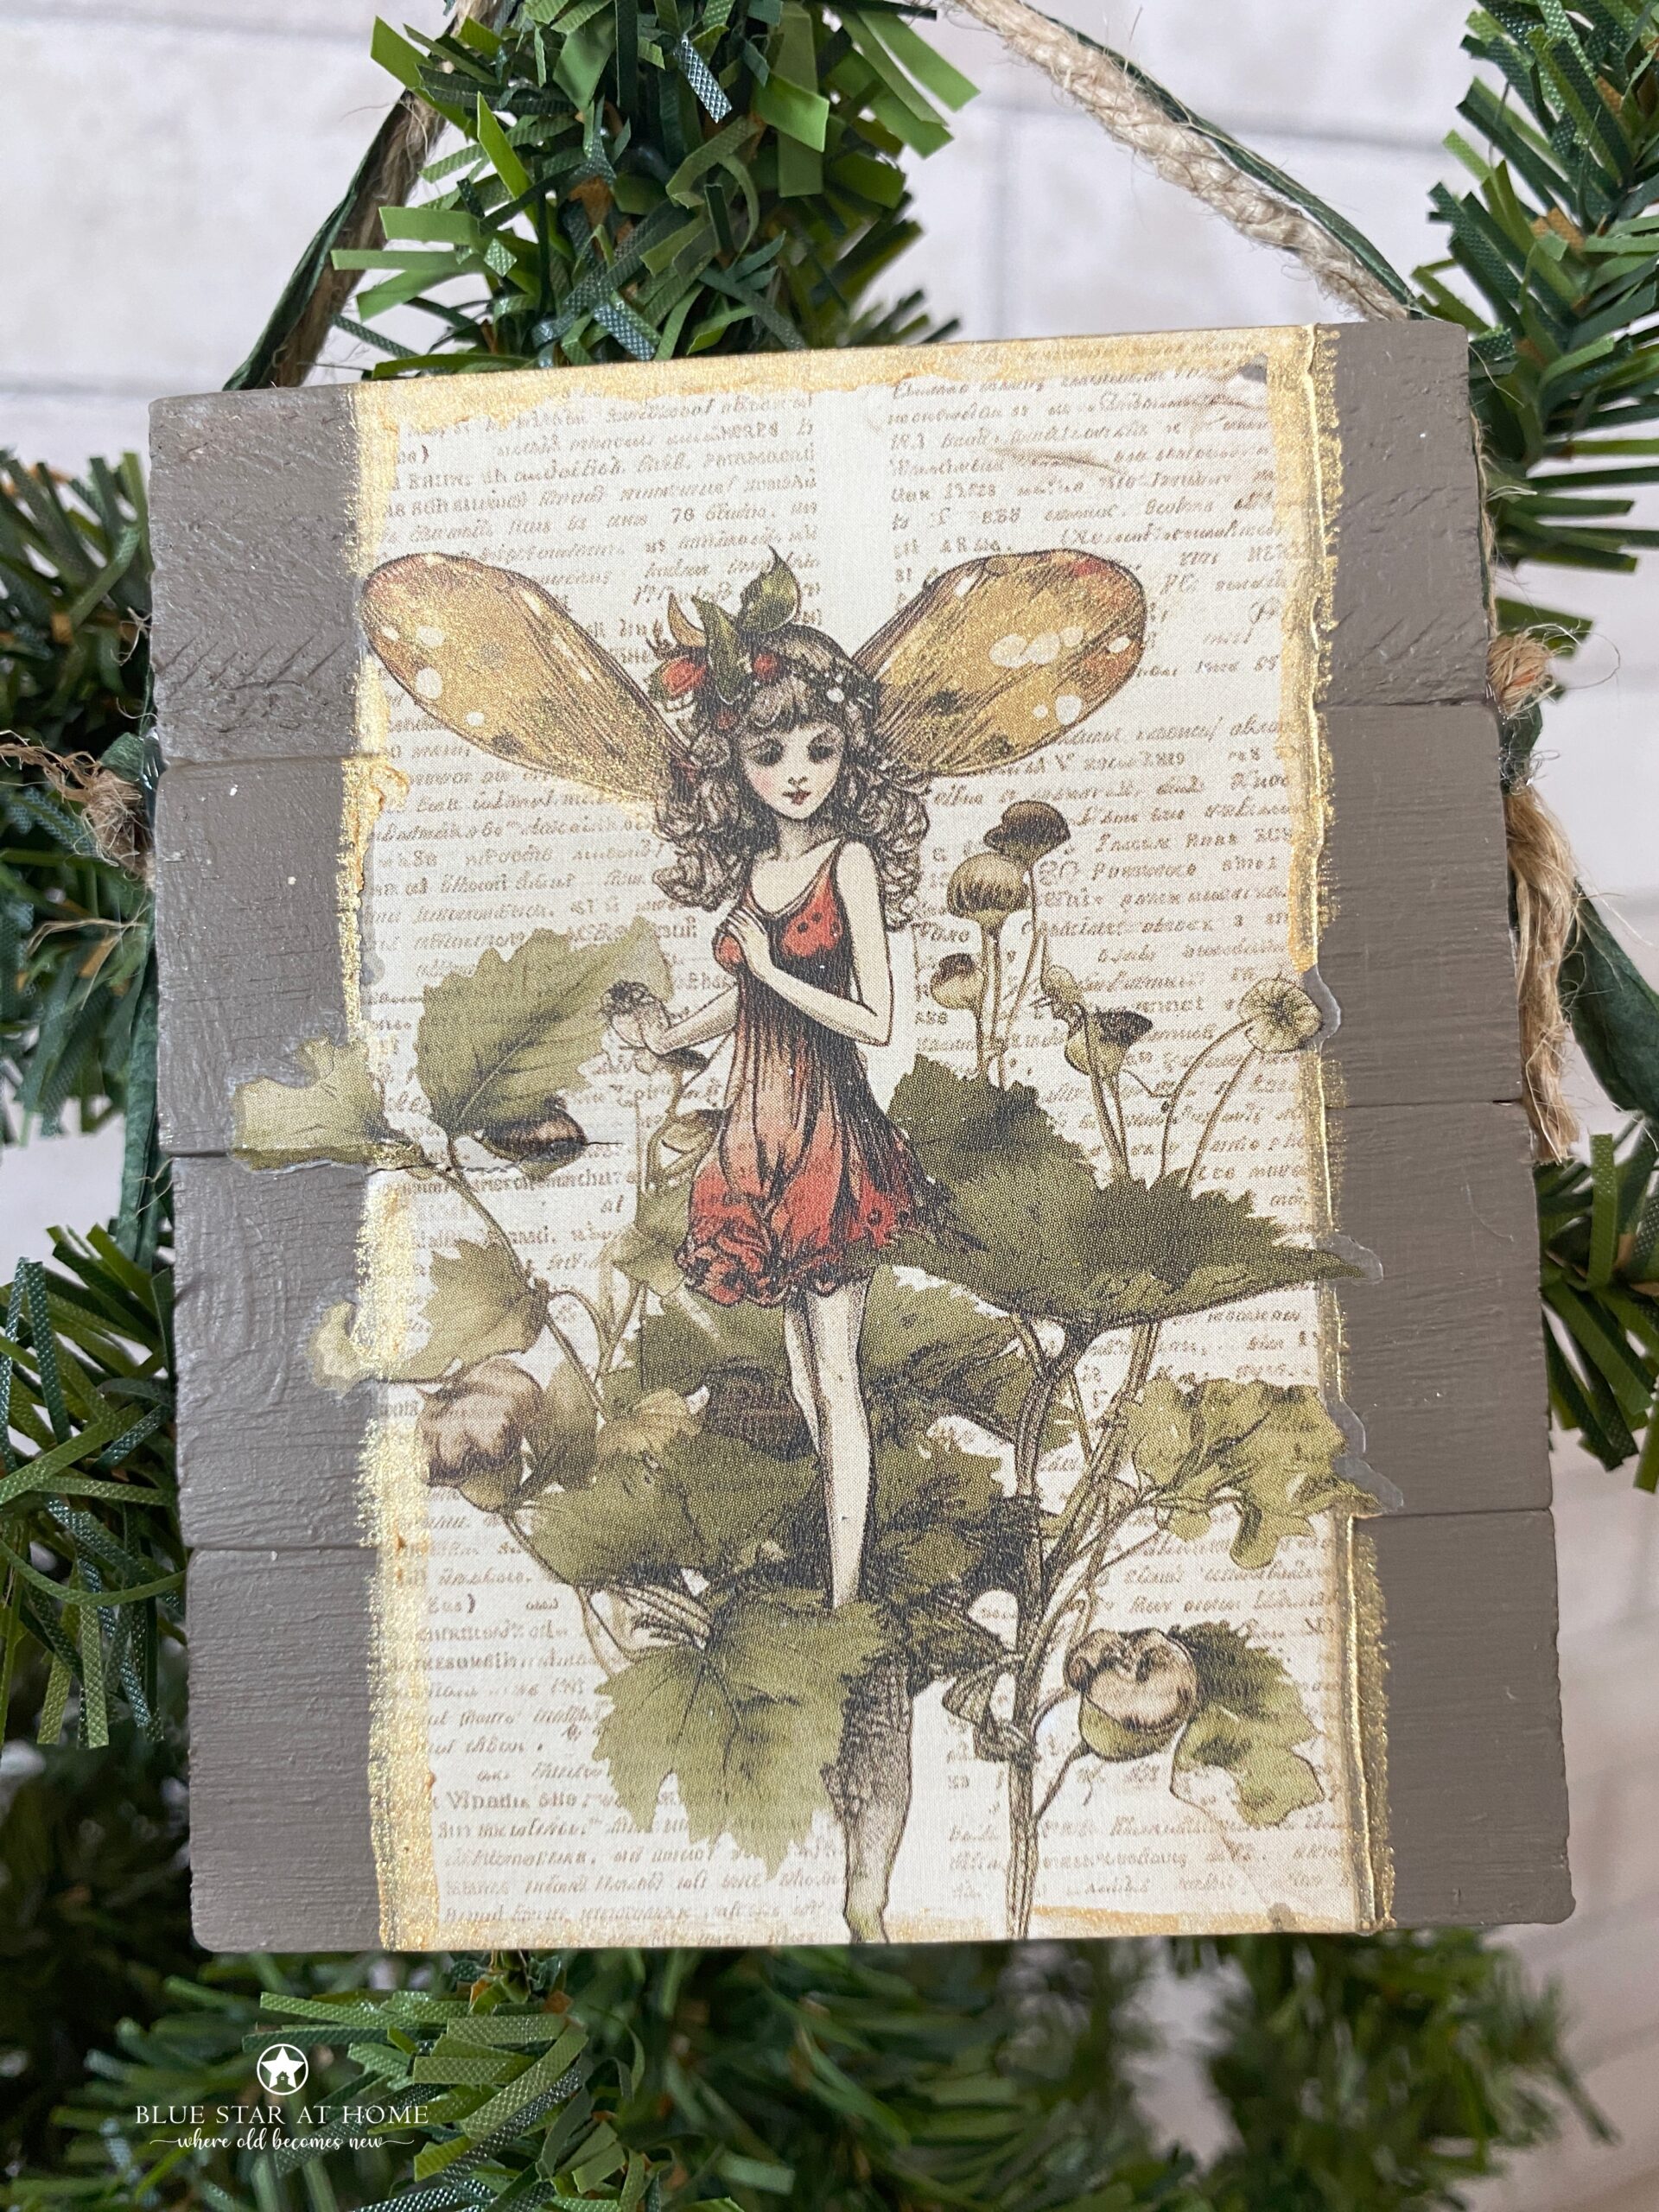
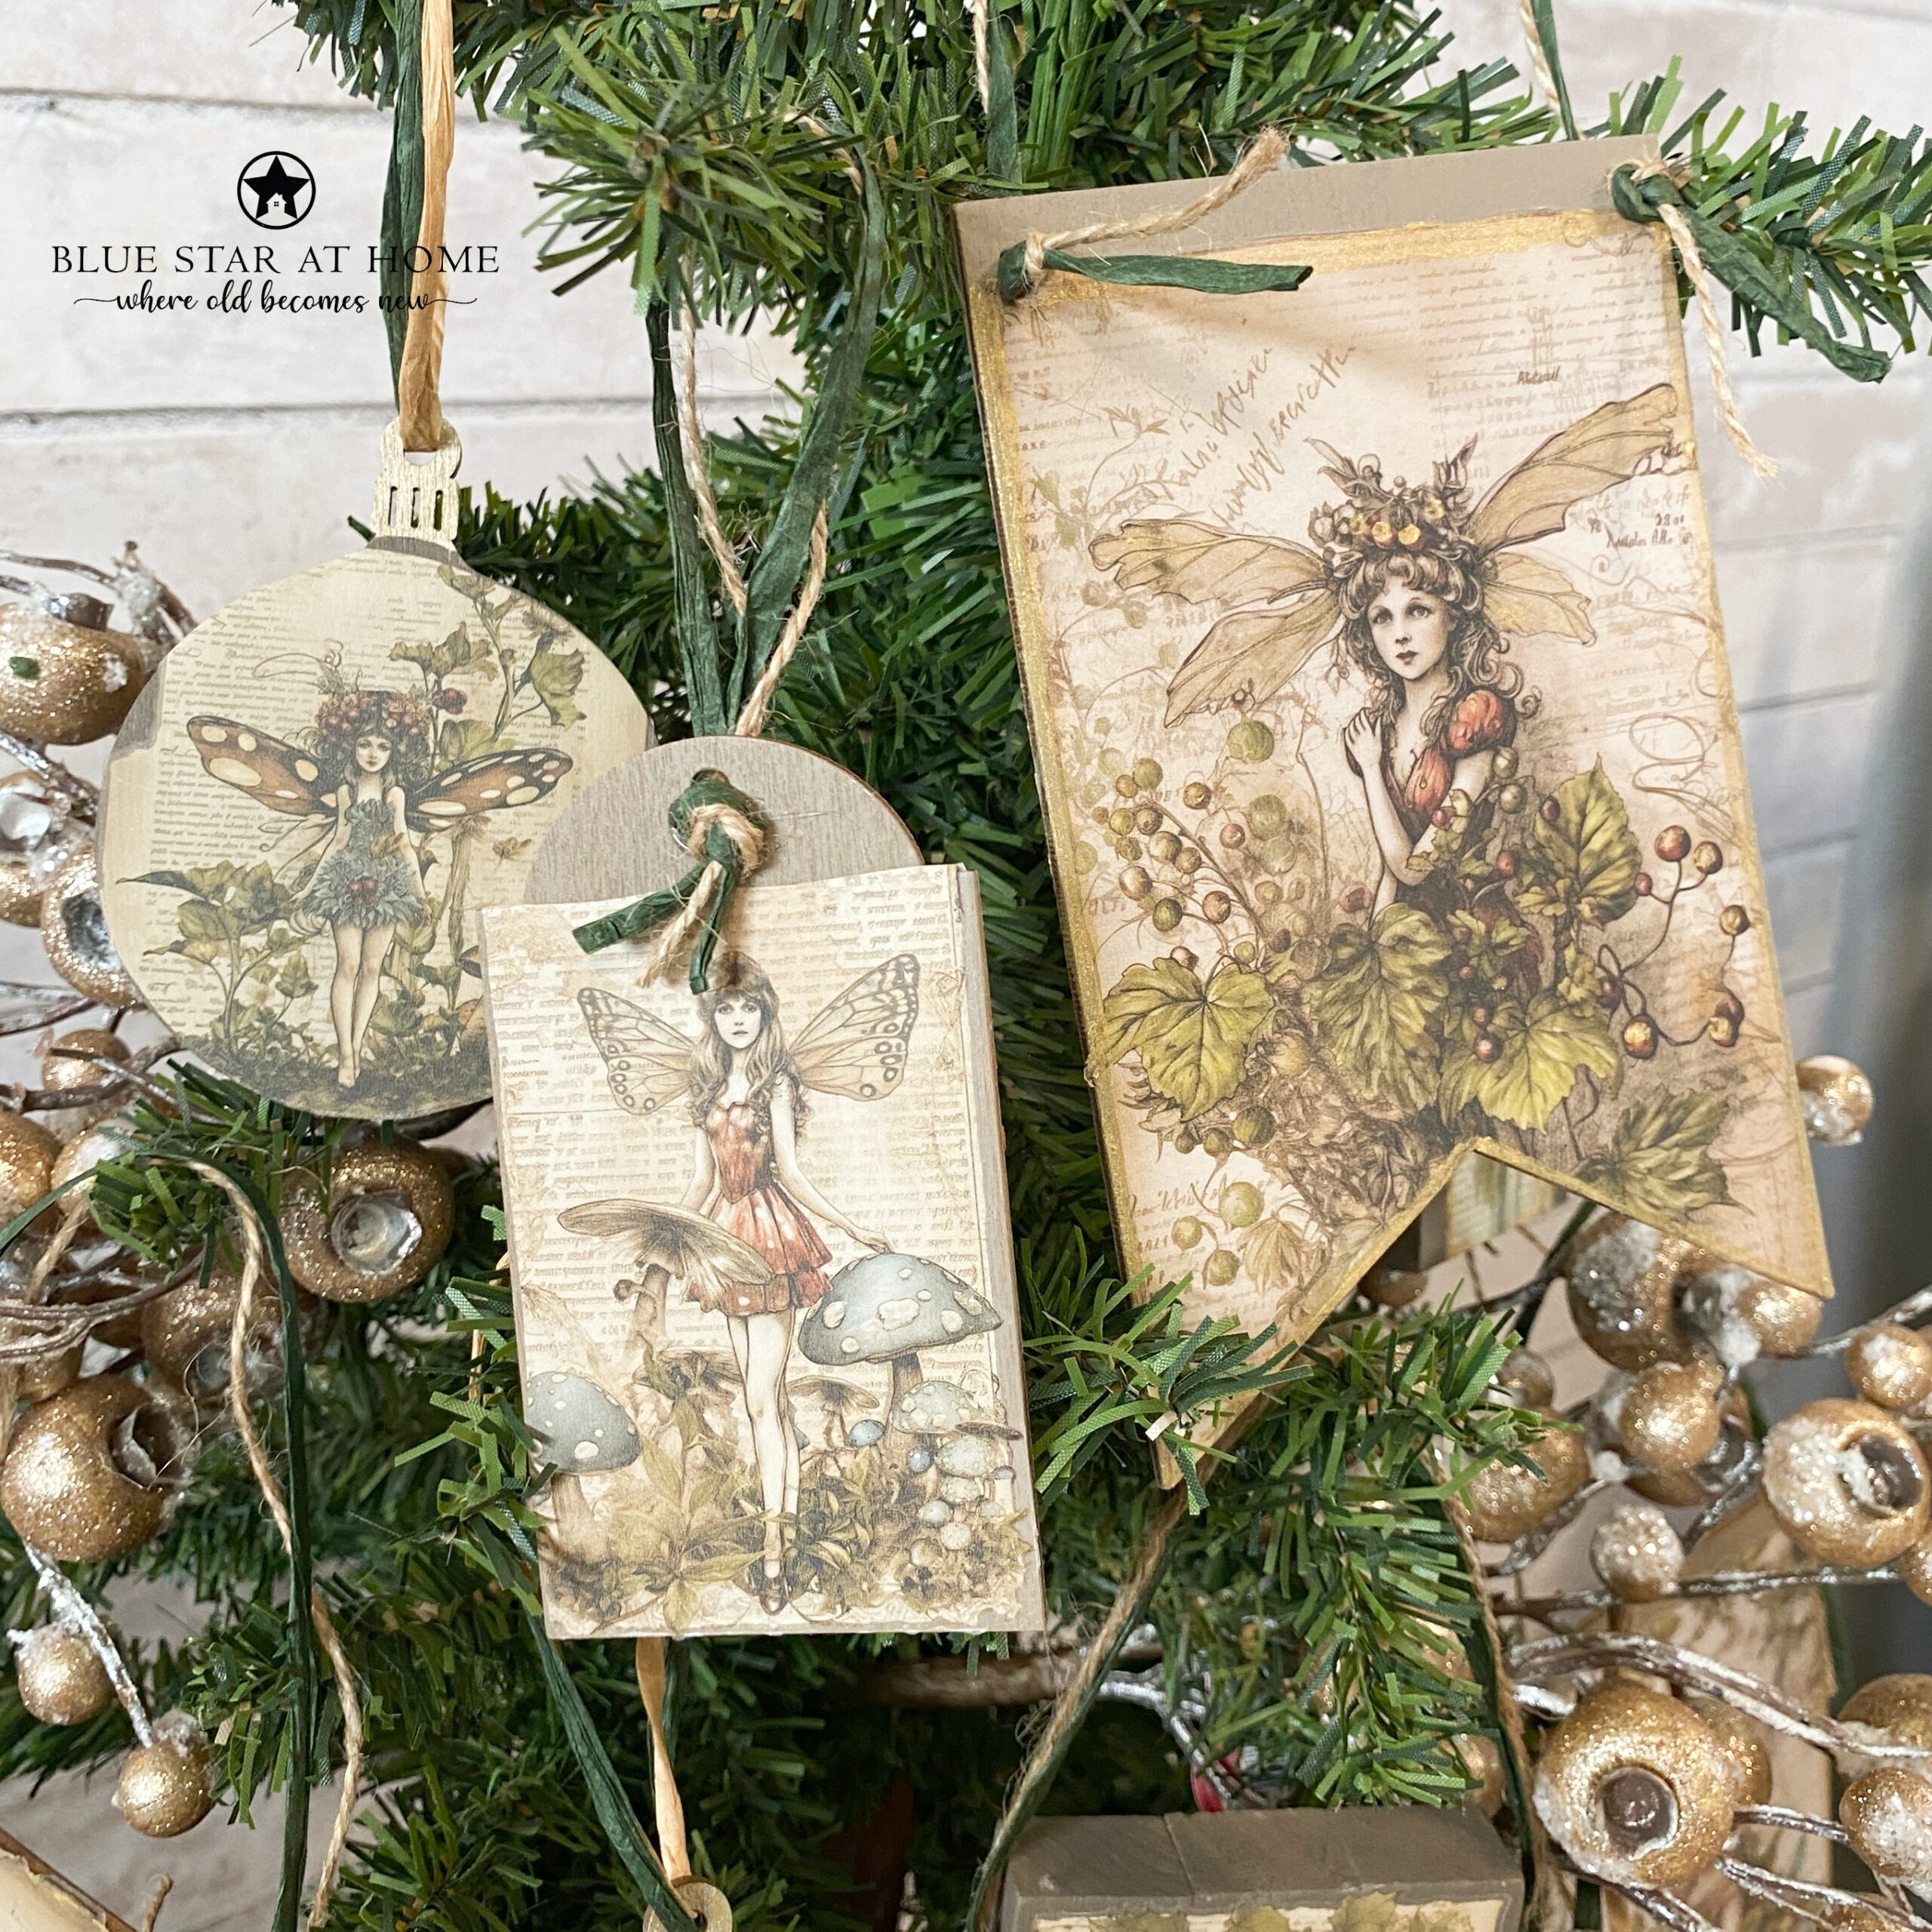
There are a lot of things you can apply transfers to in order to make ornaments. I chose some wooden tag blanks, wooden ornament blanks, and Jinga blocks to make a variety of ornaments. The Jinga blocks came from Dollar Tree. Glue three or four together to make them the size you want.
I started by painting the blanks in Fusion’s Woodwick and Algonquin. Allow the paint to dry overnight. Then transfer your designs onto the blanks. You can also decoupage or stamp a background image if you have excess blank space. I used Fusion’s Gold Metallic paint to embellish fairy wings and borders with, I sealed mine with Beeswax Finish and tied raffia to create hangers.
Number 4: Coasters
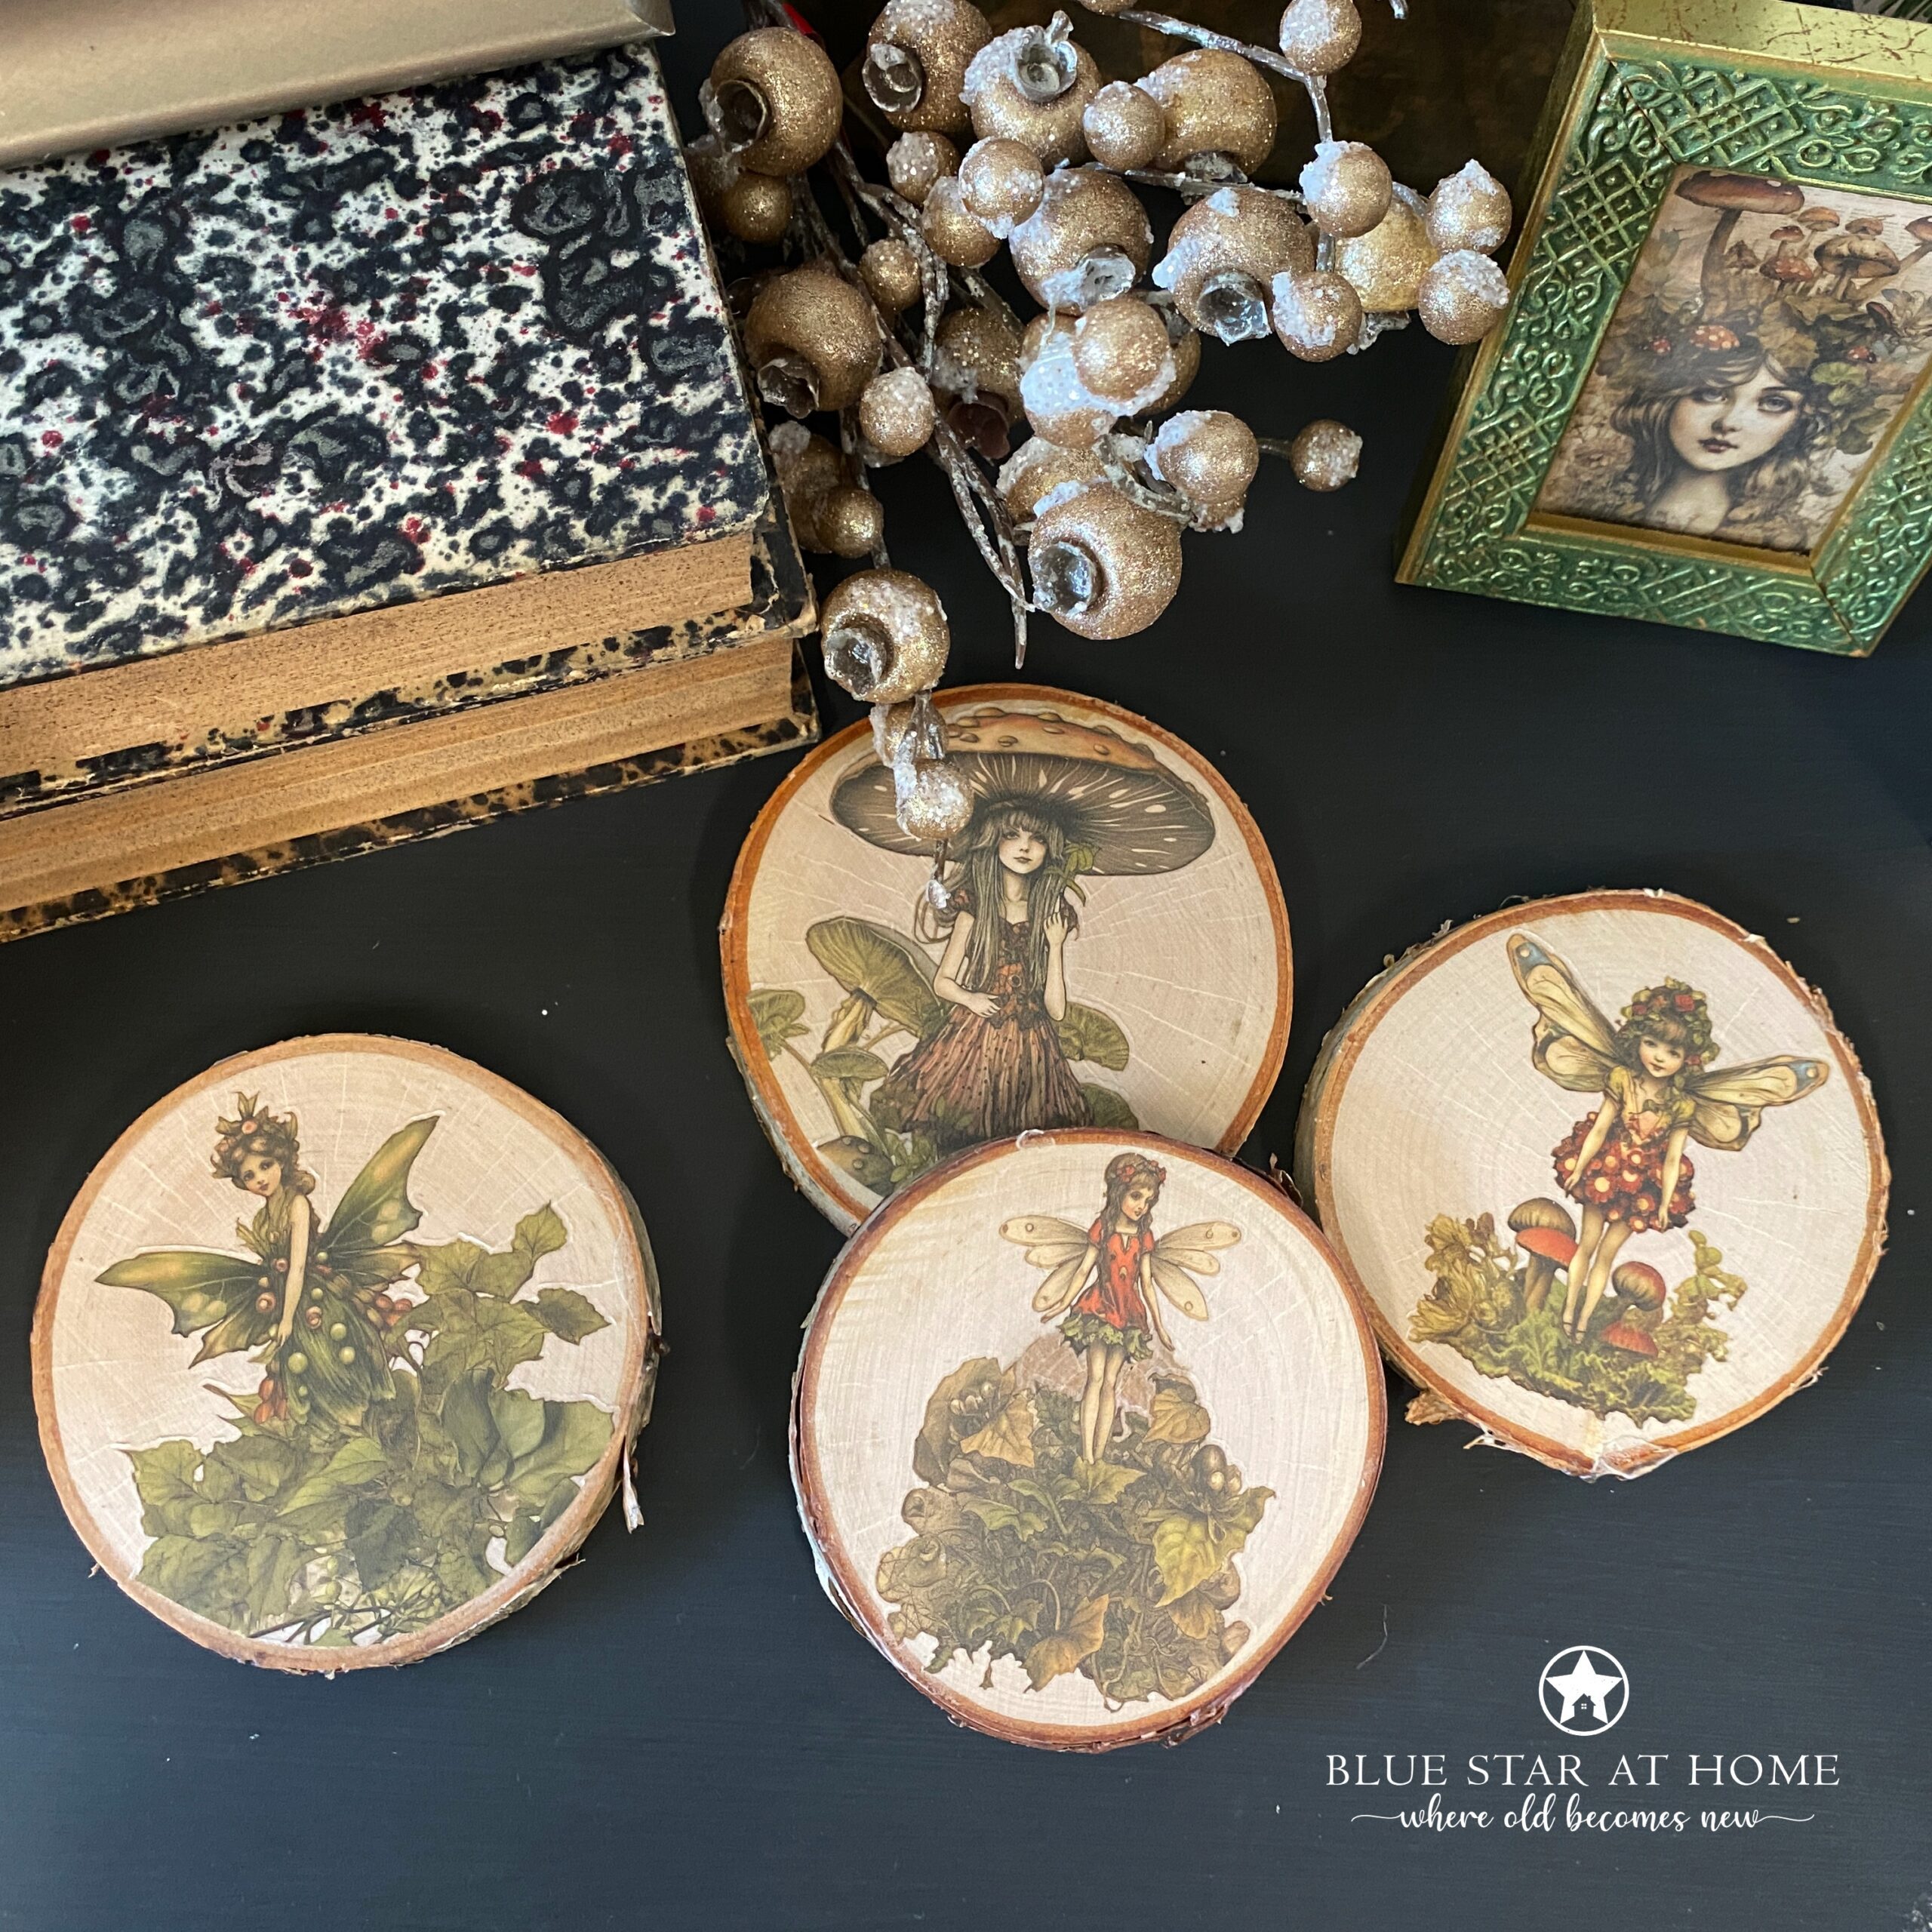
I’m a sucker for the sliced log coasters and they seemed the perfect home for some fairies. I gave the coasters a coat of General Finishes High Performance Top Coat in Dead Flat and let dry overnight. Then I transferred some fairies onto the slices and sealed with additional coats of Dead Flat. I used cork on the bottom of the coasters but you could use felt as well.
Number 5: Wall Decor
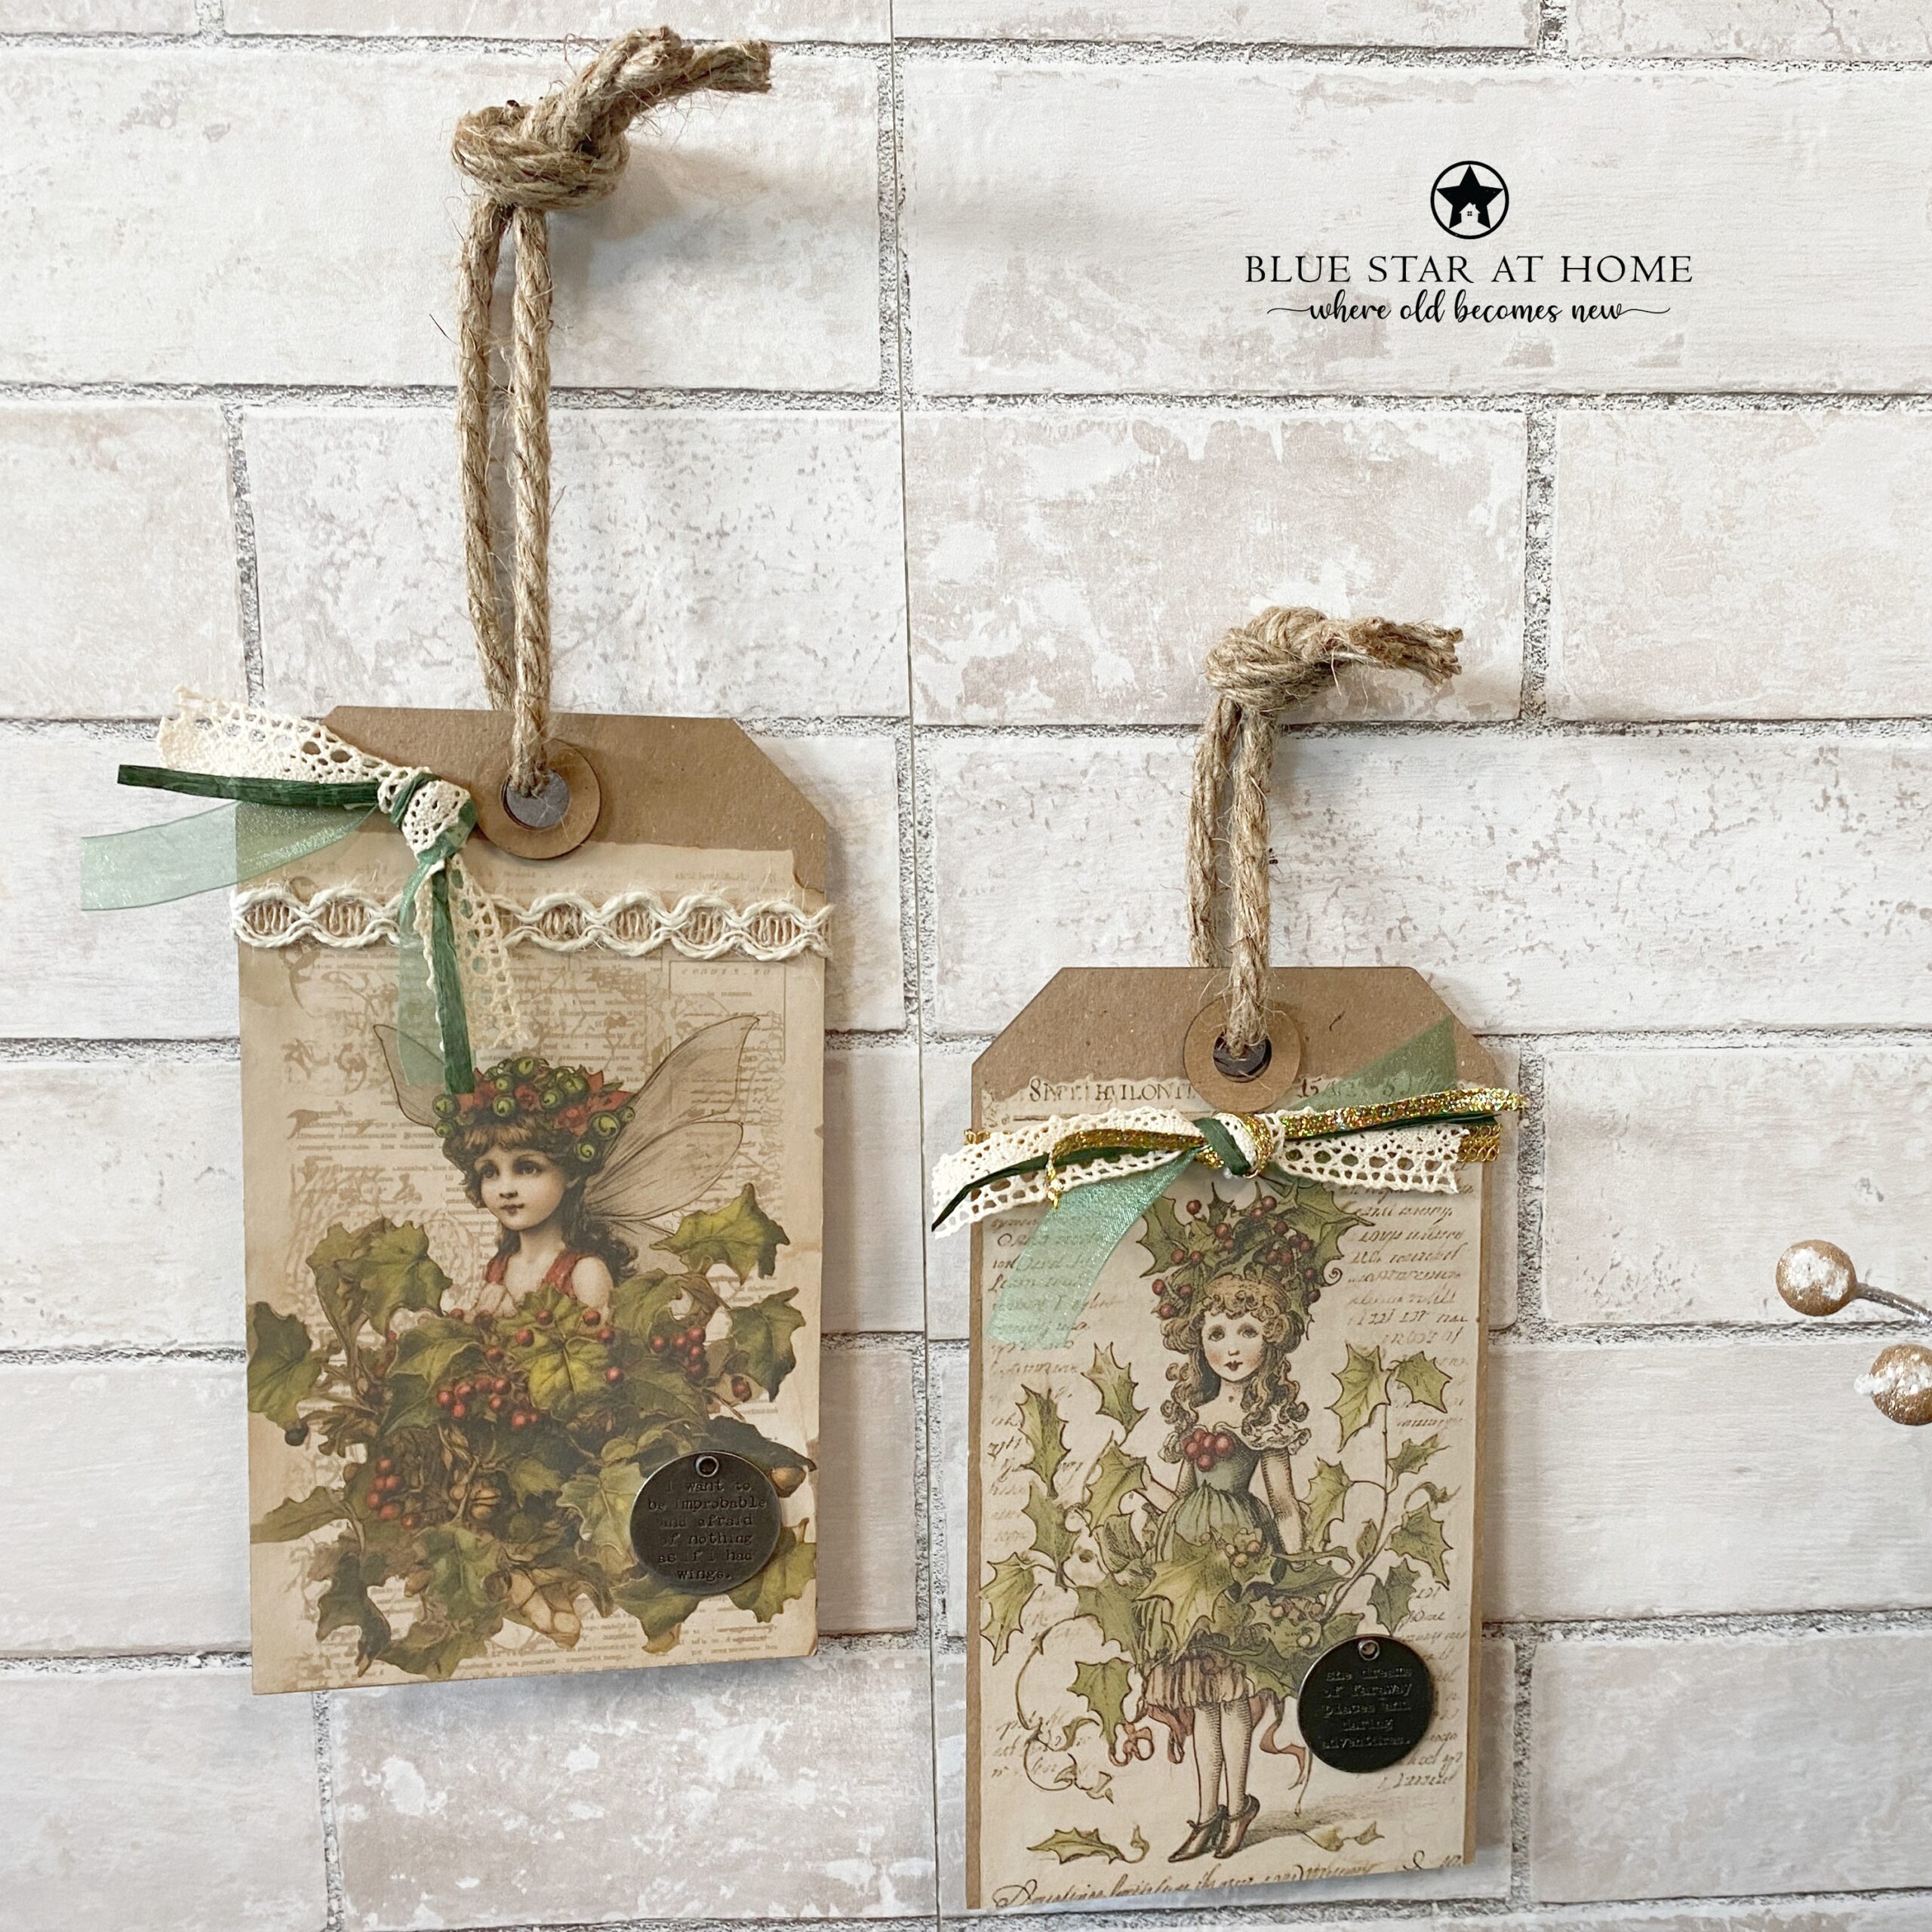
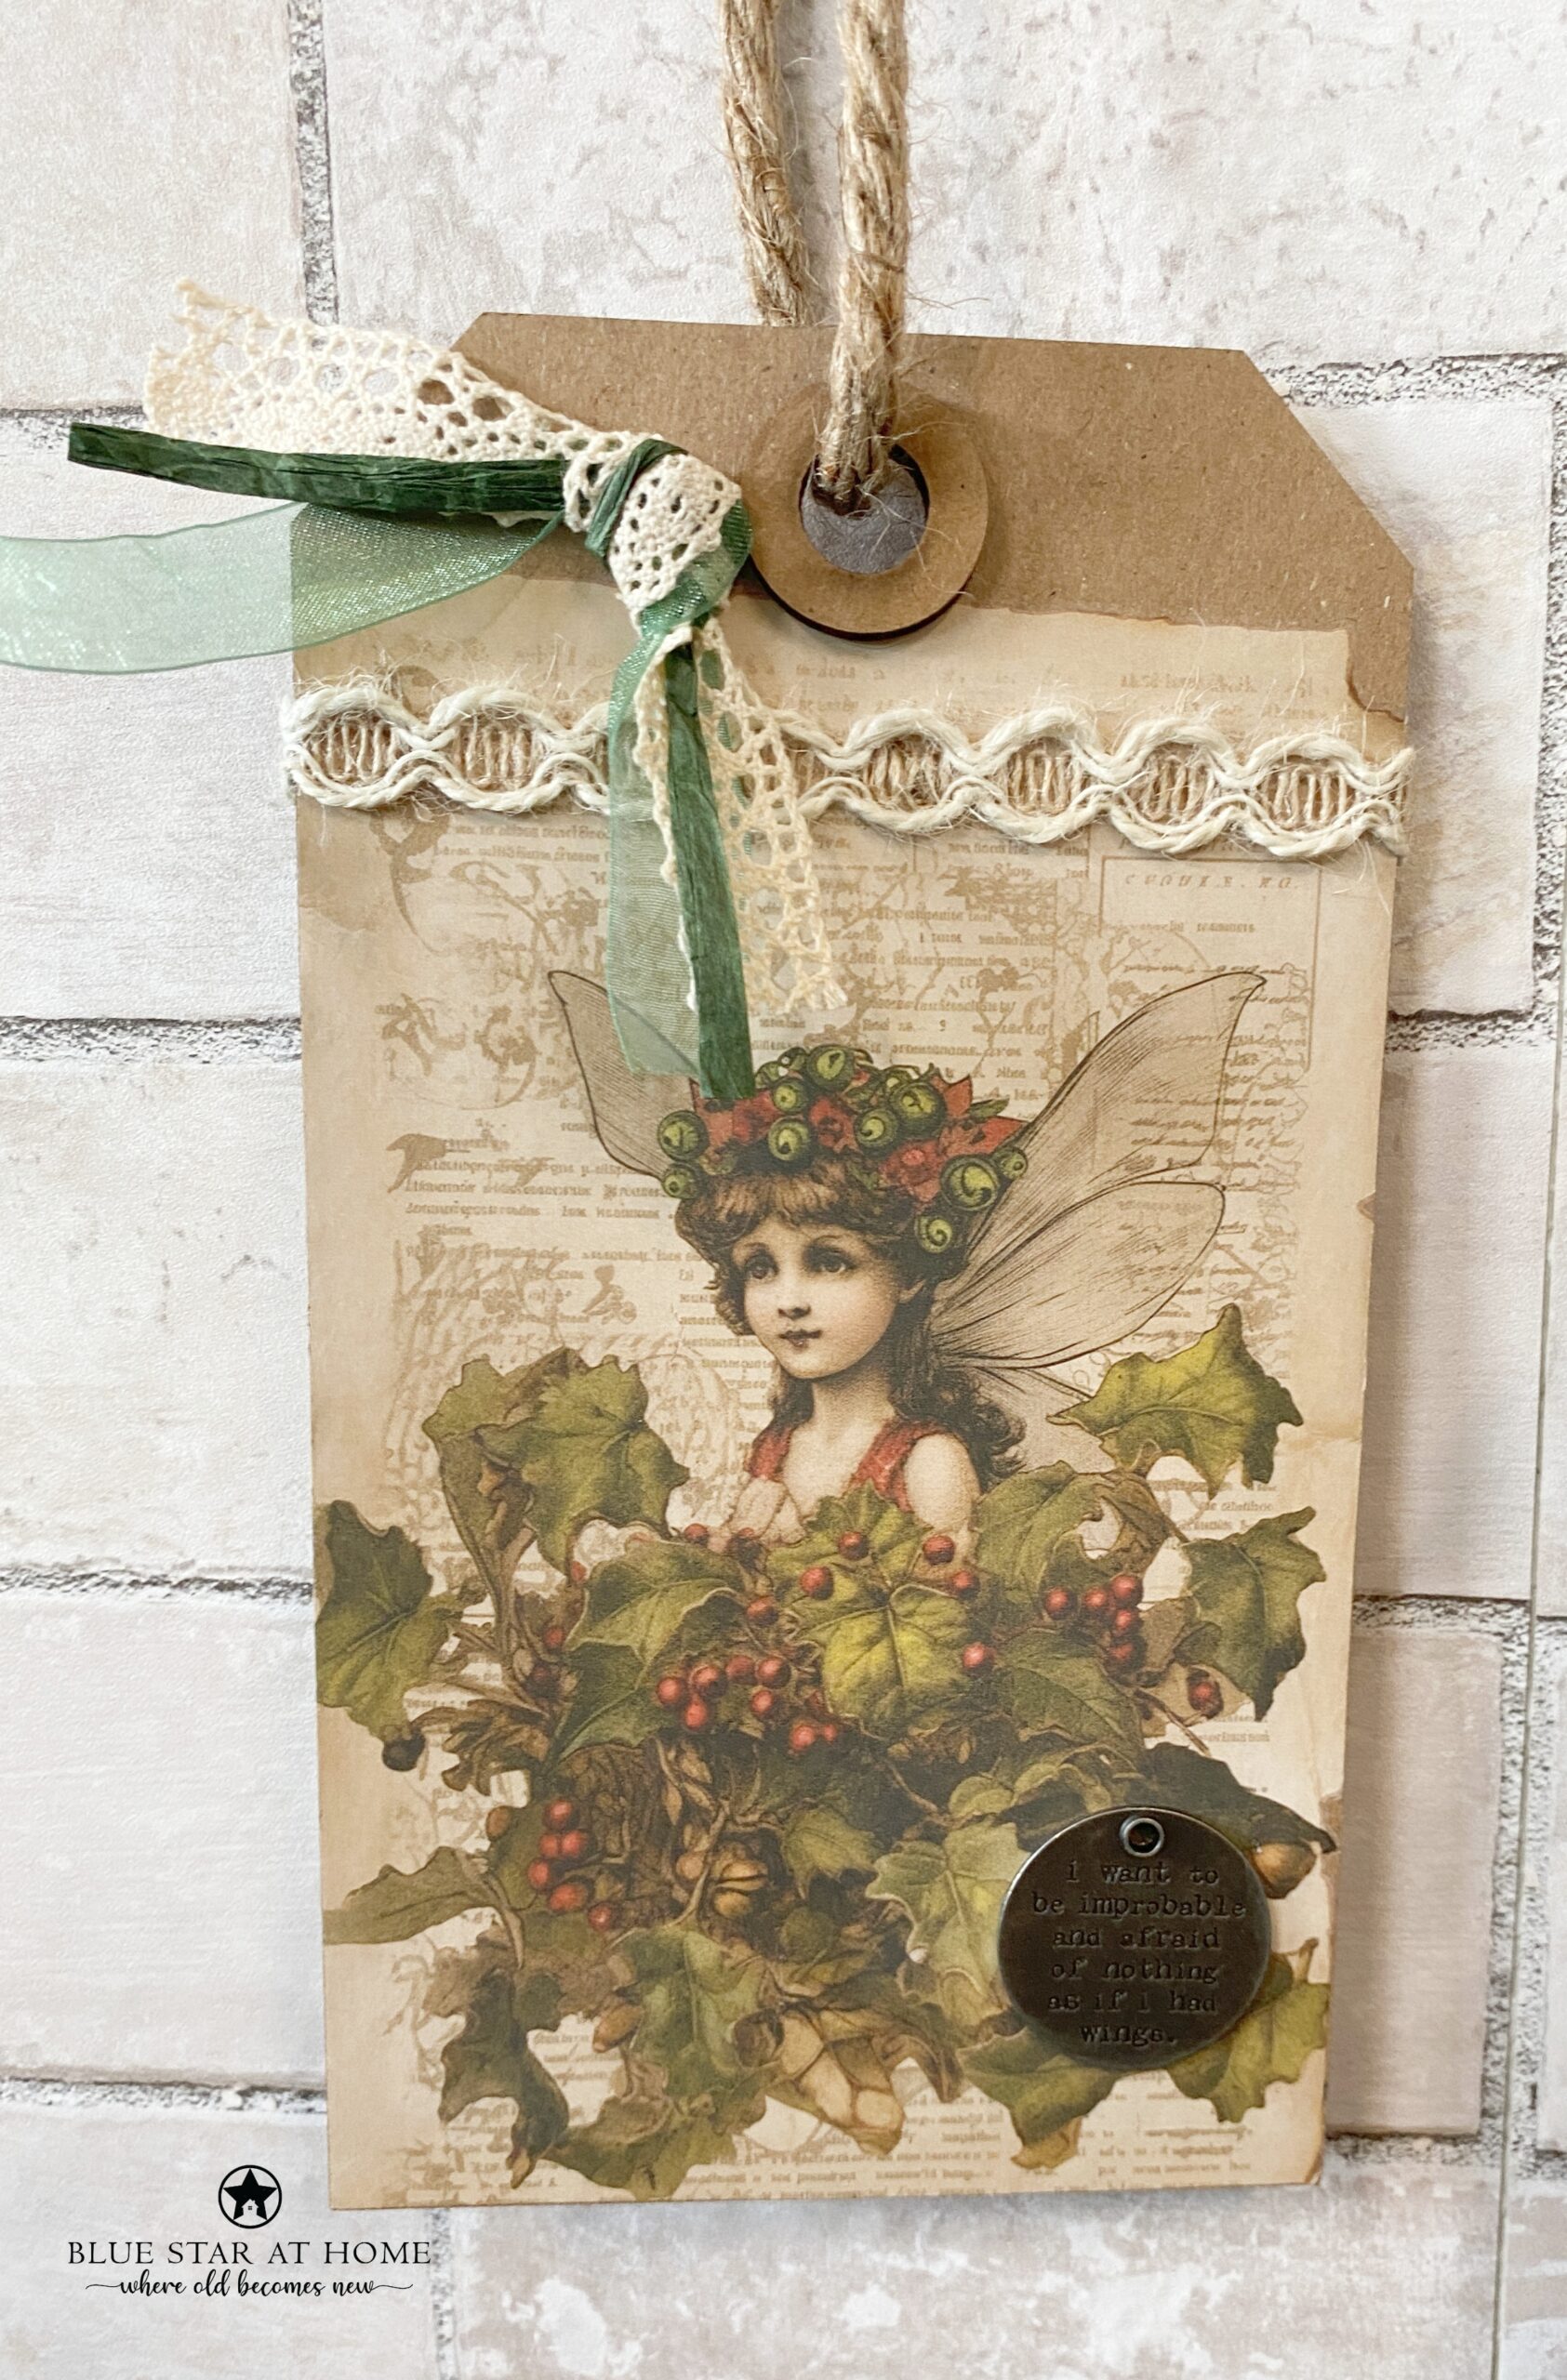
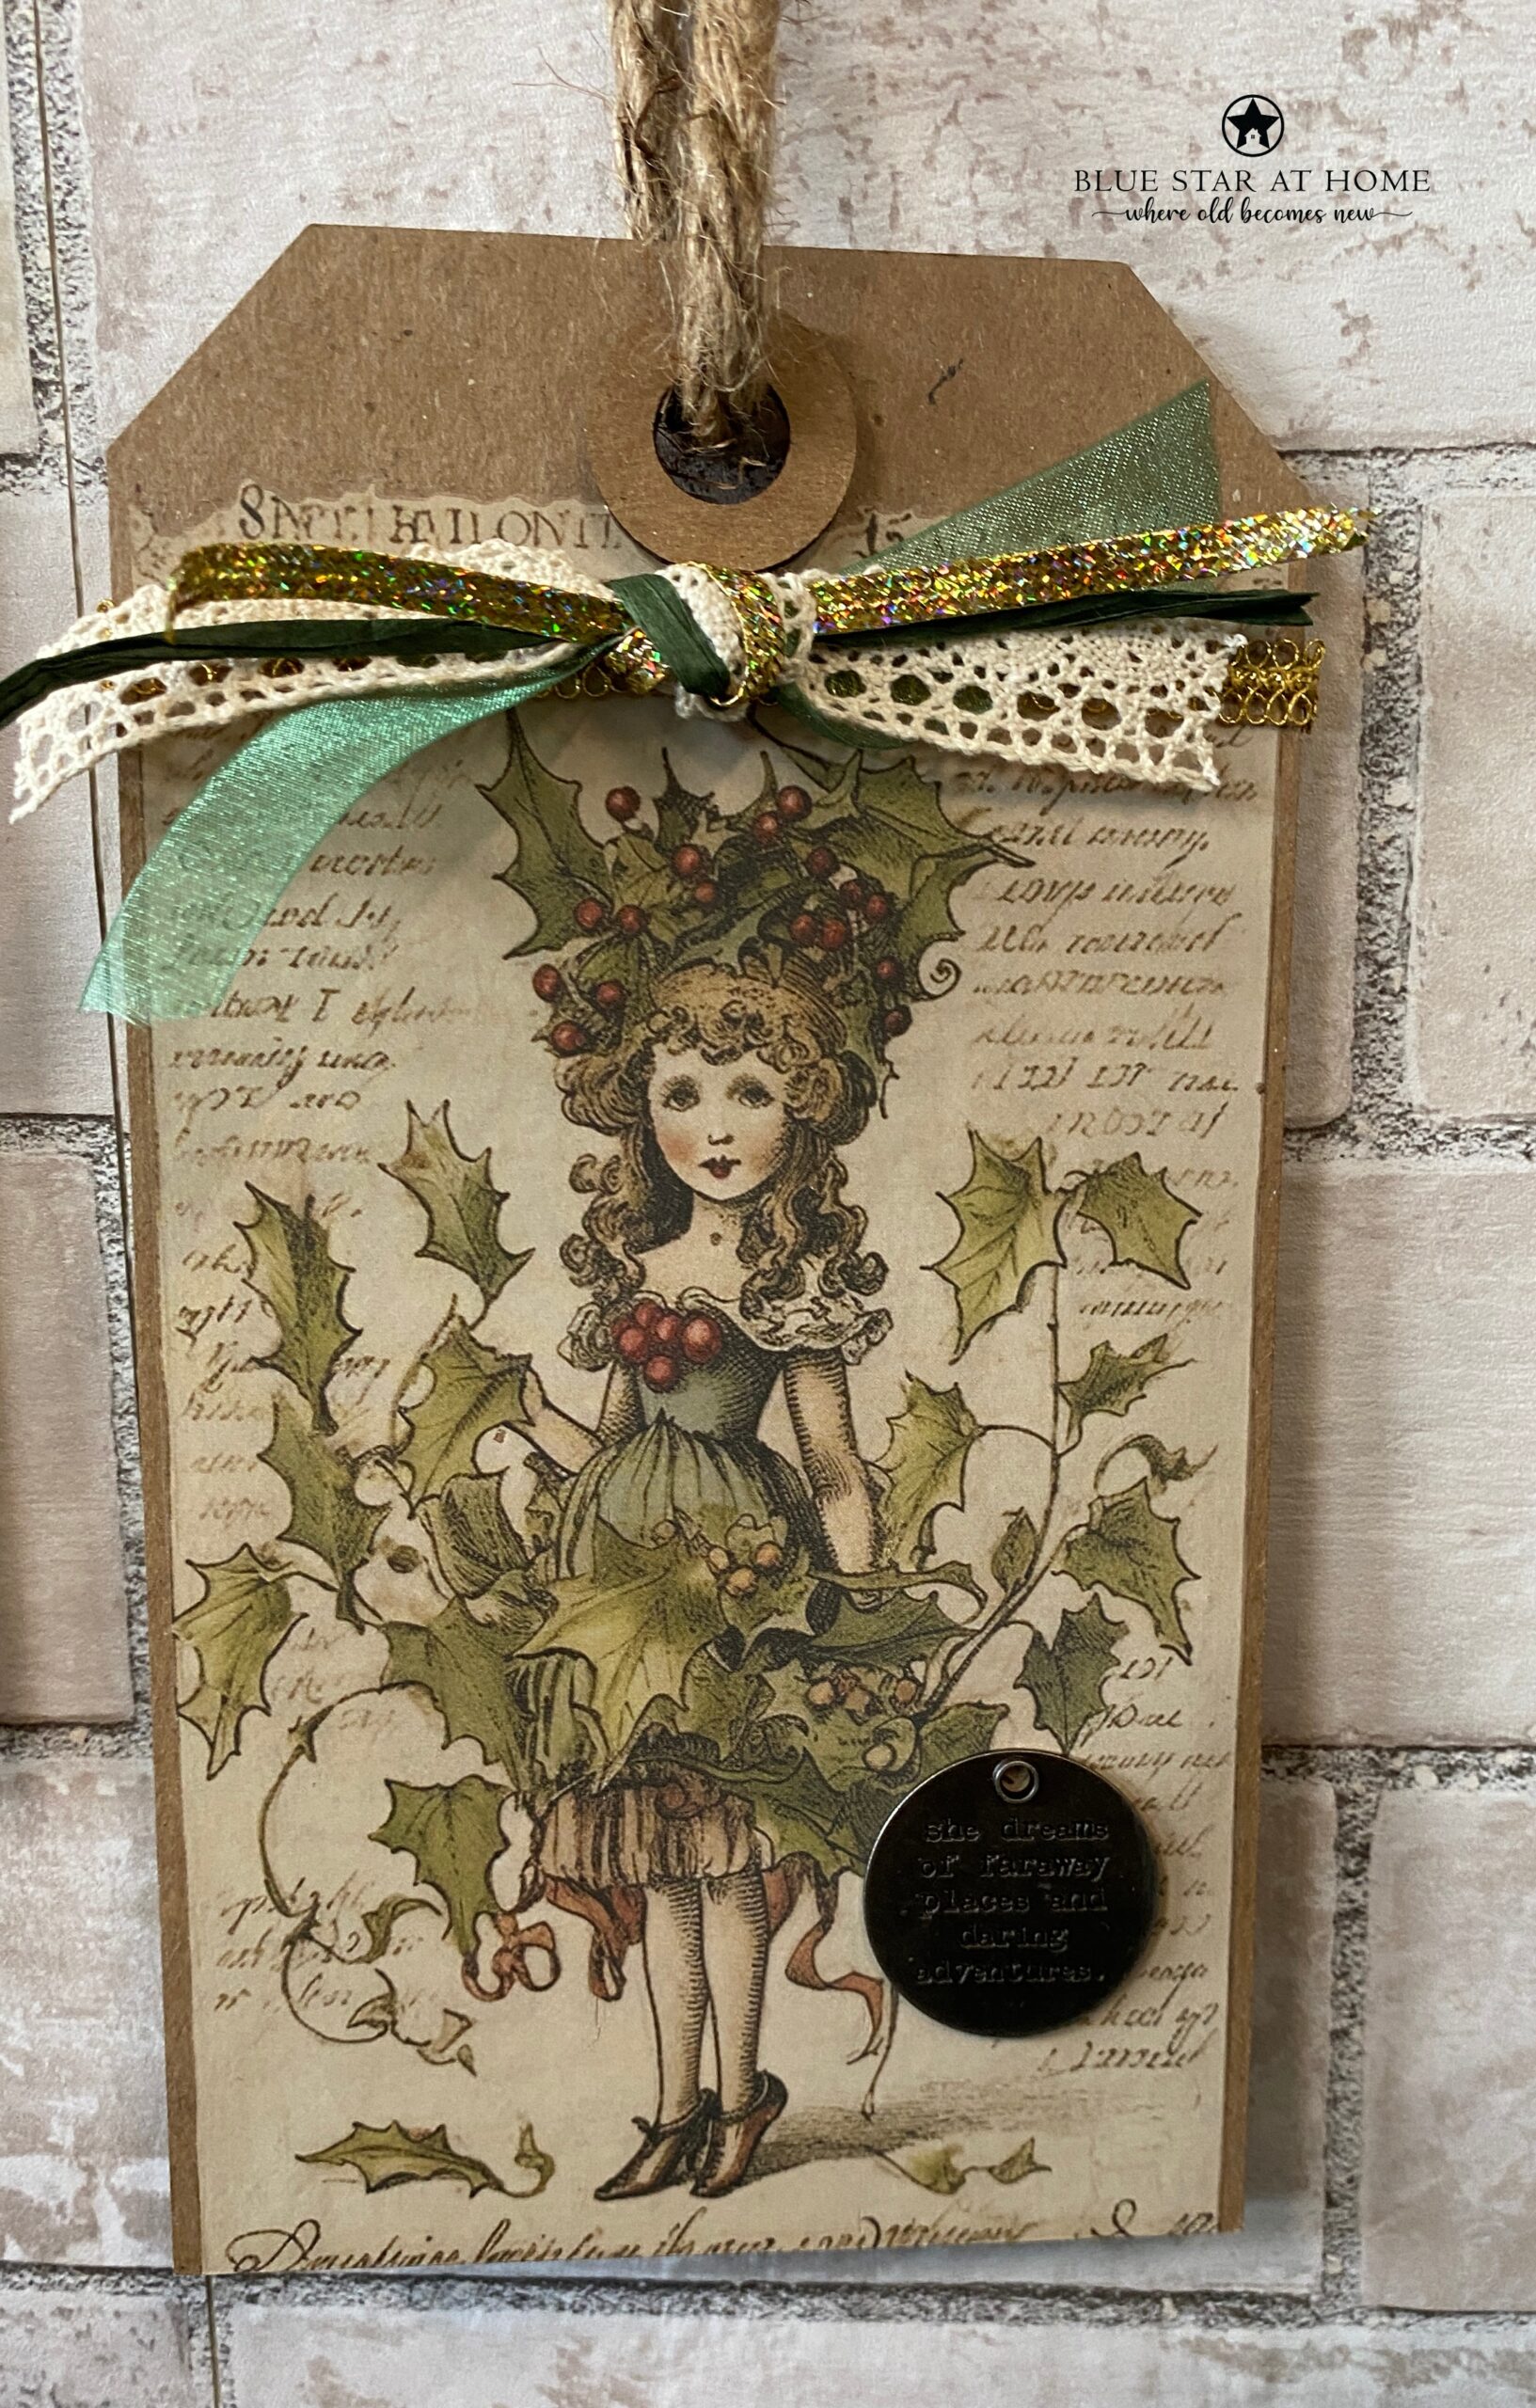
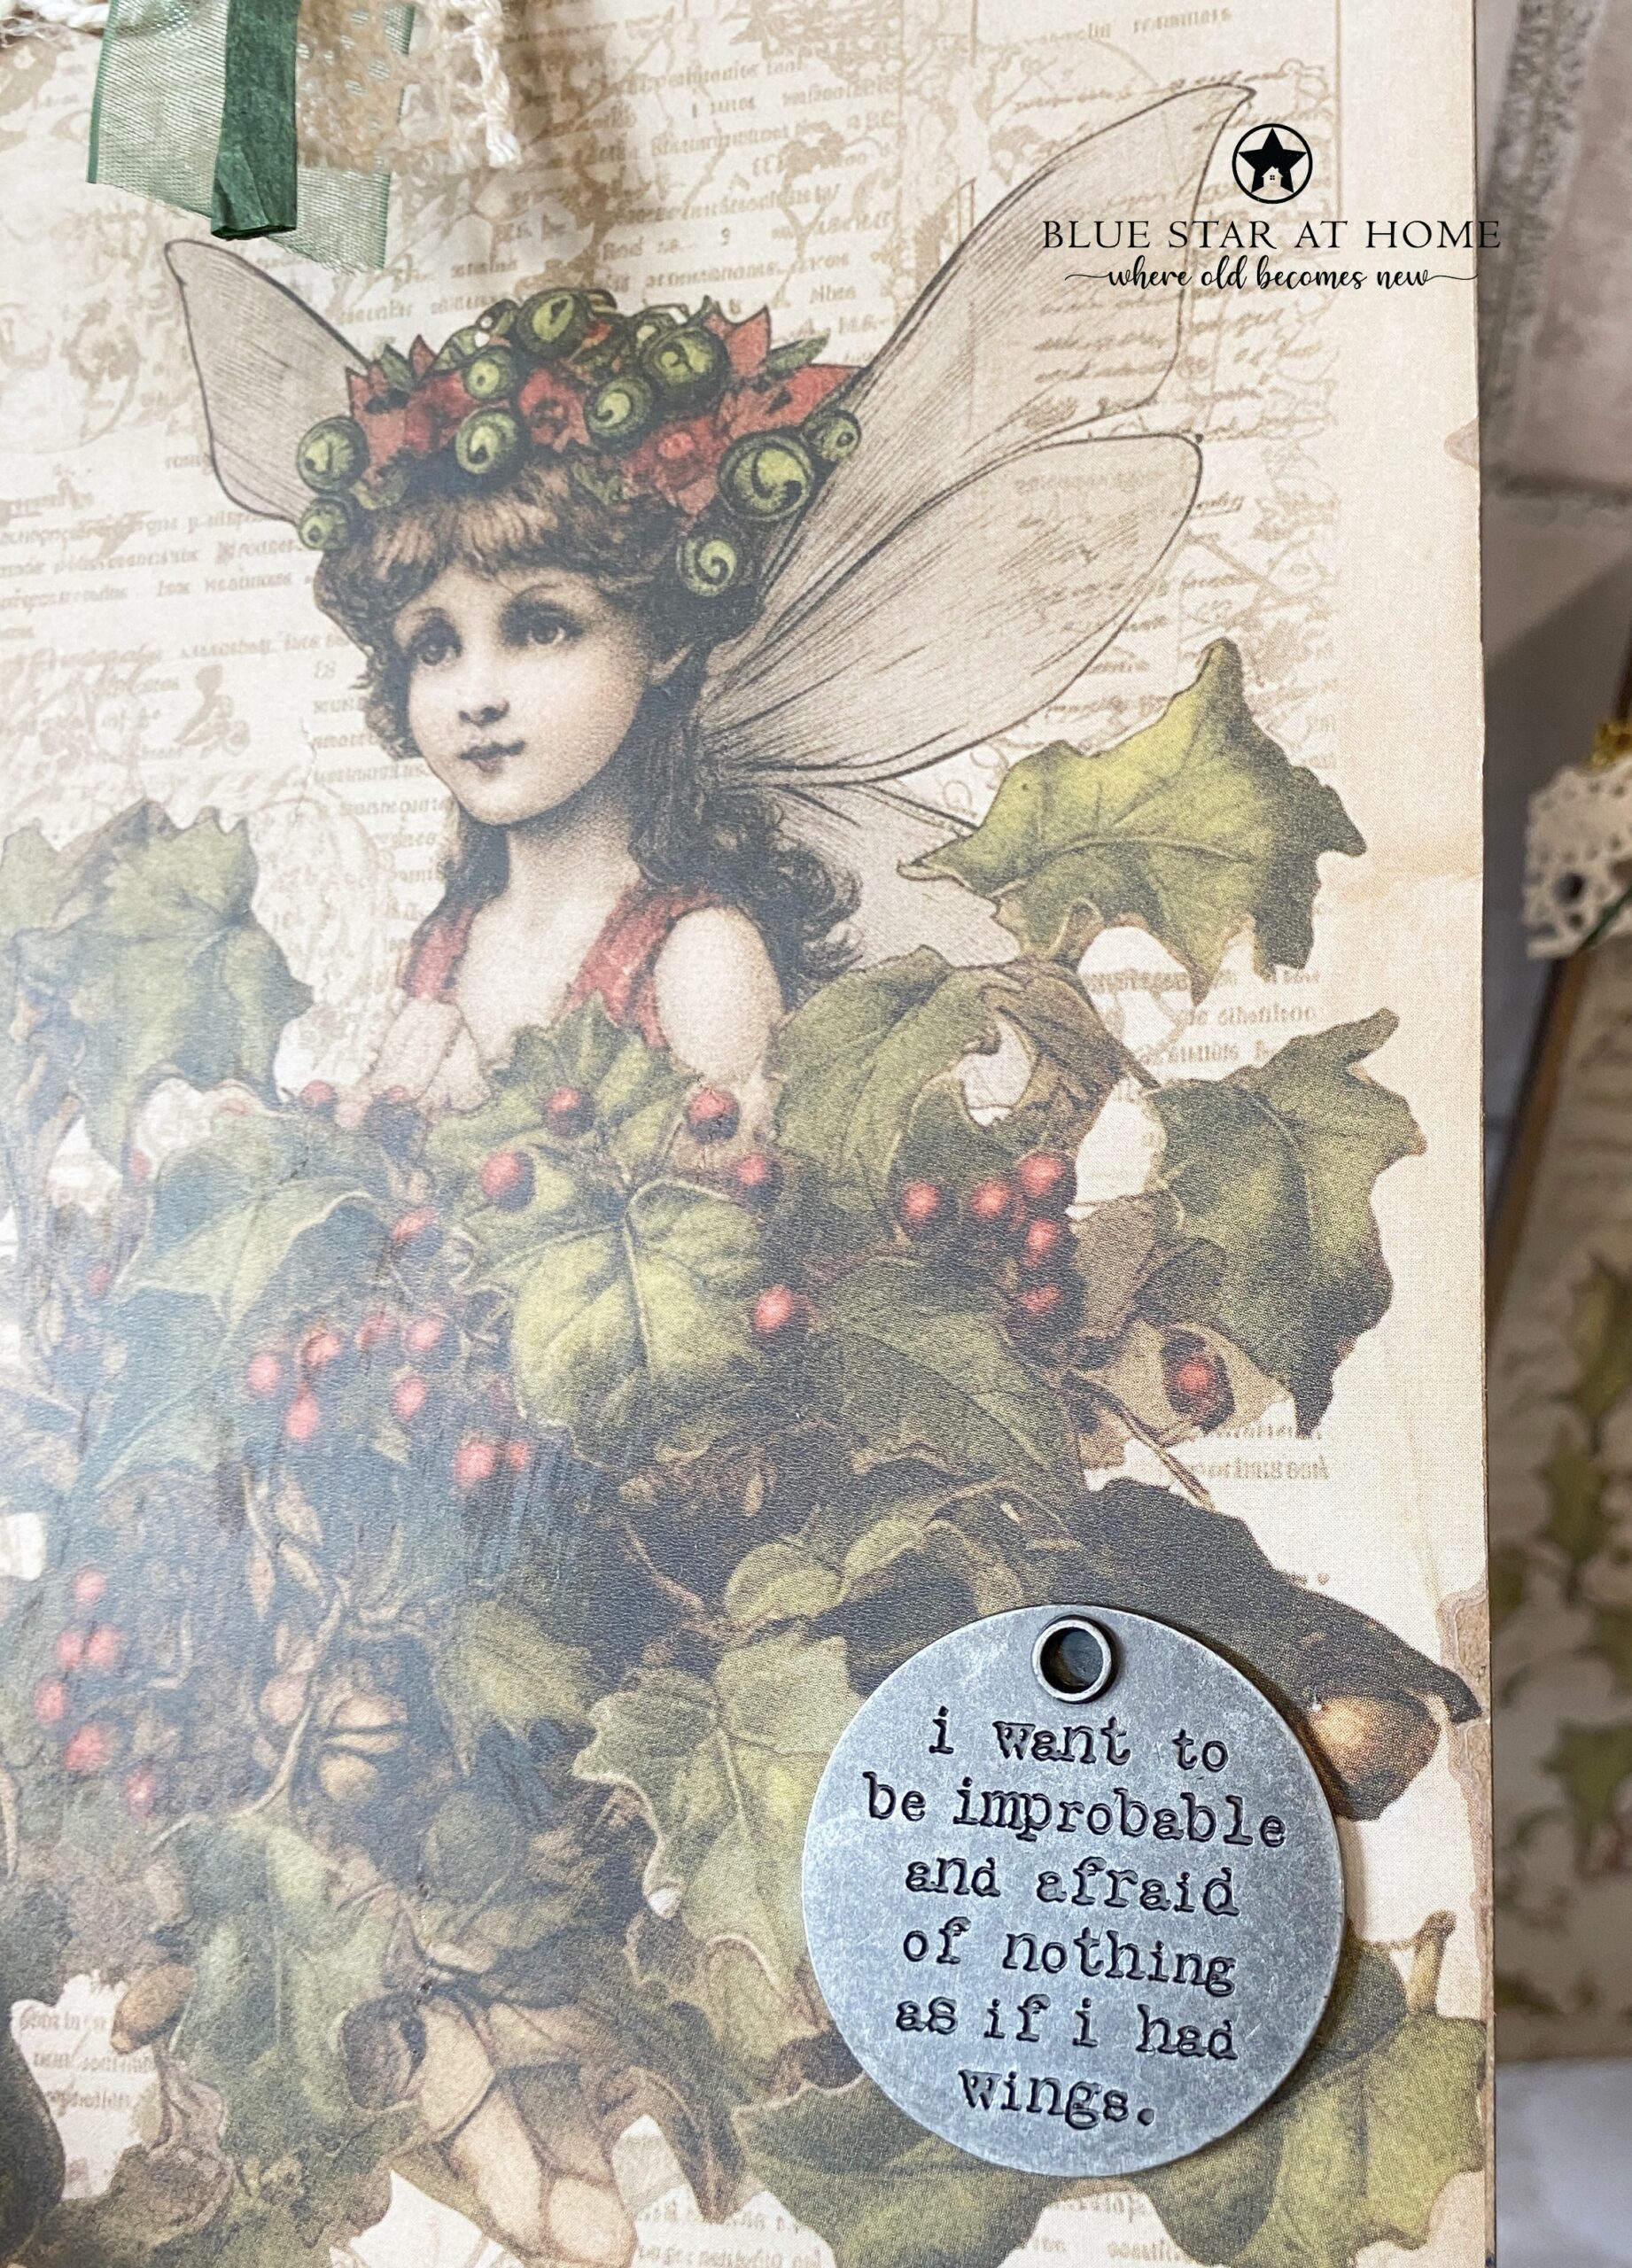
It’s fun and easy to use the IOD gallery blanks to create your own unique wall decor. For the fairies, I decided to go with these oversized tags instead. The wooden tags have a natural color so I did not paint them. After transferring the image, I added ribbon embellishments and one of the Quote Tokens, a unique way to add a message to your work.
Number 6: Trays
I knew when I saw the awesome wreath images in the Fairy Merry Christmas set that they were screaming for a tray. I found some silver trays in a variety of sizes at an antique mall and grabbed the small one for one of the small wreaths.
I began by wiping on a thin coat of Ultra Grip so that the paint could adhere and waited for it to dry overnight. The next day the tray got two coats of Fusion’s Cathedral Taupe. Once that dried, I applied the wreath transfer and then glazed the whole tray with Antique Glaze. The tray then got two coats of General Finishes High Performance Top Coat.
This is almost too pretty to use! I’ll probably display it with my holiday decor.
So what do you think? Which project is your favorite? What ideas do you have for this awesome transfer set? I’d love to hear from you!

When is the transfer available?
I see you found it!
Found your site
Ordered and ordered!!! Is there any possibility that you can gather up ANY of my orders for shipping together? If TOO LATE. NO WORRIES!!!
.
WILL be using you more! Love your story, and supporting small business. ❤
Josanne Beckman
SURPRISE, AZ. Thanks! Can’t wait to get busy with ALL YHE NEW GOODIES. Yay!!!!
Yay! So glad we could help you!!