")
Ever get something new and you just can’t wait to play with it?? I’m like a kid at Christmas. Seriously!
So I just got in some AMAZING pattern books by Baker Nest that walks you through, step by step, to paint a barn quilt!
Let me share the process. I used the Nordic Star Barn Quilt pattern book and it took me four easy steps to paint a barn quilt for my home. The book has easy to follow directions and pictures ’cause who isn’t a visual learner??

I started off by rounding up the supplies I’d need. The pattern book had a list ready for me: Frog Tape, ruler, pencil, wood base, paint brush, Fusion’s Casement (I used Raw Silk instead), and Fort York Red.
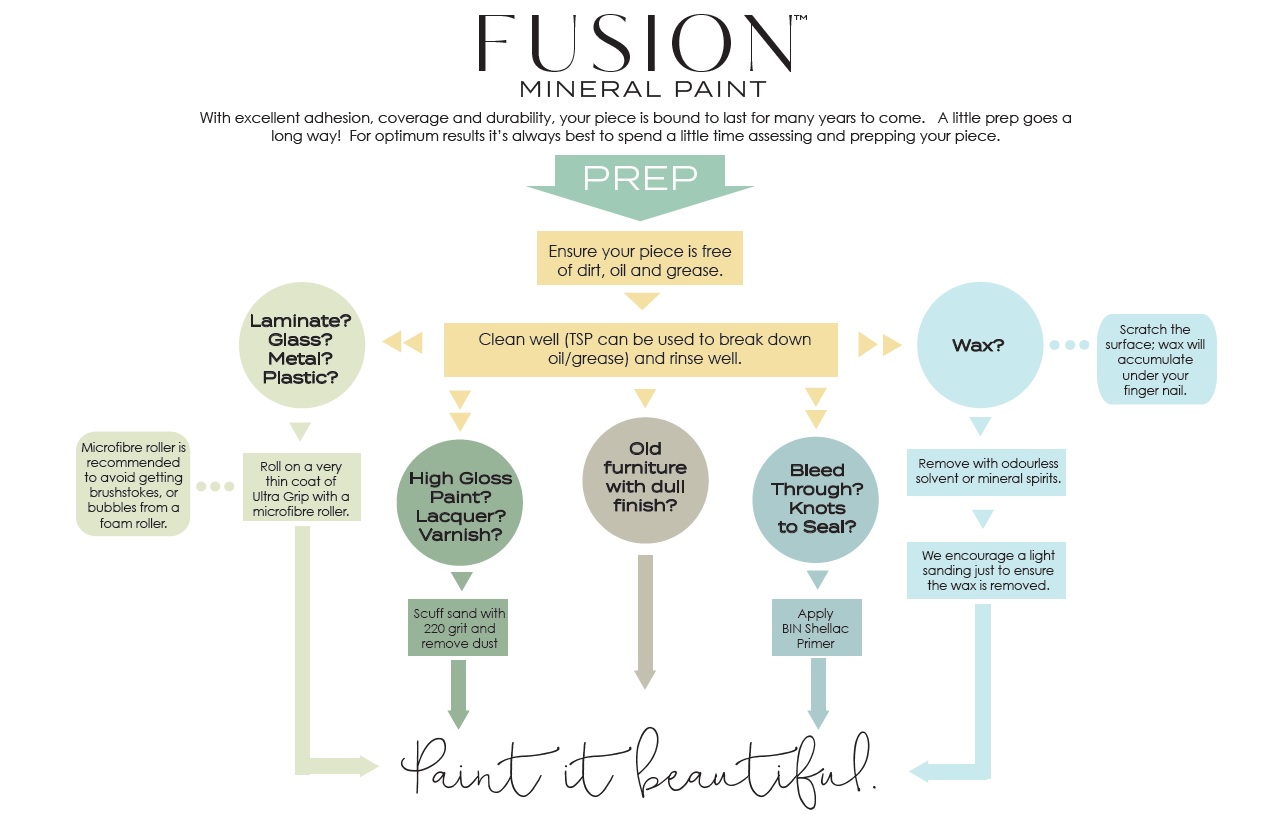
The first step is to give your wood blank two or three coats of paint, Mine took three since the raw wood soaked up the paint. You could use a primer if you prefer.

After the base coat dried, I followed the instructions in the pattern book to draw off a grid on my wood.
The pattern is a 6 x 6 grid and I was using an 8″ x 8″ gallery wood blank so I planned to leave an inch all around the pattern.


Once I had my grid drawn out, I filled in the pattern, following the pictures in the pattern book.


Step three is to tape off sections to paint. The book explains that you tape off non-overlapping shapes, paint those, and then when the paint is dry, you remove the tape and tape off other shapes.
I always use Frog tape when I’m taping off anything to tape. And here’s a trick – once you have your tape in place, dip your finger in some water and run it along the tape edge. The water activated the seal for less leaking!


So after I got these sections taped off, I gave them three coats of Fort York Red. I used a hair dryer to get the coats to dry quickly.
Once those sections were dried, I removed the tape and taped off other sections to paint. Some of the tiny shapes were tedious to tape but I wouldn’t call it hard.

Once all of the sections had been taped off and painted, I removed all of the tape.
That’s kind of like opening a package on Christmas morning!
I still had pencil lines showing and erasing them didn’t work well for me so I grabbed my small artist brush and painted over them with my Raw Silk.

This was such a fun and easy project! I can’t wait to try some of the other patterns! I know what my friends are getting for Christmas!

Want to try the Nordic Star Barn Quilt? I’ve put together a kit of things you’ll need to make your own!
The kit includes the Nordic Star Barn Quilt pattern book, one 8″ square wood gallery blank, one paint brush, one tester of white paint and one tester of Fort York Red. (I’m happy to swap out colors if you prefer). That’s a $33 value for just $30.
You can grab yours HERE!
I recently made 2 barn quilts and I’m hooked! Can’t wait to try this pattern 🙂
Aren’t they fun!! I’ve made one but really want to make another one! Enjoy! Be sure to send pics!