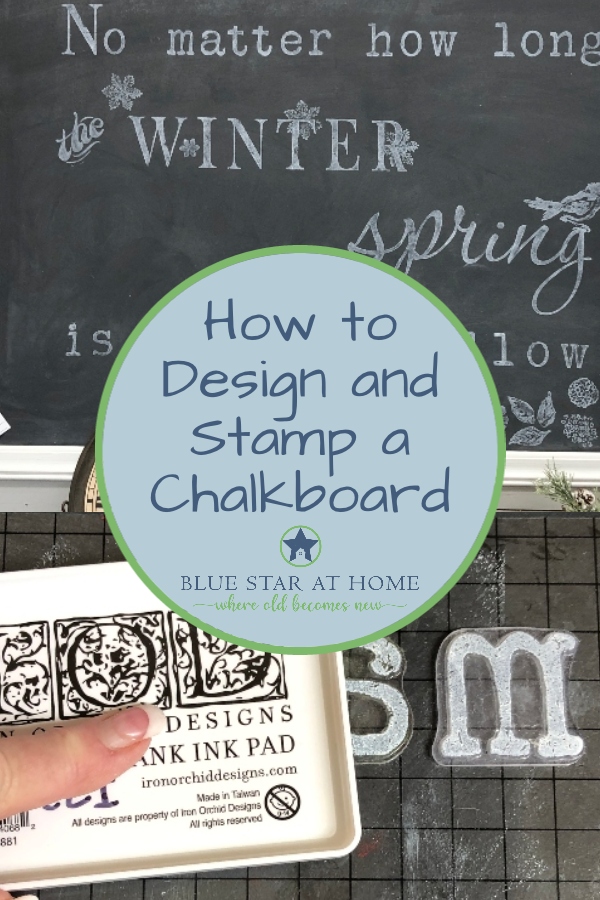
I think one of the greatest design pieces that has become popular over the past few years is the chalkboard. Previously assigned to classrooms, it’s now seen everywhere! But what makes the chalkboard special is the quote that’s put there for all to see! Today, let’s learn how to stamp a chalkboard using Iron Orchid Designs stamps and erasable ink.
Here are the supplies I rounded up for this project:
- Ash paint
- Typeset stamp
- Swoosh stamp (now retired)
- Block Type stamp (now retired)
- Erasable Chalk Ink
- Stamp pad
- Holly Jolly Stamp
- Birds Branches stamp
- yard stick
- painters tape
- 220 grit sand paper
- thin mount
- baby wipes
The first step is to prep the chalkboard. I’ll be using IOD’s Erasable Chalk Ink which erases from non-porous surfaces. Since many chalkboards are porous, I repaint them in Fusion’s Ash. It’s my go-to for a chalk board, is non-porous, cures waterproof, and is easier to apply than chalkboard paint from the hardware store.
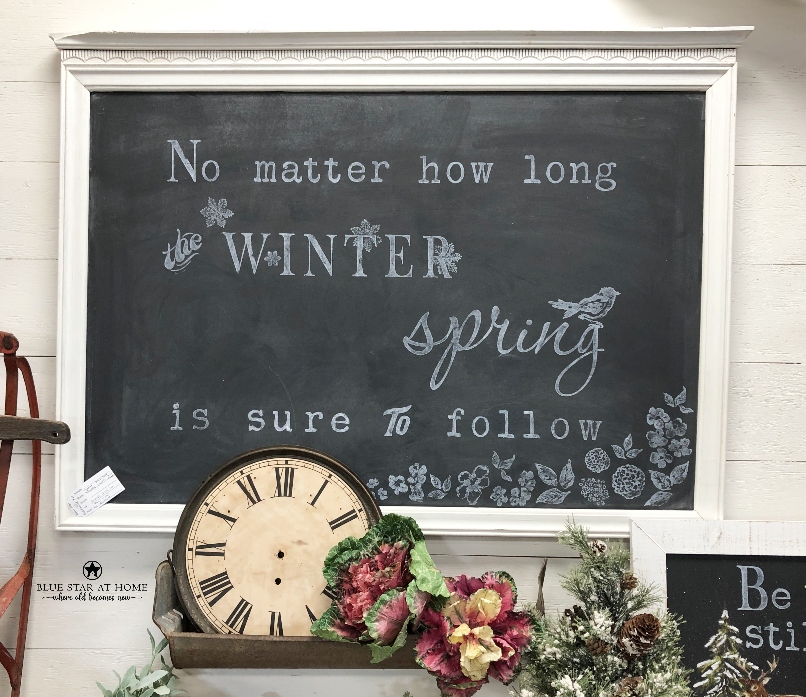
While that dries, let’s start designing the layout for the saying. I’ve decided to put “No matter how long the winter, spring is sure to follow.”
Not all words are created equal and that’s true for the words in my quote. I believe that WINTER and SPRING are the most important words in the quote so I’ll be using a larger font for them. I call these my tier 1 words. My tier 2 words will be most of what’s left, except my tier 3 words will be the small connector words like THE and TO.
I’ve decided to use Typeset for the tier 2 words and all caps for WINTER. Swoosh will be perfect for SPRING and Block Type is full of great connectors to take your sign stamping to the next level.
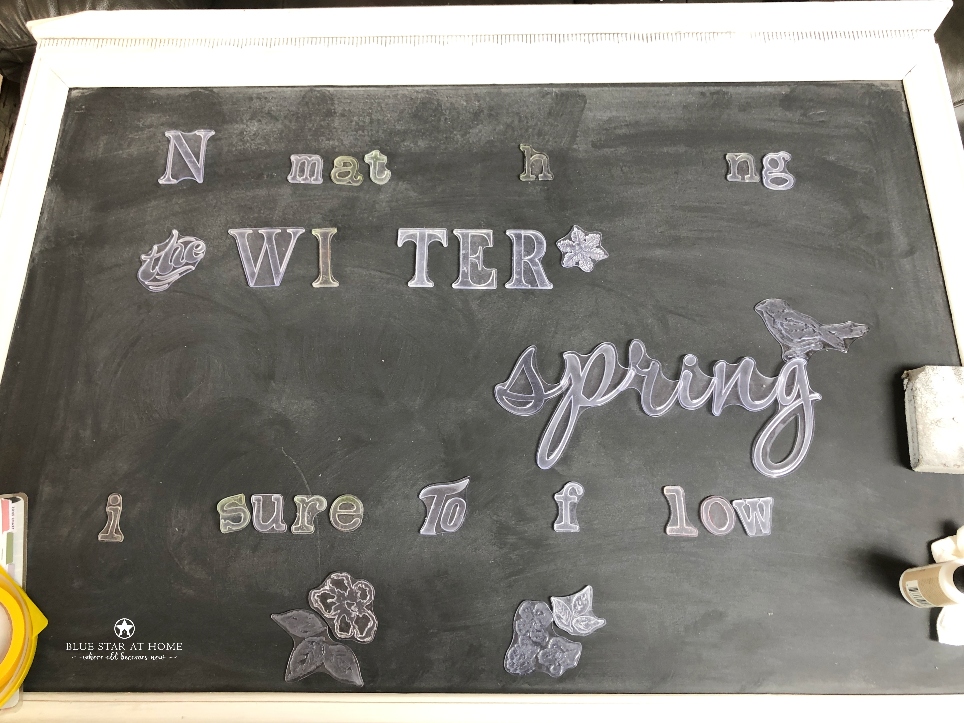
Now that I’ve got a game plan, it’s time to figure out a layout. I just lay out the words until I find a layout that looks right.
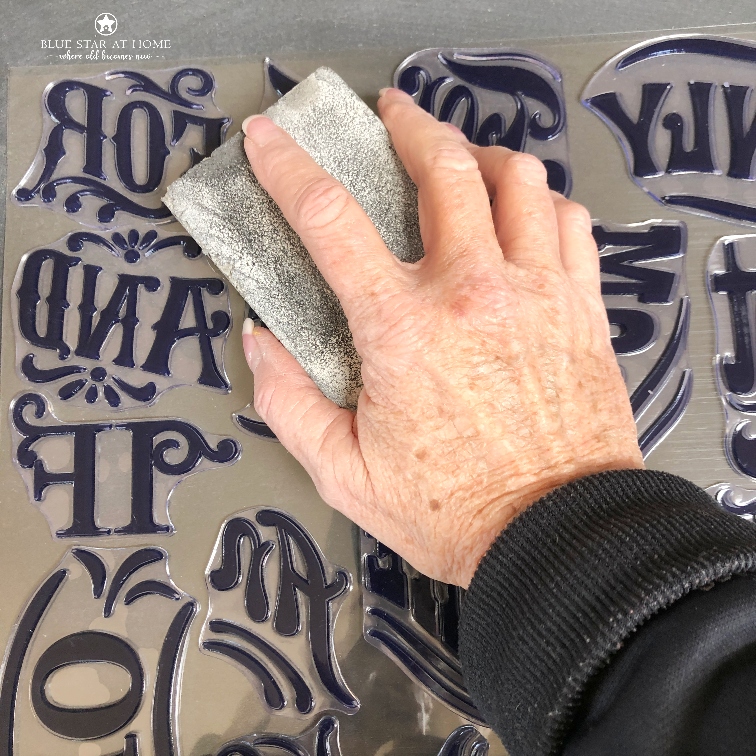
Just as we’ve prepped the the chalkboard, it’s important to prep the stamps. They’re made of silicone and can be quite slick. To help our ink grab onto the stamp, give it a scuff sand with 220 grit paper. I find it easiest to drag the paper toward me and rotate the stamp to get all four directions.
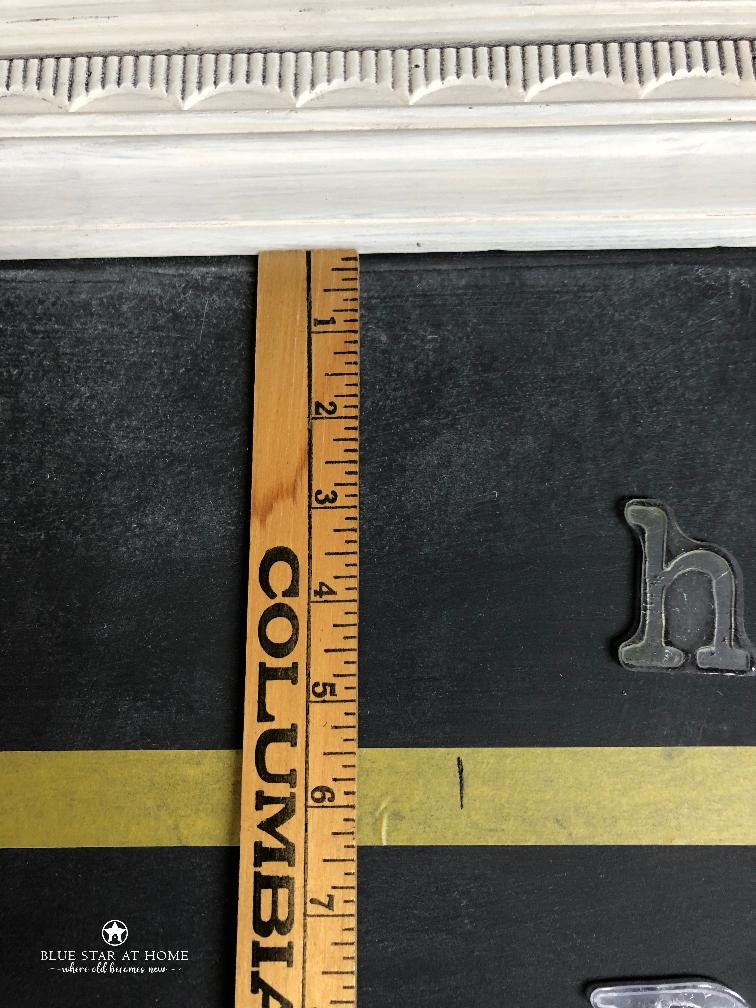
I find that one of the best ways to keep my words aligned is to put down a strip of painter’s tape. Measuring from the top of the chalkboard allows me to keep the tape level.
Now it’s time to line up the letters. I use the grid on the thin mount to help evenly space out my words.
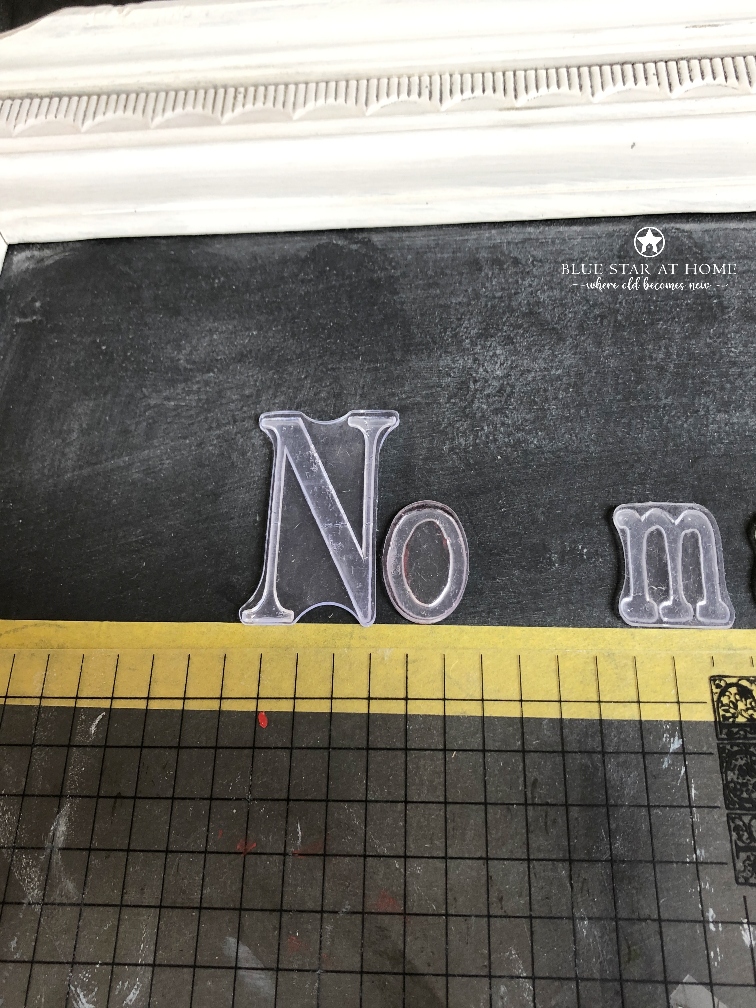
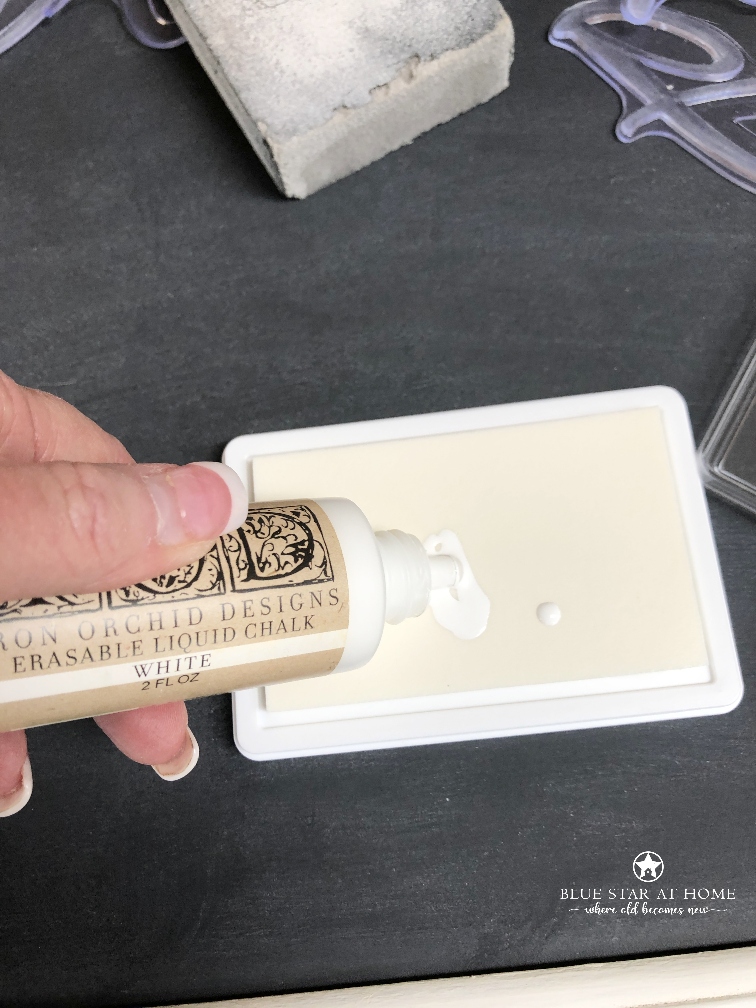
Now that I’ve figured out the placement for my words on the first line, it’s time to prep my stamp pad. I’ll squirt out rows of ink onto a blank stamp pad, I typically go horizontally and vertically and maybe a few swirls, making sure I’ve evenly distributed and not too soggy.
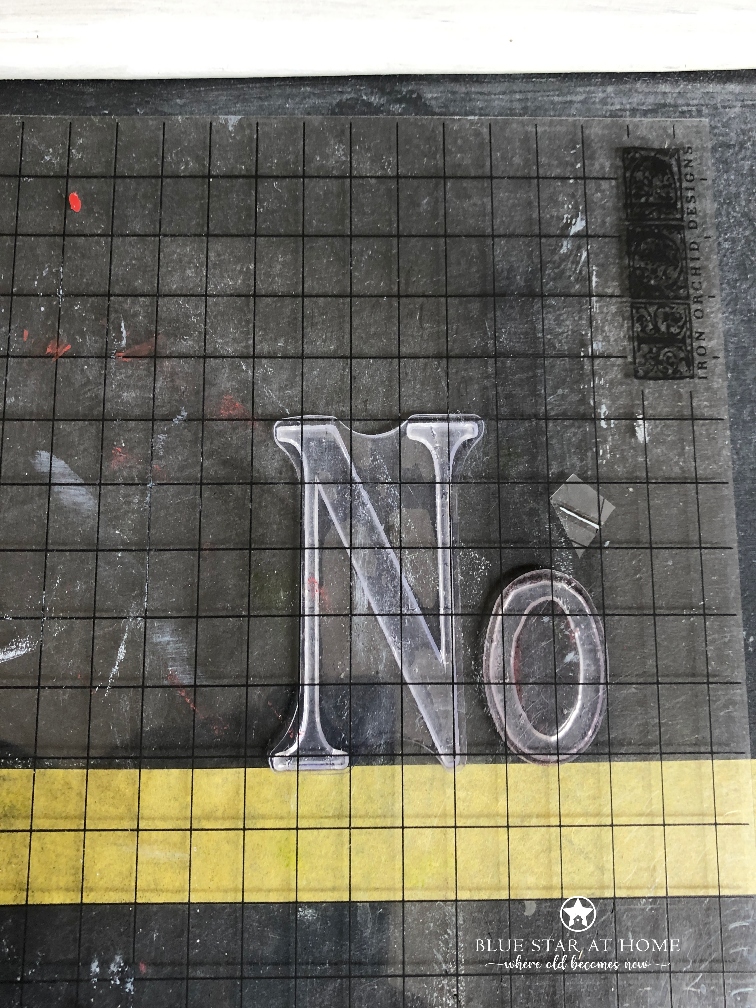
Now the fun begins! I lay my thin mount over the first word, using the grid lines to ensure I return the stamps to the right place. The letters stick to the thin mount. Flip the thin mount over and tap the stamp pad onto the letters. I’m looking to ensure that they are evenly inked but not too juicy. Often I will end up with in on the thin mount, too. It’s important to wipe the stray ink off so it doesn’t end up on the chalkboard.
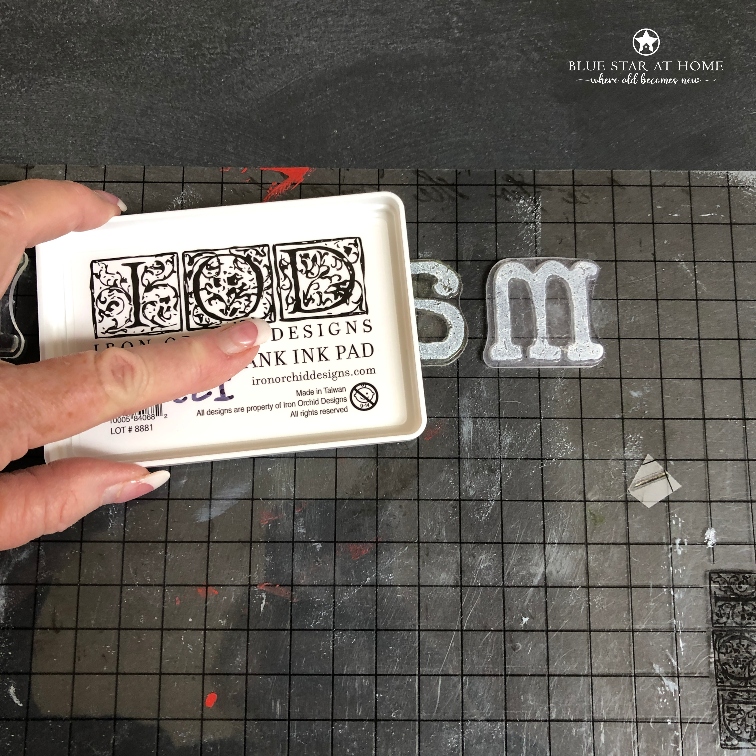
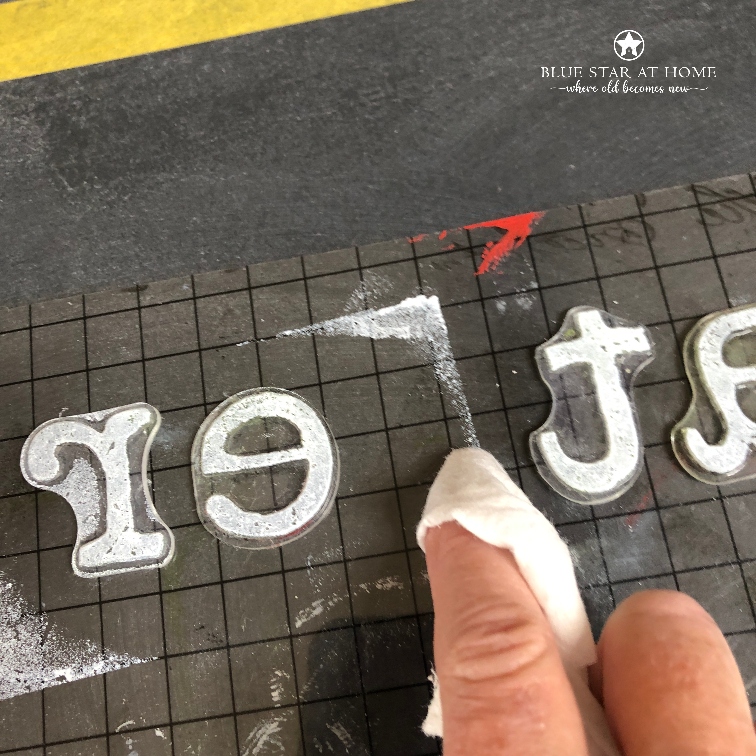
With the stamp inked up and cleaned up, return it in position and gently press, holding the stamp in place with one hand while pressing with the other. I’m careful not to use too much pressure or the stamp with squish down and blur the image.
Now it’s a matter of repeating the steps for each word in the line, using the thin mount to keep my spacing.
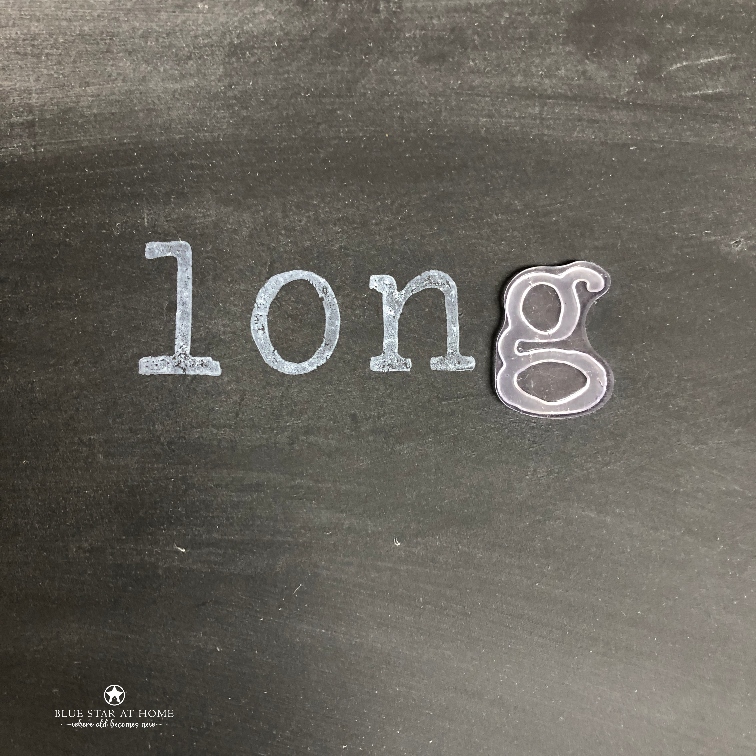
When I have a letter with a descender like the “g,” I stamp the rest of the word, remove the tape, and then add the “g” to the word. I clean my stamps as I go by wiping down with a baby wipe. A good soapy bath is a great way to clean them, too!
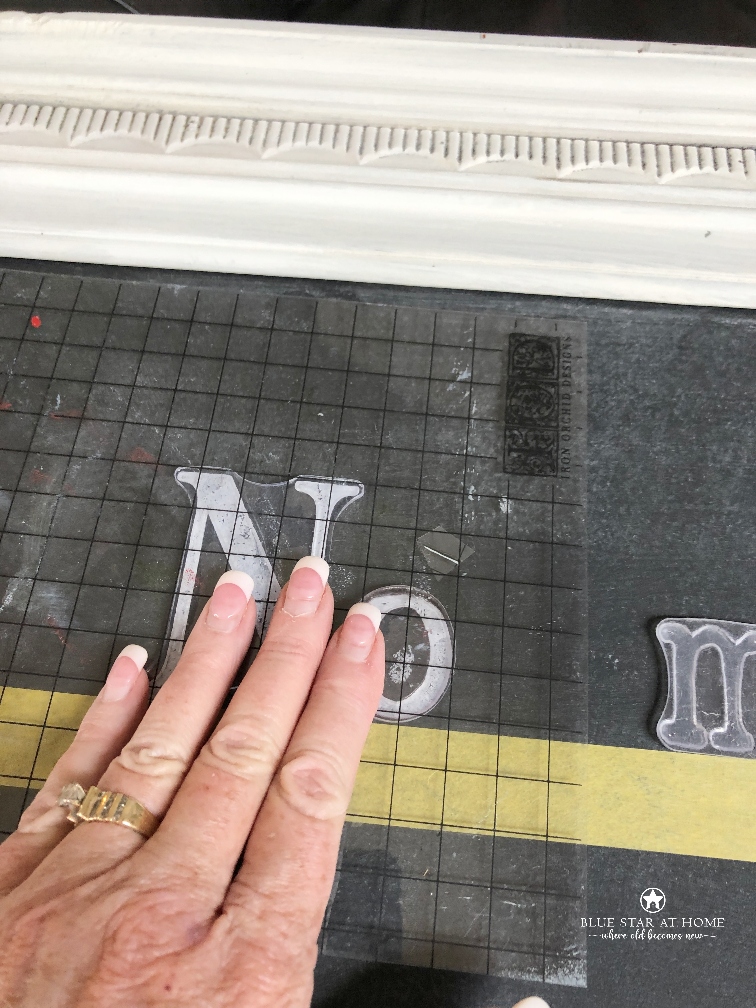
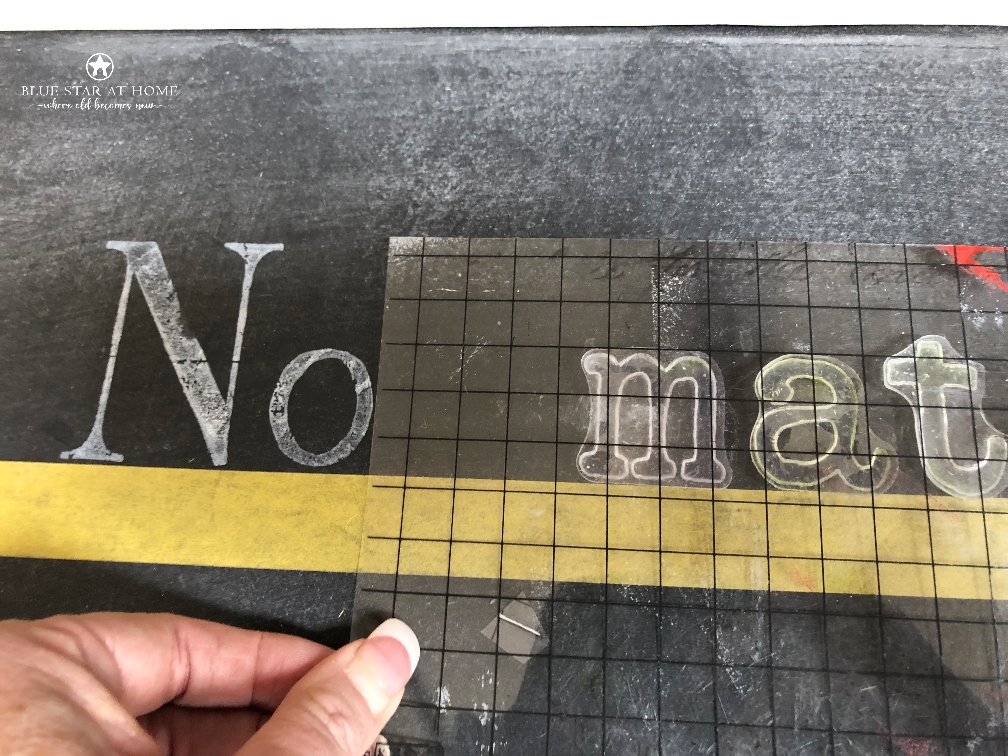
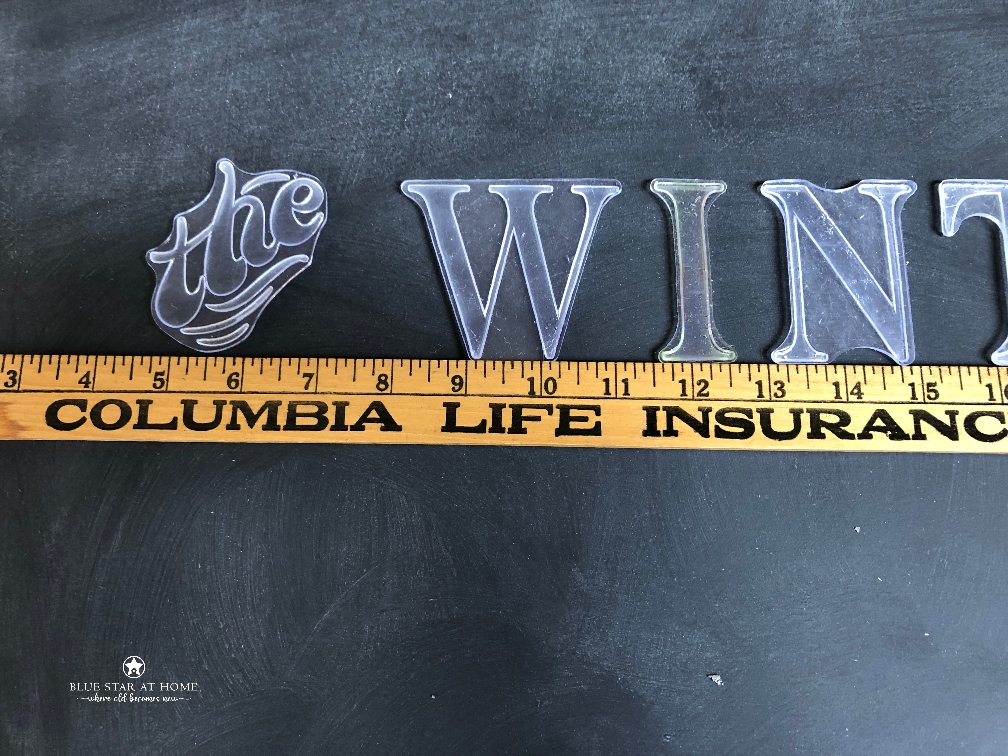
The top line has been stamped. Now I move to the second line. A yardstick is another great option to keep a straight line for your words. You have to use more care to keep it in place, but the measurements make spacing letter placement easy.
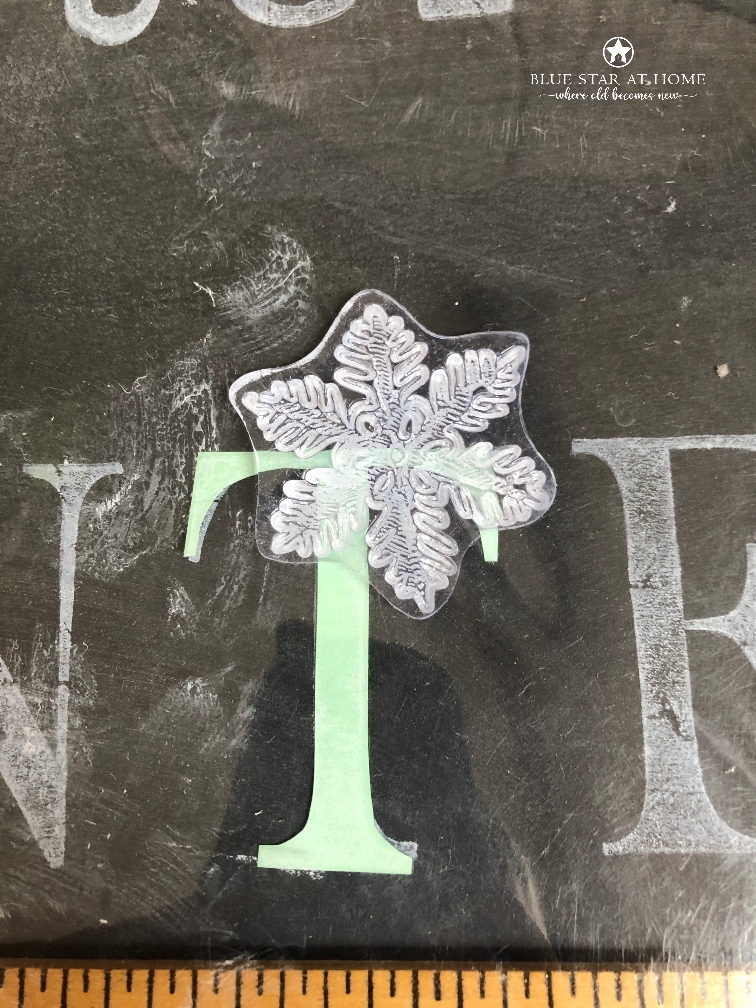
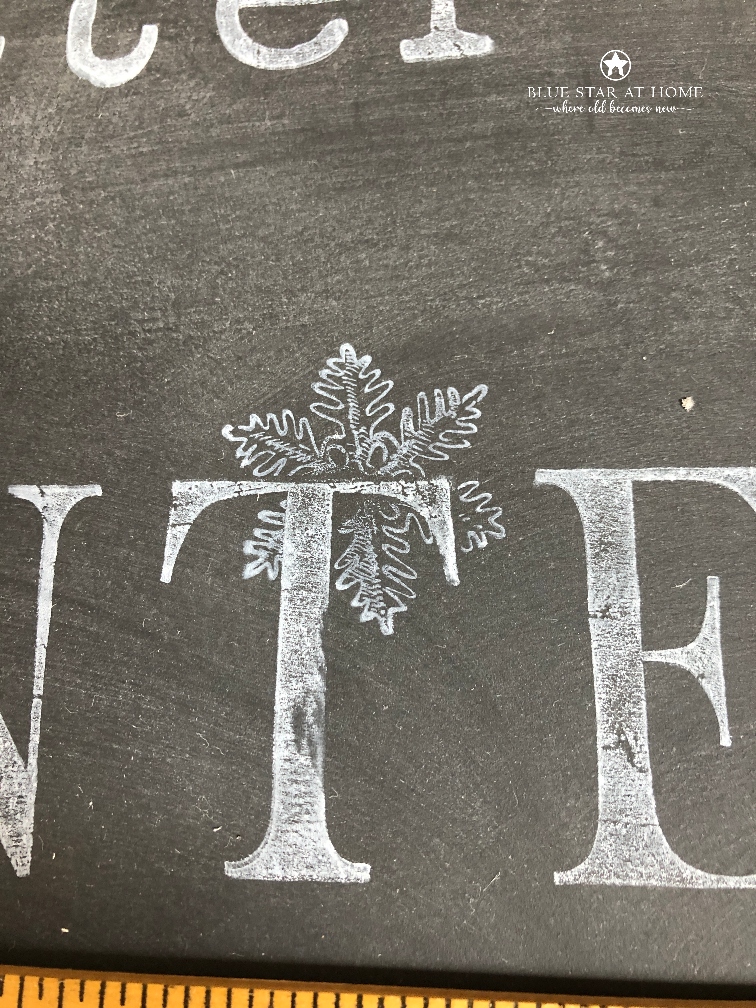
I’ve stamped the word WINTER and I want to add a few snowflakes around the word. There’s a cool technique called masking that allows you to stamp one design over another without the two stamps overlapping. The new IOD stamps come with clear plastic masks inside the package. I needed one for the letter T from my Typeset stamp that did not include the free masks. So I stamped a T on paper and cut it out. Simply lay the mask over the T and then stamp the snowflake over the mask. This results in a snowflake that appears to be behind the T.
When using a mask, always stamp the design that goes in front first, mask it, and then stamp the design that goes behind over the mask.
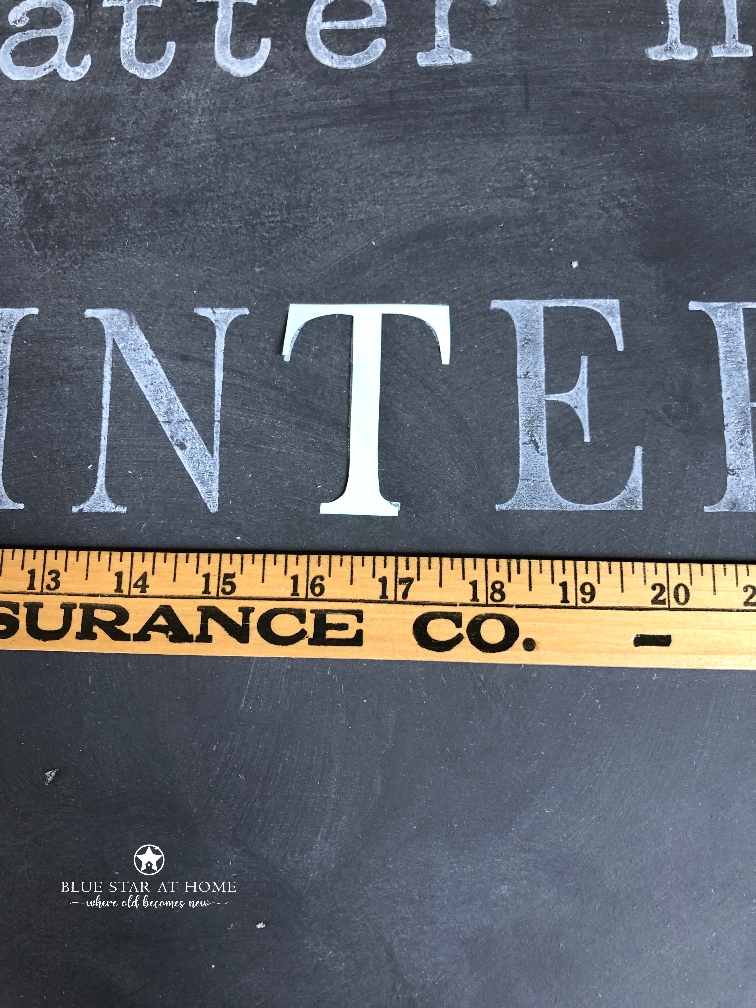
The next row includes the word SPRING. I’m using the Swoosh stamp for this word. It has a great hand lettered look to it. The secret to using this stamp is to stamp one letter at a time so you can connect each letter into a fluid word.
After stamping the last line of the quote, use flowers and leaves from the Birds Branches stamp to build a floral garden. Such a great nod to the coming spring!

This is great! You should DEFINITELY share this in the IOD Chalkboard group. 🙂