
If you’ve been around just a little bit you’ve seen the GORGEOUS Iron Orchid Designs transfers. Those IOD sisters have some talent! So it blew my mind when they came out with transfers that you can use as is for a one color look or hand paint to create a custom design. I just had to play with these. Today I’m going to show you how to paint an IOD transfer with ease!
I chose to use two of the images from the Classic Bouquets transfer set. It comes with four images, each 12″ x 16″. Here’s what else I gathered up for the project:
- 2 -11″ x 14″ art canvases (I bought mine at Hobby Lobby)
- Fusion Mineral Paint in Casement (but you could use the color of your choice)
- Paintbrush
- Tough Coat
- Sponge brush or shop towel
- artist brushes
- Bayberry, Brook, Cranberry, English Rose, Buttermilk Cream, Prairie Sunset, Champness, and Little Whale testers
- Pale Gold and Champagne Gold metallic testers
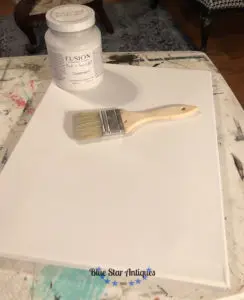
First, give your canvas a coat or two of paint. Since the canvas was white and my paint was white, I only did one coat. Let it dry.
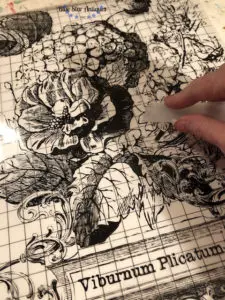
Next, decide what transfers or parts of transfers you want to use. Cut them apart and position on the canvas. You can remove the protective backing at this point. The transfers come with a plastic stick that can be used to rub the transfer into place. Rub and slightly lift a corner of the plastic cover to ensure adhesion. If you miss a spot, lay the plastic back down and rub some more. TIP: Put a book behind your canvas to give you something firm to rub against.
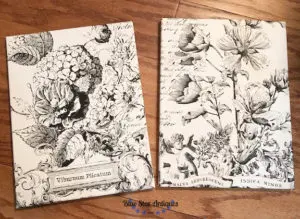
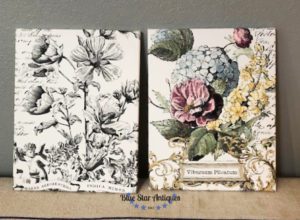
Once the transfer is in place you can remove the plastic cover and gently rub your fingers over the surface to ensure loose edges are stuck down. Here’s what mine looked like after applying the transfers.
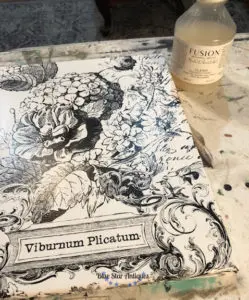
I decided to keep one as is and hand paint the other so you could see the difference. I used a shop towel and a small amount of Tough Coat and wiped a thin coat over both transfers. This seals the transfer and the great thing about Tough Coat is that it won’t yellow so it’s perfect over my white boards. I let it dry.
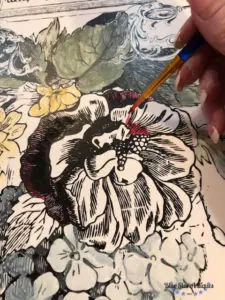
Now the fun began! I selected colors for my color palate, grabbed my artist brushes, a cup of water and a paper towel, and sat down to paint! I didn’t want my paint too runny so I didn’t water it down. Instead, I wet my brush and tapped on the paper towel if it was too wet. If the paint went on too dry, I wet my brush and just blended a bit. It was easy and worked really well! I used some metallic paints to add a little bling, too! Once the image was painted, I chose not to seal since Fusion Mineral Paint is self sealing and I had already sealed the transfer.
And that’s it!! What I love about the IOD transfers is they make YOU look good, even if you don’t have a clue what you’re doing! IOD has 7 or 8 transfers that were designed to leave or paint. You can see all of them here. You can use these exact steps to apply a transfer and paint it on a piece of furniture,too. That’s going to be my next project! What would you do with a painted transfer?

I cannot wait to try this
I can’t wait to see what you do with it!
I love what you did with rhat.
Thank you so much!
I absolutely love that transfer and the one you painted turned out brilliantly ???? ????
Thank you so much! They’re so fun!
love this waiting for classes
Thanks! I need to see when people would be ready to assemble together again!
Can you paint it after transferring the image onto wood furniture?
Yes! You have to transfer first so the carrier page is out of the way!
I wonder if a person could do this on a window??
You sure could!
Would this work on an antiqued mirror? And would I paint before I put it on the mirror or after?
It would work! Trasfers adhere very easily to glass and mirror. You would need to transfer first and then paint.