I love it when I have time to work on small craft projects. It’s fun and quickly satisfying. I saw these adorable Halloween pictures on Facebook and decided I wanted to make a few.
So here’s what you’ll need if you want to try these yourself:
- Holiday napkins (I used beverage size)
- Square pieces of pine, cut slightly larger than the napkins. Mine was 5 1/2″ x 5 1/2″
- Fusion Mineral Paint in Casement, Tuscan Orange, and Coal Black Testers are the perfect size for a project like this
- Paint Brush
- Fusion’s Decoupage and Transfer Gel
- Spray Lacquer
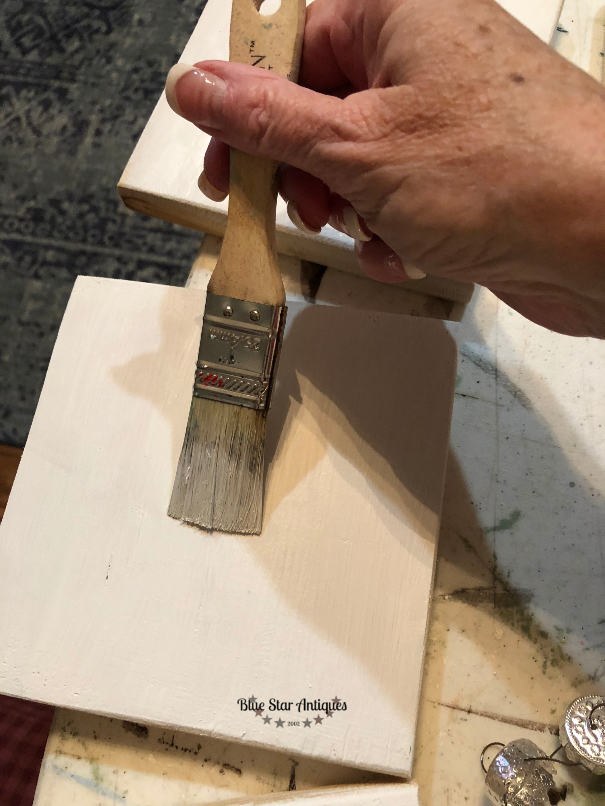
Step 1: Paint the front and back of the wooden squares white. You will want a white background for your napkins so that it best shows the colors and design.
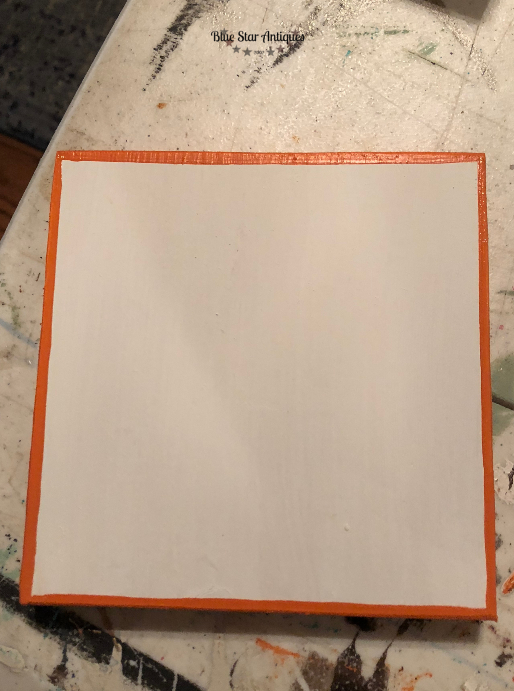
Step 2: Paint the edges and front border in a color that coordinates with your design. I used Tuscan Orange and Coal Black.
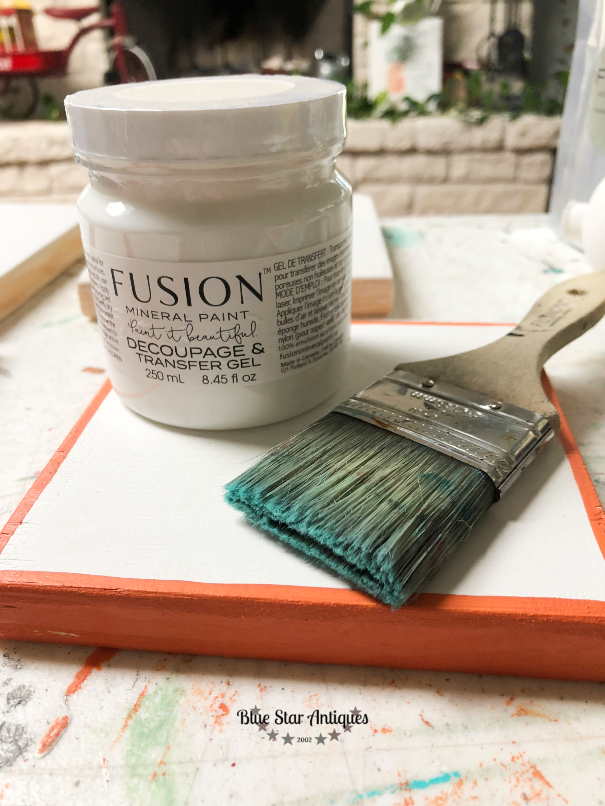
Step 3: Paint on two thin coats of Decoupage and Transfer Gel. I allowed a couple of hours dry time in between coats. The gel is water-based so the brush washes out easily.
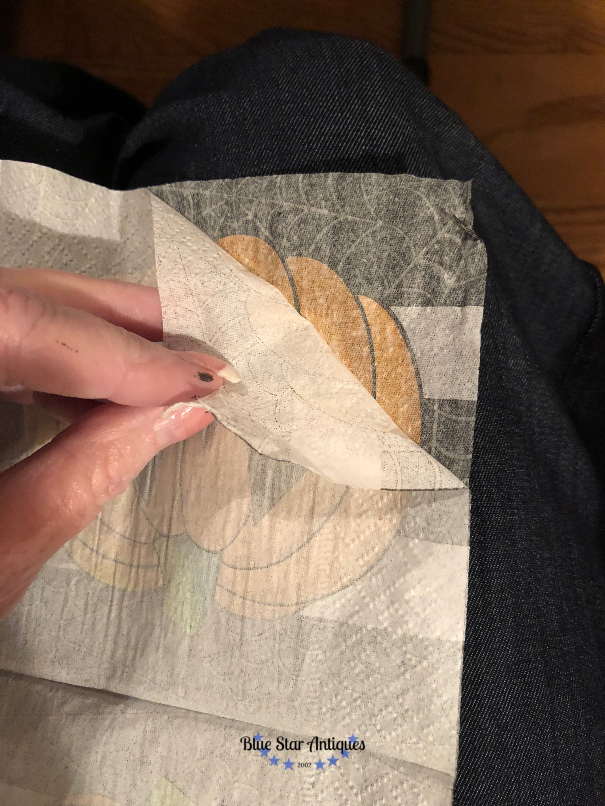
Step 4: Napkins have multiple plys of paper that provide the thickness of the napkin. If you look you’ll see that the front of the napkin has a design but the back is typically white. You will need to peel away the extra layers of paper and only use the top layer that has the design. Some napkins are two ply and some are three. The package label should tell you how many plys your napkins have. My napkins had a copyright notice on one side so I used that side to tear off a small piece of the corner. This makes it easier to find and separate the ply. Then I cut the design out into a square.
Step 5: Now the fun begins! When the Transfer Gel is DRY, put the napkin in place over the gel. Heat your iron to medium-high heat and use parchment paper to protect the napkin while you iron it onto the wooden block. The heat melts the Transfer Gel and causes the napkin to adhere without bubbles or wrinkles. Let’s face it, that’s what we don’t like about decoupage! That’s why I LOVE this method!
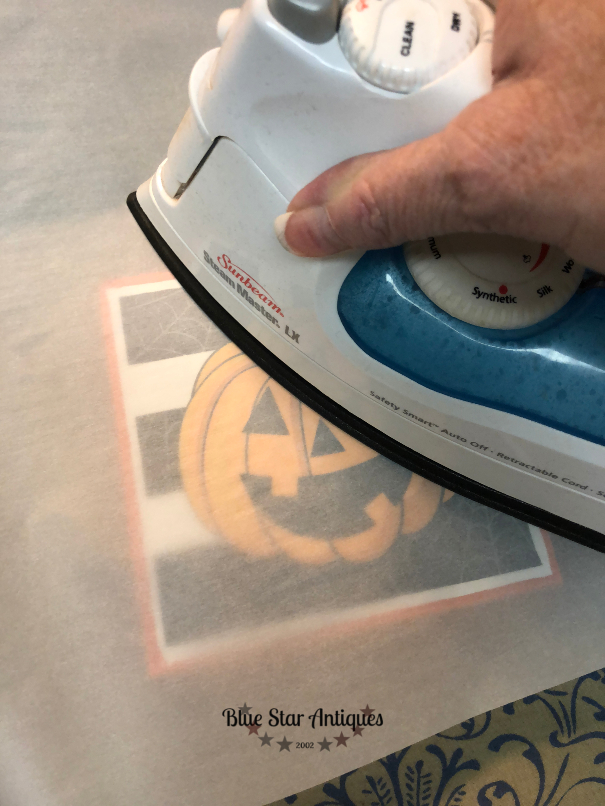
Step 6: Finish and seal the napkin by spraying with lacquer. You won’t want to use a water-based poly or finish as it will cause the napkin to bubble and wrinkle. And that’s it! How simple and what a great project!

I’m loving the way these turned out. I learned a couple of things along the way that I will do differently next time. First, I’ll paint a wider border on the wooden blocks. After I ironed the napkins on, I had to go back and paint a larger border around it. The other thing I will do differently is try using a paper cutter to cut the napkins. I found it challenging to get good straight cuts with scissors when I was cutting the single ply napkin. So that’s it! I’ve already got some more blocks cut and will start shopping for Christmas napkins soon. What about you? Will you try this fun project??
