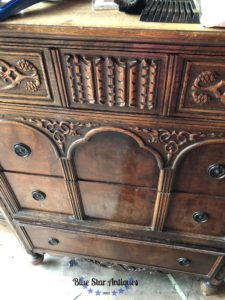
I don’t consider myself to be a lucky person, but blessed?? Yes! That’s how I felt the day my friend called and offered to GIVE me this chest! Oh, my heart went pitter patter! She was showing her age but they just don’t make them like this anymore!
I knew I wanted to show off the beautiful carving and make the beautiful wood pop! So I pulled together my supplies:
-
TSP
-
Scrubby
-
shop wipes
-
paint stripper
-
mineral spirits
-
Stain and Finishing Oil
-
applicator pad
-
Fusion Mineral Paint in Bedford
-
Staalmeester synthetic brush
-
Espresso wax
-
1 1/2″ brush
-
Hemp Oil
-
Ultra Grip
-
Rustoleum spray paint
So let’s go over the steps that I used to turn this tired chest into a raving beauty!
Step 1: Strip and stain the top
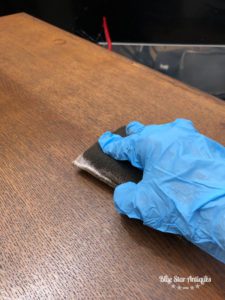
I always stain before I paint. If I splatter paint on my stain I can wash it off. If I splatter stain on fresh paint, I can’t! So we stripped the old finish off. It typically takes three coats. We’re currently using STRP Paint Stripper. We like it and it’s not as stinky as others we’ve used. After we get the old finish off we wipe it down with mineral spirits to ensure we’ve got all the stripper off. I wanted to try to match the color of the wood on the front of the chest so we used one coat of Golden Pine Stain and Finishing Oil. Once dried I realized it was lighter than I wanted so I followed with a coat of Cappuccino. That was a better match. I typically use a cheap chip brush to brush on the stain and then wipe it back with an applicator pad.
Step 2: Clean and Degrease
It is SO important to clean well before you paint! My cleaner of choice is Fusion’s TSP. It cleans and degreases AND doesn’t have to be rinsed off. Are there other good cleaners? Sure! Just be sure you rinse well! Residue left behind can interfere with paint adhesion. Fusion’s TSP is a concentrate. I put two cap fulls into a spray bottle and I’m ready to go. I spray, scrubby with a green scrubby, and wipe down. The finish was old and worn so I didn’t need to sand.
Step 3: Let’s Paint, Baby!
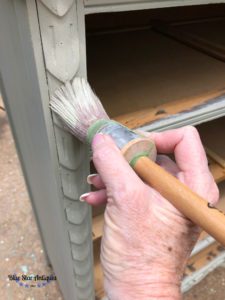
I chose Fusion’s Bedford for this piece. It’s a great neutral with green undertones. I thought it would pair nicely with the beautiful wood panels that I wanted to preserve. I use my favorite brush, the Staalmeester synthetic, and gave the body of the chest two coats of paint.
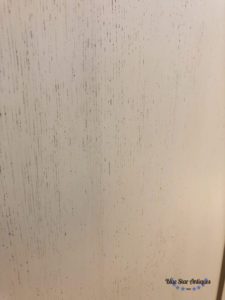
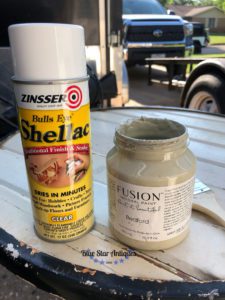
I noticed that I had bleed through on the side of the chest after the first coat. The body of the chest is oak and the finish on the side was particularly worn. Don’t panic if you see your paint stained with a pink or yellow tone. Just apply shellac over it to block it and continue painting. The only thing that blocks bleed through is shellac. Your best options are Zinsser BIN in the red can or Bullseye shellac. BIN is white. Shellac is clear. For this piece is sprayed on Bullseye shellac and painted my second coat over it once it dried.
Step 4: Wax the Details
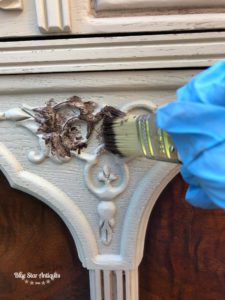
I decided I wanted to wax the details to show off the carving. Fusion’s Espresso Wax was my wax of choice for this piece. It’s a warm brown and a perfect paring for the Bedford paint. I used a small chip brush to apply the wax. I really love my Staalmeester wax brush but had left in my booth. The wax is SO easy to apply! I dab it on with a brush which allows me to get it into the carving and then wipe back with a soft cloth.
Step 5: Nourish the Wood
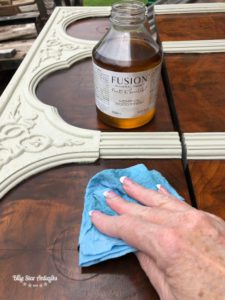
The drawers have BEAUTIFUL book match veneer. That means that it’s cut and applied in such a way that when placed the two pieces mirror each other. The wood was beautiful but worn. I wiped on one light coat of Hemp Oil and the change was amazing! You can see a video of that here.
Step 6: Paint the Hardware
This piece has beautiful hardware but the color just didn’t do the new look justice. I wiped on a thin coat of Ultra Grip to help the paint stick to the metal and sprayed the hardware with TSP, scrubbed, rinsed and allowed to dry. Then I gave it two light coats of Rustoleum’s Metallic Gold Paint. Ah, perfect!
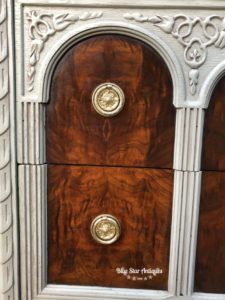
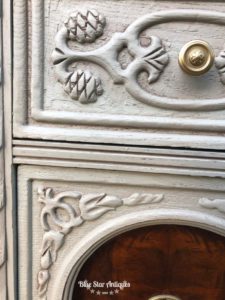
I think we’ve done her justice! Sure tempted to keep this one!
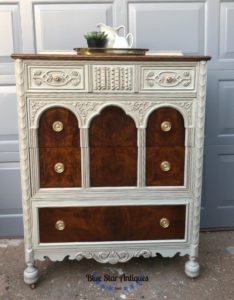
So that’s it! Six steps to a whole new look! Tell me what you think!

