The new IOD moulds came in last week! I was so excited I wanted to use resin in IOD moulds to cast some snowflakes and had a resin FAIL.
SERIOUSLY. I just wasn’t paying attention.
Why do I always make it harder than it has to be? Which made me think that maybe I needed to share how simple it is to cast with resin.
So, here we go. Five simple steps. Anyone can do this!
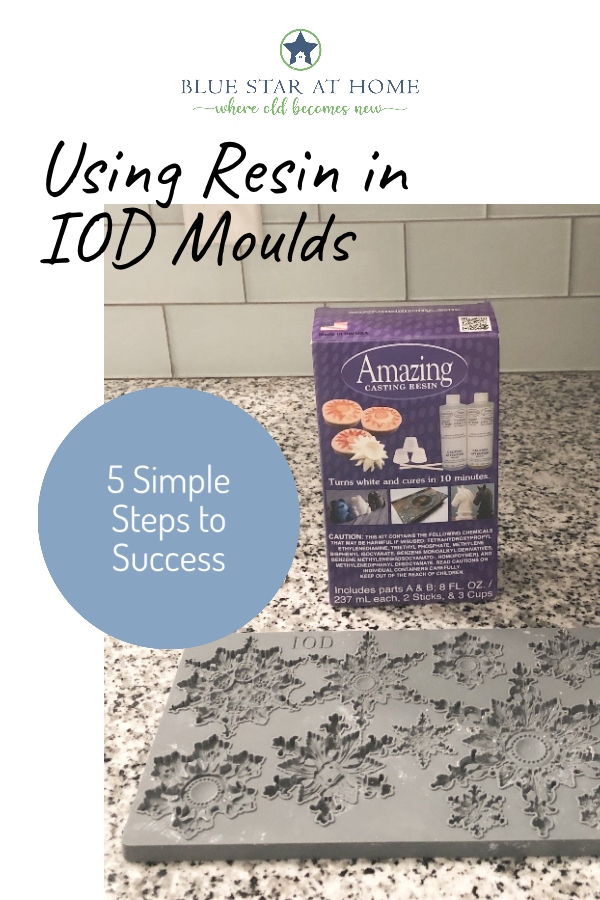
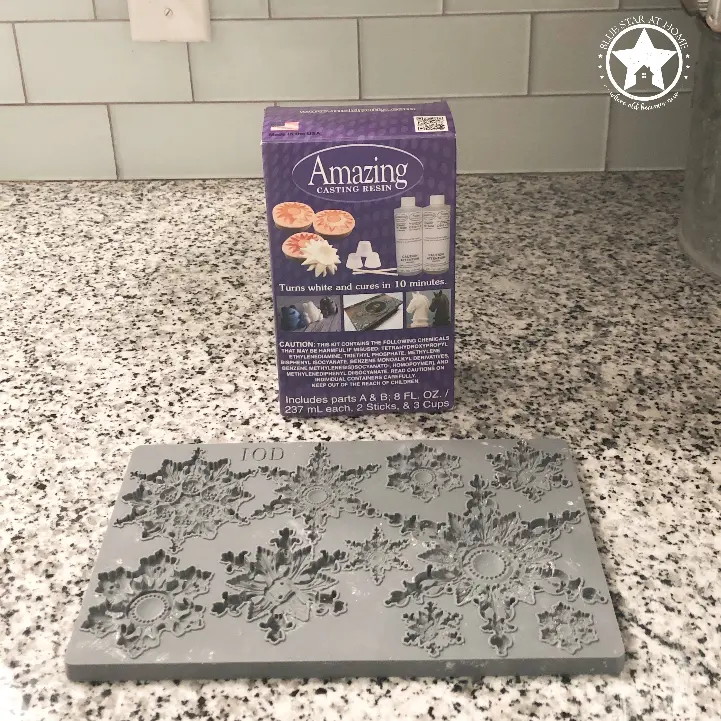
I like to use Amazing Cast Resin. It’s simple and gives great results in just a few minutes.
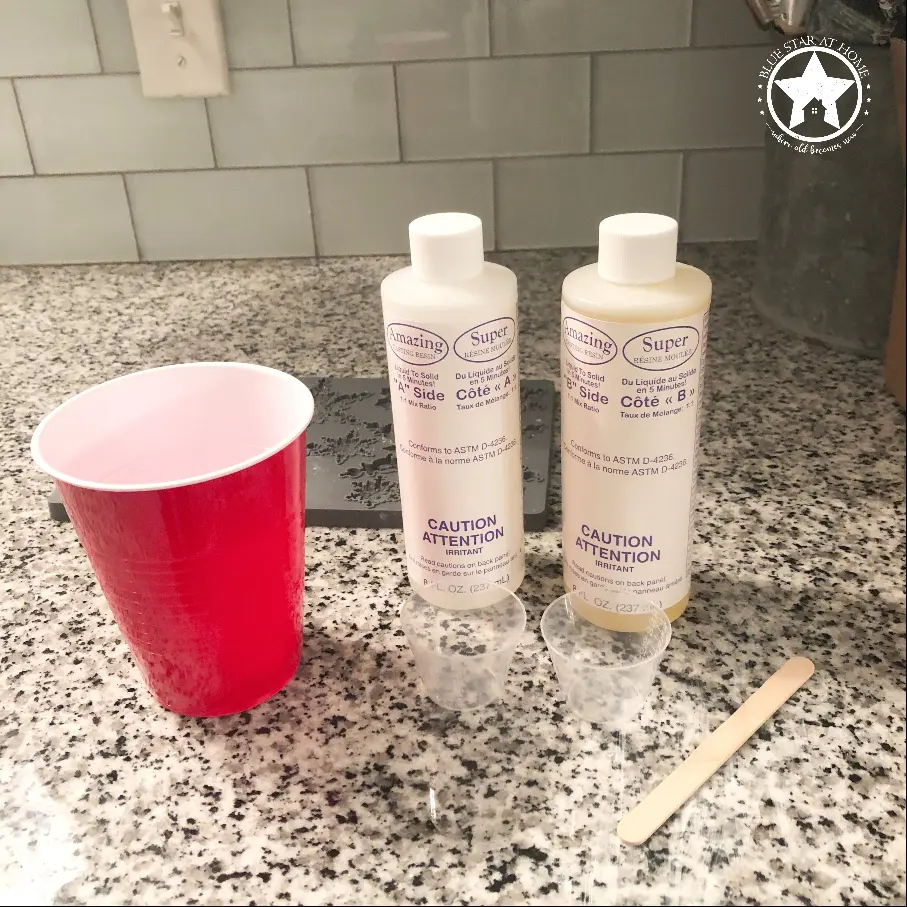
The resin comes with everything you need right in the box. There are two ingredients, measuring cups, and a stir stick. I use a plastic cup to mix my resin in. You don’t want to use a styrofoam cup. Trust me.
Step 1: Pour equal amounts of the two ingredients into measuring cups. Get as close to equal as you can. If your measurements are off, your resin may not dry!
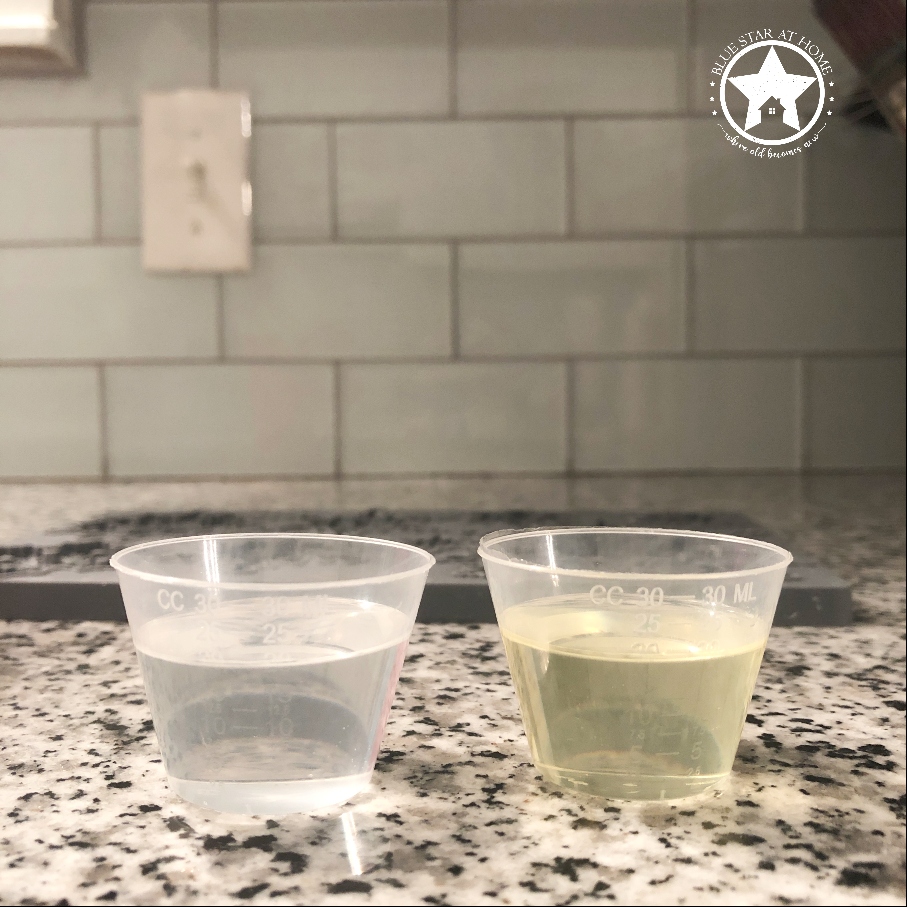
Step 2: Pour the ingredients into your plastic cup and stir well. One ingredient is yellow. The other is clear. You want to stir until they’re well mixed.
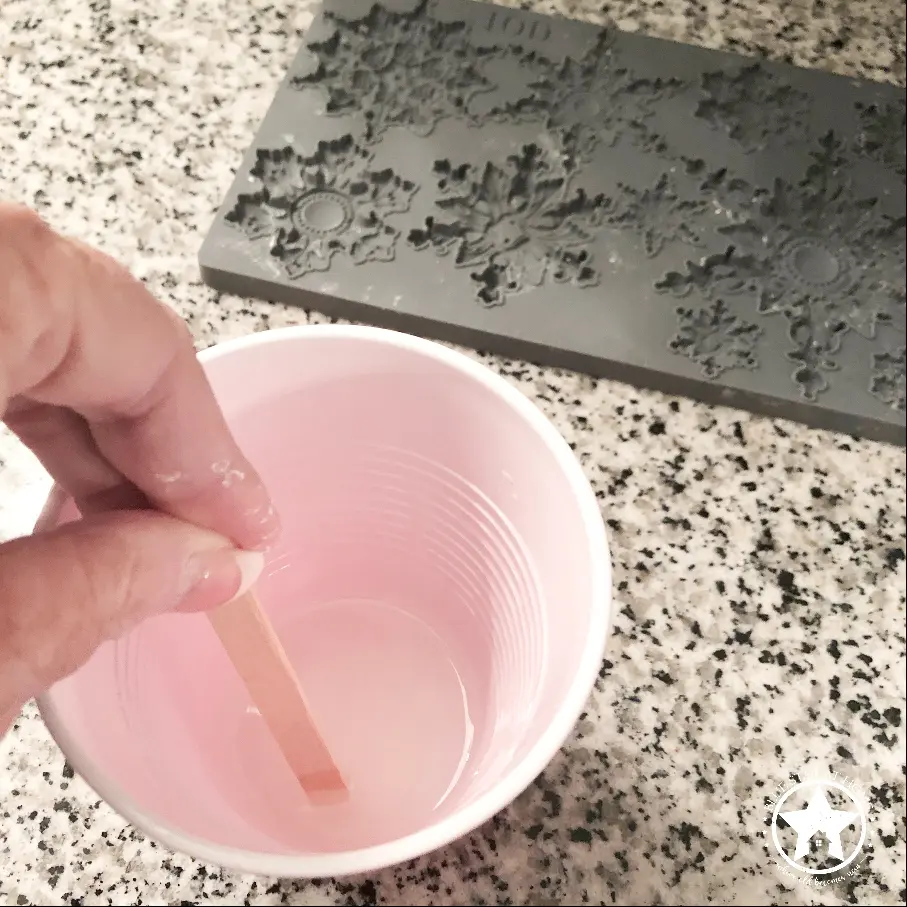
Step 3: Pour the resin mixture into your moulds. I try hard not to have them overflow but that’s not always the case. When the resin goes into the mould, it’s clear. As it begins to set up, it turns white.
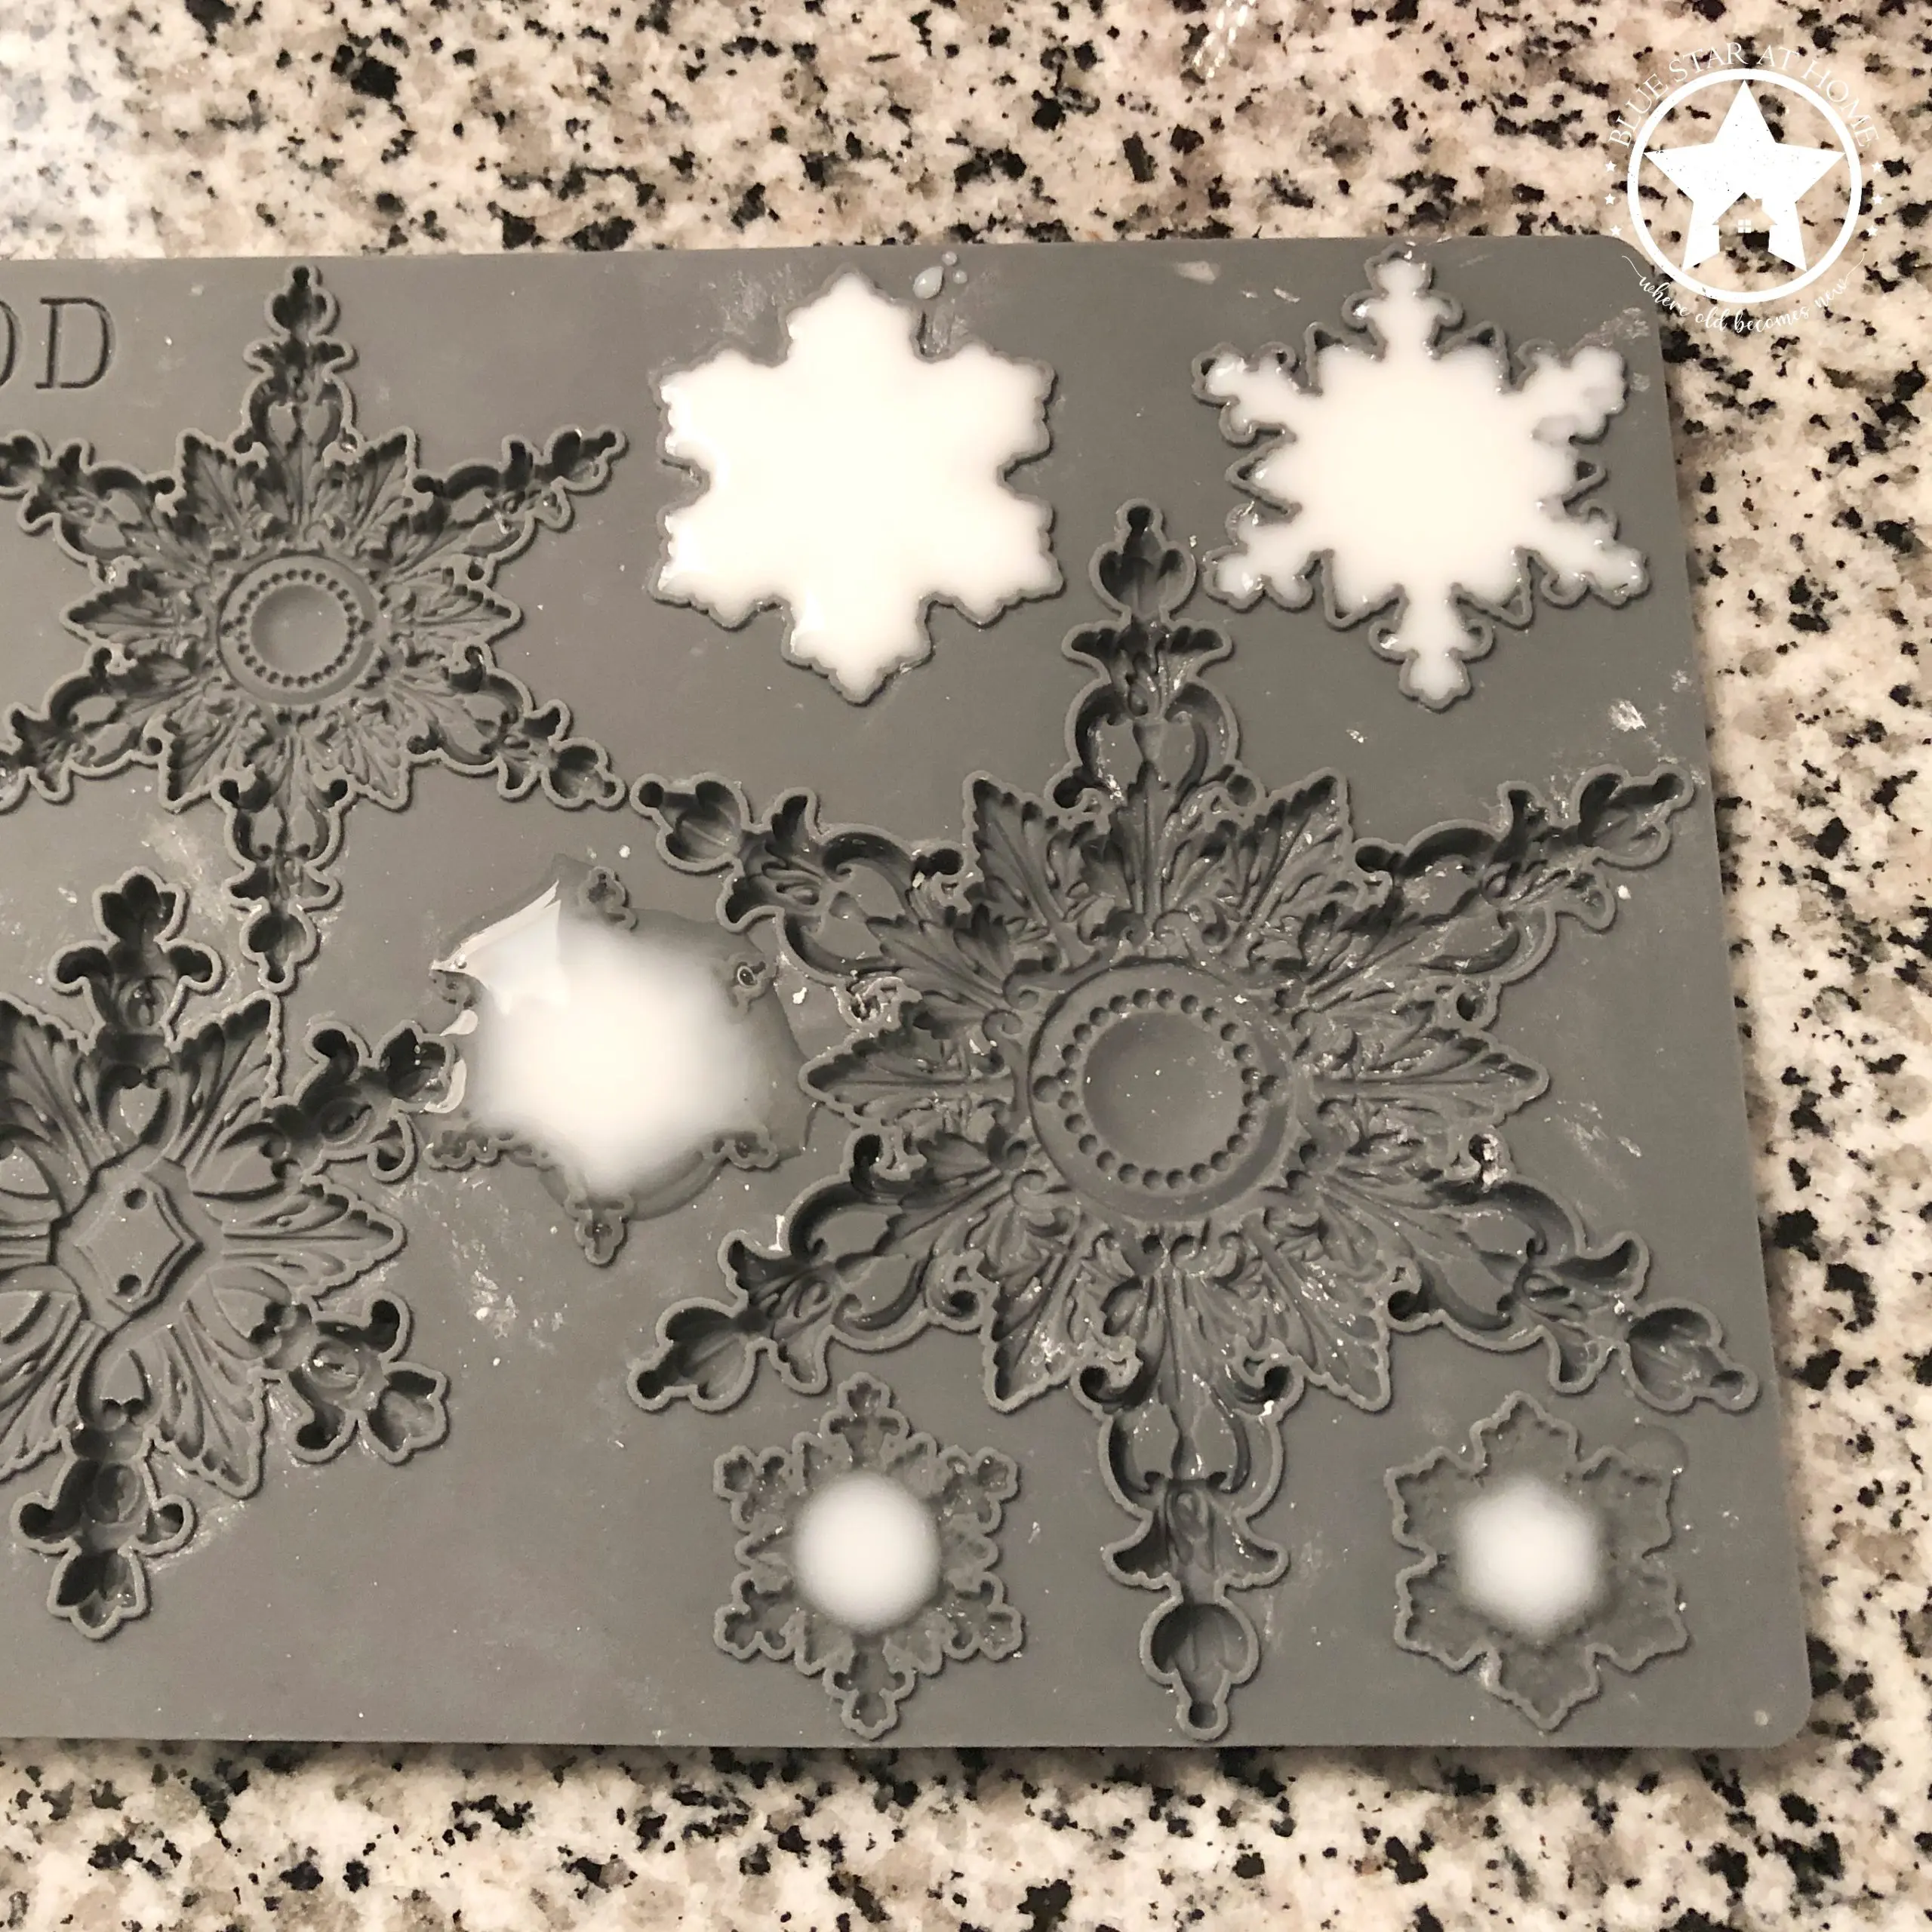
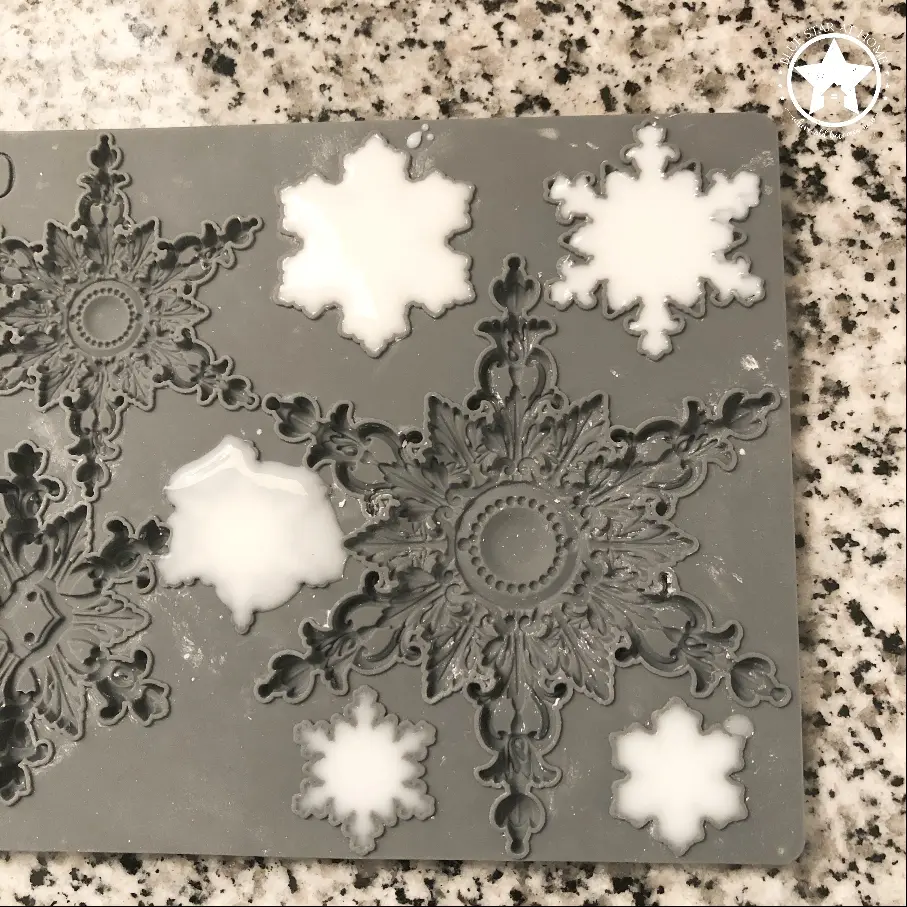
The resin works with a chemical reaction and gets hot as it sets up. Once the pieces are solid white you can remove them from the mould. They may still be warm!
If need be, you can trim the excess from the mould using small scissors or a razor blade knife.
One of the reasons I love using resin so much is that it captures the detail of the mould so well and won’t crack or shrink like air dry clay does.
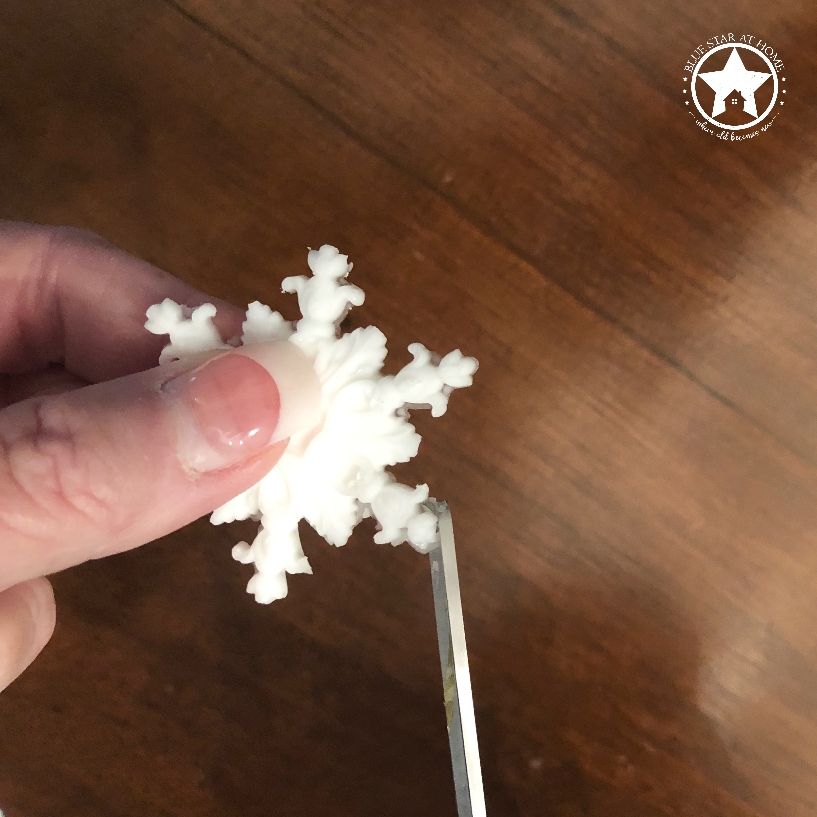
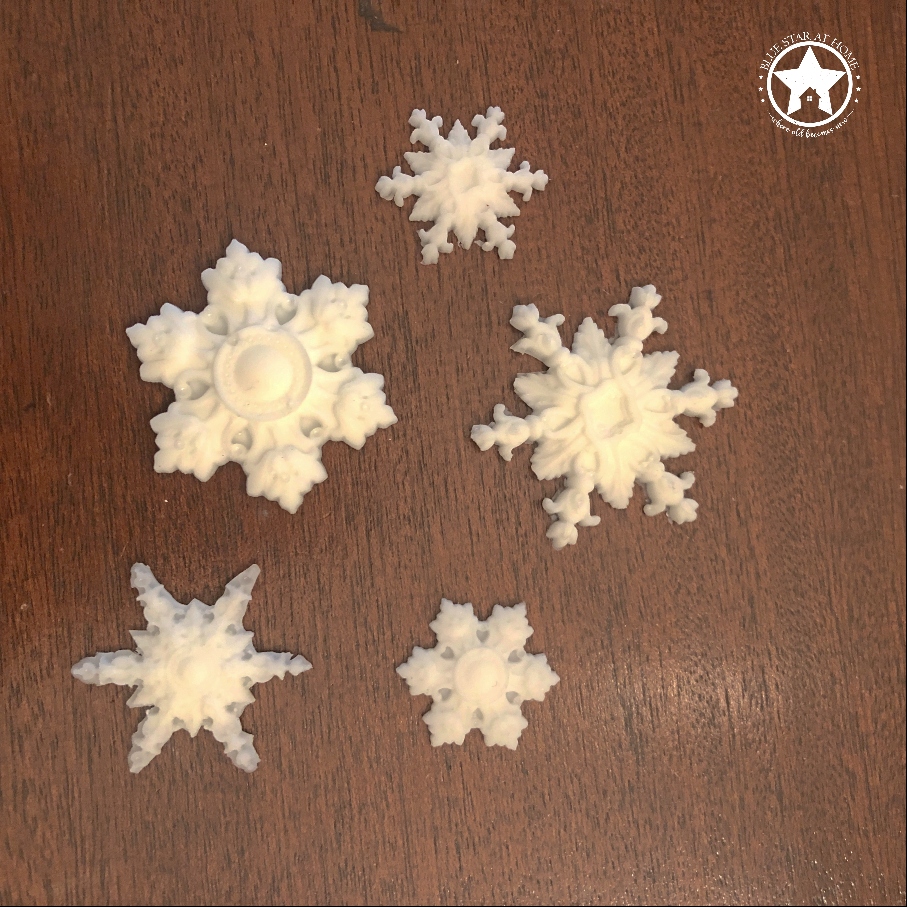
Aren’t they pretty!! So we’re ready for…
Step 4: Paint! It is easier to paint the castings before they’re glued onto the surface if they’re going to be a different color. Because the castings are flat, I prefer to paint first and then glue in place.
(When I’m using air dry clay and plan to glue them onto a curved surface, I glue first and then carefully paint with a small artist brush.)
I use Fusion Mineral Paint to paint my projects since it has a built in sealer and I don’t have to top coat. For this project I used our whitest white, Picket Fence.
For these snowflakes, I sprinkled some extra fine glitter on them while the paint was still wet. It makes them look like glistening snow!
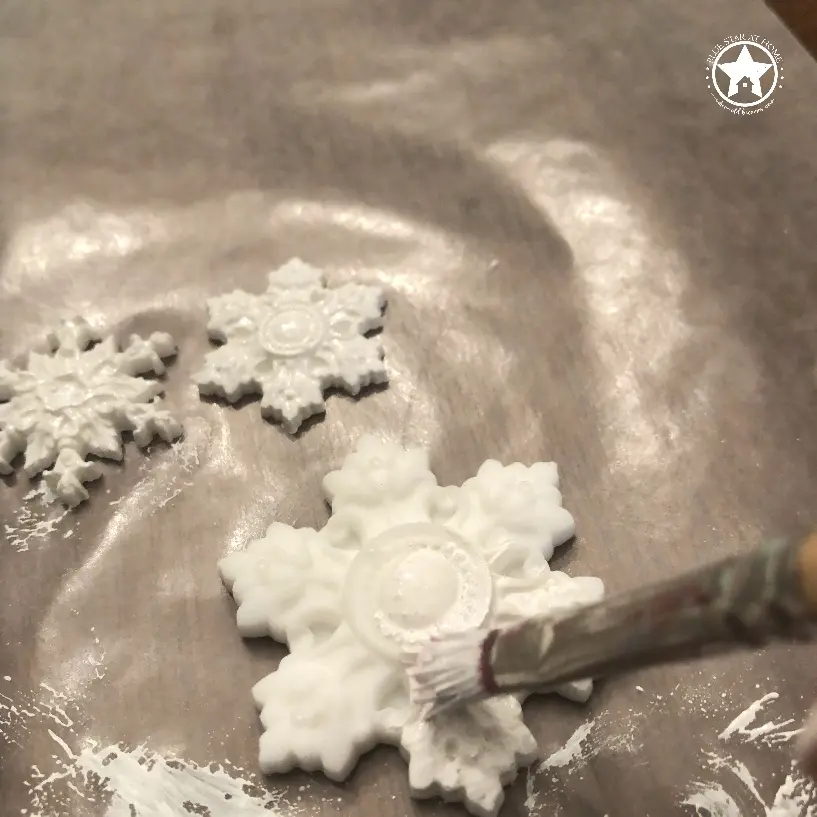
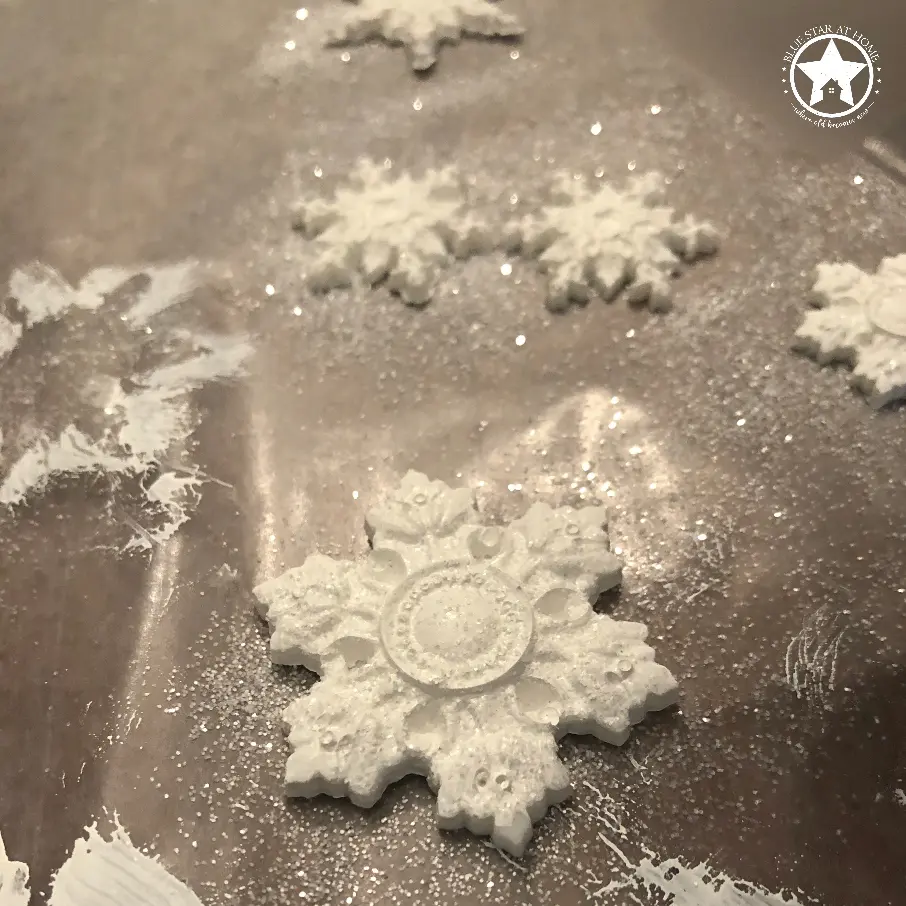
Step 5: Glue in place! Once the paint is dry these can be glued down. I like to use Tacky Glue but any glue should work. If your piece wants to slide around you can hold it in place with some painters tape.
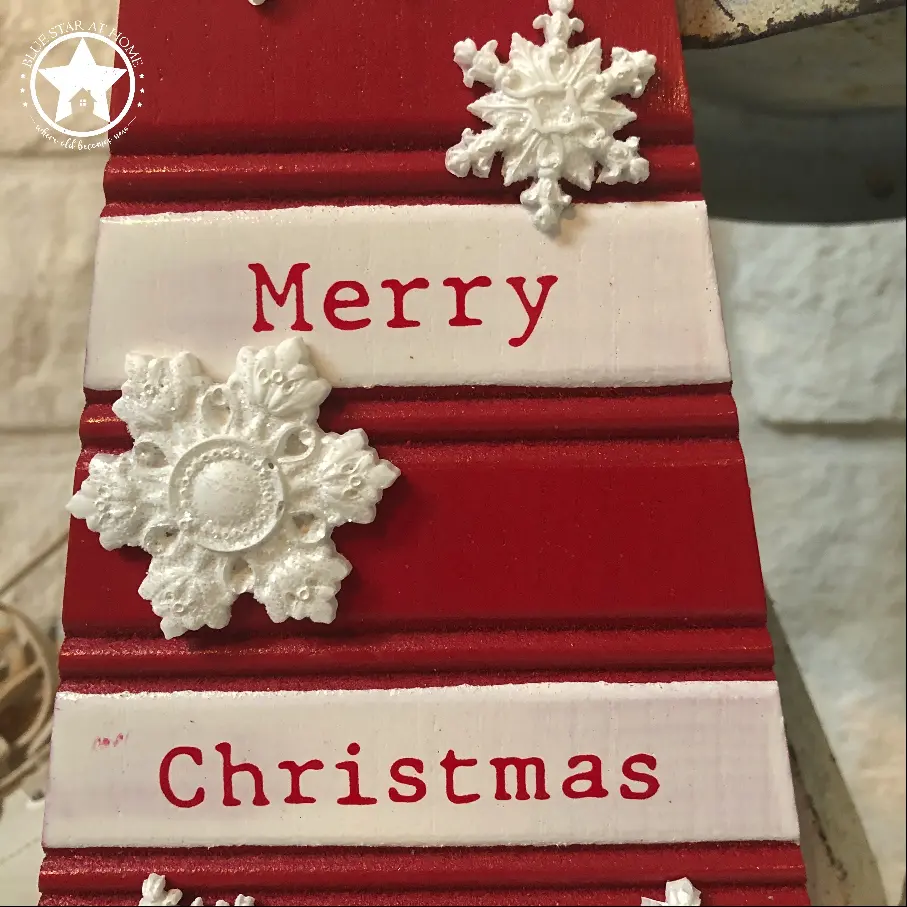
I found this tree at Hobby Lobby and knew it wanted to be adorned with snowflakes! I’m really happy with the way it turned out and hope it gives you confidence to try your hand at resin!
The resin is great in any of our Iron Orchid Designs moulds! You can see the entire line here!


The sf r are beautiful! I have used resin with jewelry making and have some leftover. Thanks for the tips.
Thank you!!!
Yes! The resin is so flexible in its application. Have fun!
About how many snowflakes can you make with on of these kits?
Gosh, great question. The package comes with 16 ounces of resin. Most of the snowflakes take less than one ounce. I’m thinking you could fill all the snowflakes in a mould 3-4 times at least. I’ve had my box for a year and just used that last bit to make 5 snowflakes. It lasts a long time.
Thanks for these instructions and tips, Cyndi! As always…straightforward and easy to understand. Haven’t tried mine yet, but soon!
I think you’ll find it amazingly easy and fun!