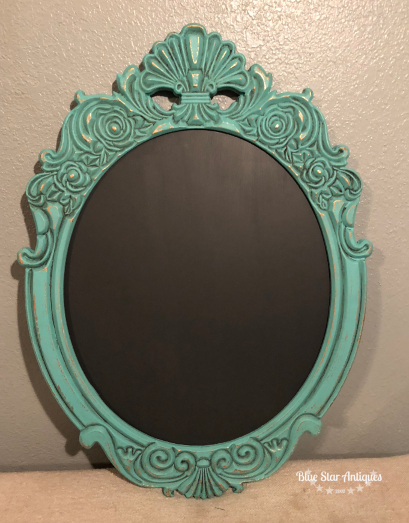
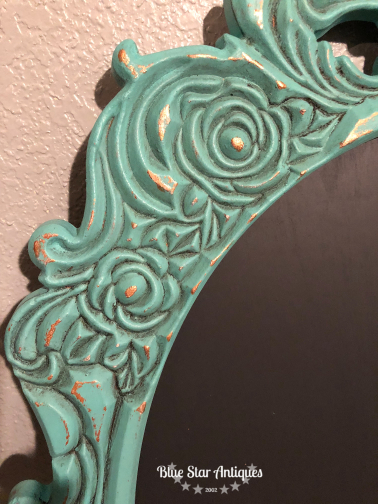
This is one of those projects that has evolved. I found these awesome frames on sale several months ago and grabbed a few. I loved the carving and the shape of them. So, I painted one. I gave it a coat of Copper metallic paint, then brushed over that with Azure and distressed to show the copper coming through. I also brushed some Aging Wax into the caved areas. I decided to make it into a chalkboard, so my husband cut me a board to fit and I painted it in Fusion’s Ash. Did you know that chalkboard paint isn’t the only paint you can use for a chalkboard? Fusion Mineral Paint is SO MUCH BETTER! I won’t go back! So, two coats of Ash and my chalkboard was ready to go.
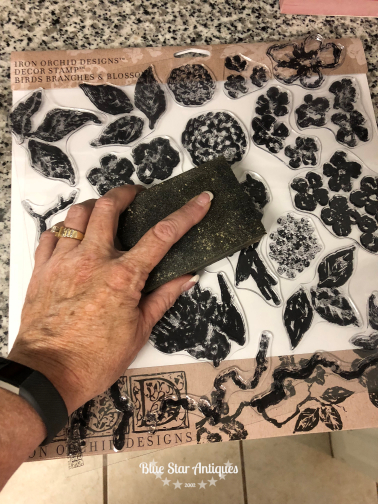
Then the chalkboard sat around for months. Honestly, I forgot about it. Then I got my new Iron Orchid Designs stamps and decided to dig out the chalkboard and try the stamps out! These stamps are awesome and come in 8 or 9 design sets. So I picked out one called Birds, Branches and Blossoms and decided to give it a try. The stamps are attached to a piece of plastic with the printed image and a clear plastic backing. Pull the plastic backing off and save it. The first step is to lightly sand the stamps so that paint and ink won’t slide off of them. I used a 220 grit block that was in my supply bucket. I found it’s easiest to pull the sandpaper across the stamps in one direction and then rotate the stamps 90 degrees and repeat.
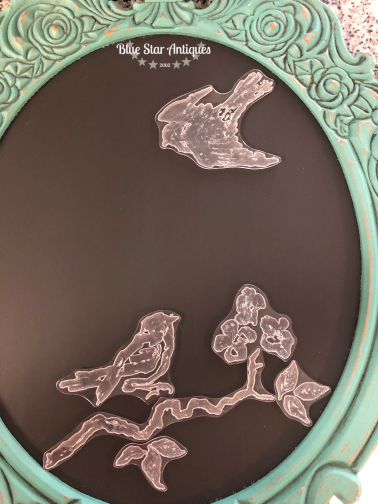
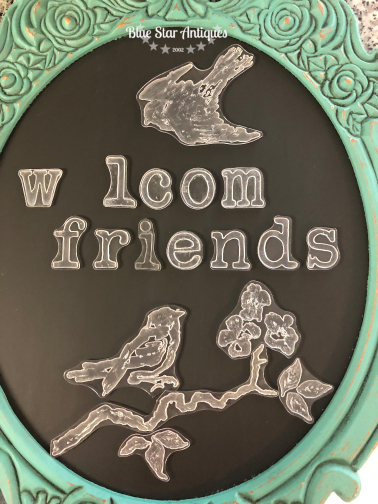
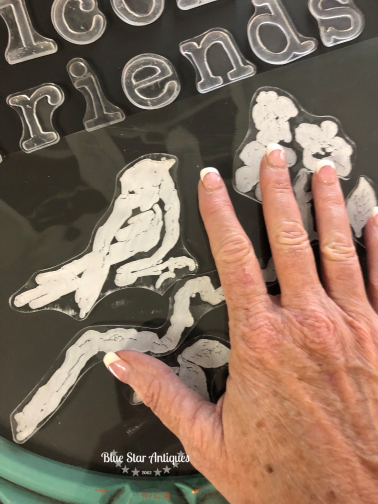
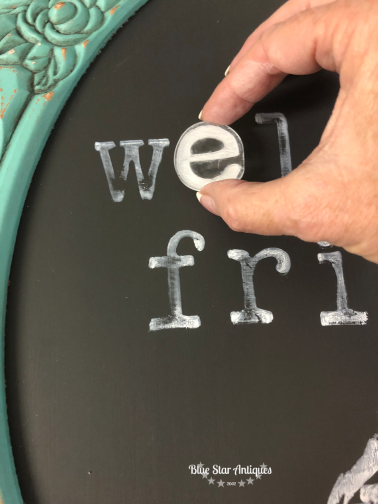
Now it’s time for some fun! Pull off stamps from the plastic sheet and begin to place them where you want them. Be sure to place them stamp side down so it will give you an idea of what the finished product will look like. I also used the Typesetting stamp set to spell out a welcome. Since there’s only one “e” in the set, I began to spell out welcome. Once I knew where the first “e” needed to go, I removed it to plan for subsequent “es”
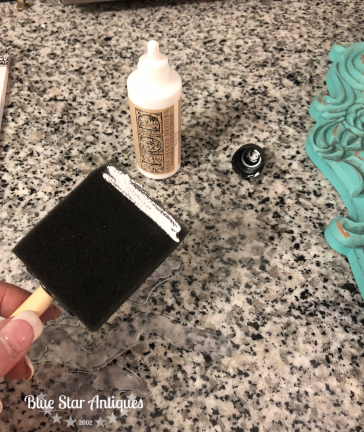
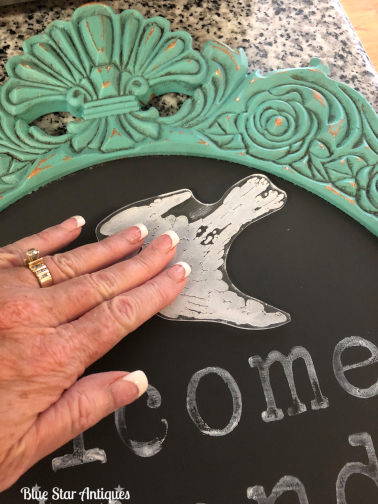
Once you have the layout figured out, it’s time to use that extra piece of plastic from the stamp set. Gently lay it over your stamps and press. The stamps will stick to the plastic and provide an easy way to stamp and keep your design in place. Now it’s time to apply paint or ink. In this case, we’re using the IOD Chalkboard Erasable Ink. It comes in white and gray so white’s perfect for this project. I just applied some ink on a cheap sponge brush and used that to brush over the stamp. If you have too much, it can get sloppy, too little and it doesn’t stamp the full image. So go for a medium application.
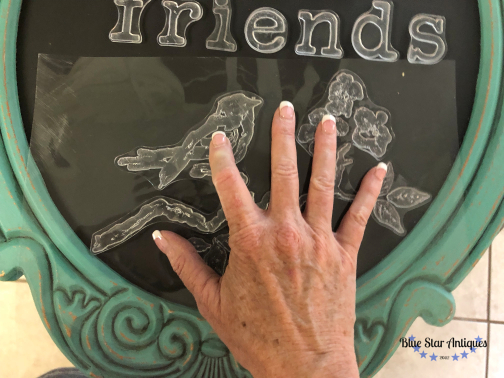
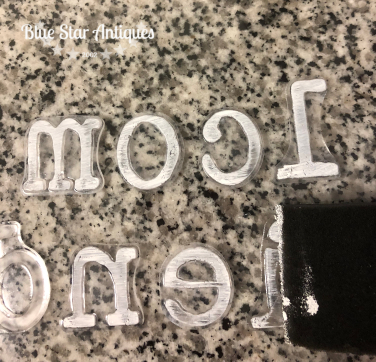
Now the fun begins! Time to stamp. Flip the plastic over and gently place where you want your design to be. Be careful not to move the stamps once they’re in place. Then gently press the back of the stamps. If you are careful, you can gently pull up one corner and check on your stamped design. Once stamped, lift the plastic and you’re done! I stamped my design in three stages. First was the branch and bird. Then I stamped the letters. After I stamped the words, I peeled the “e” off and stamped it in the additional holes. I didn’t use the plastic for that. Just stamped freestyle. I stamped the bird the same way.
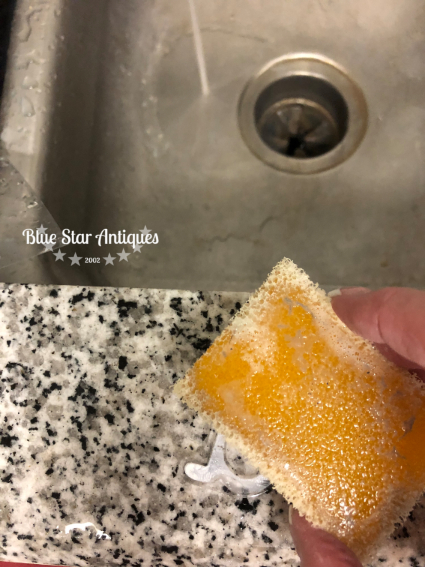
And that’s it! Well, almost. You do have to clean your stamps! So since the ink is washable, it washes off easily with water. I like to use my scrubby sponge just to get remnants of ink from the grooves in the stamp. Air dry and they’re ready to use on your next project.
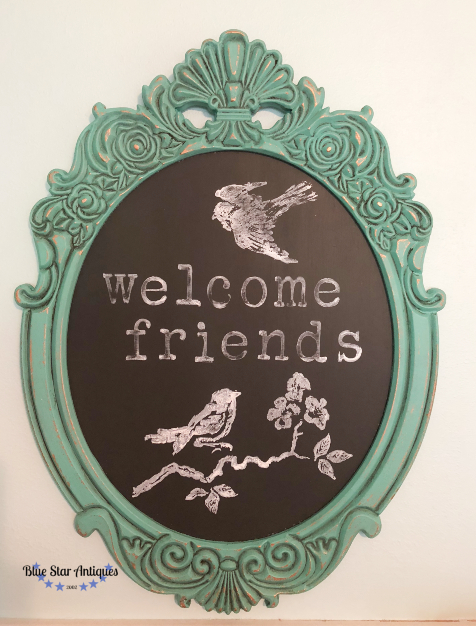
So that’s it! How simple is that! And you know what the great thing is?? The ink is erasable with a damp rag. So swap your design out for different purposes! I’m afraid this will be addicting!

Question regarding using the FMP as chalkboard paint….can you literally use chalk on it? I’m making chalkboards using cabinet doors and chalkboard paint is kind of a pain. I too love FMP and have some so would rather try that. Thank you for the great tutorial Your piece is awesome!
Yes! It’s the only paint I use for chalkboards! I prefer Ash over Coal Black as it give it a more aged, less stark look.