When IOD released their eight new moulds I knew that the first one I wanted to play with was the Birdsong mould. I just love the images! I honestly roamed through the house looking for something I could put it on! Then I found this watering can. I bought it at Ikea a few years ago and decided it would be the perfect subject.
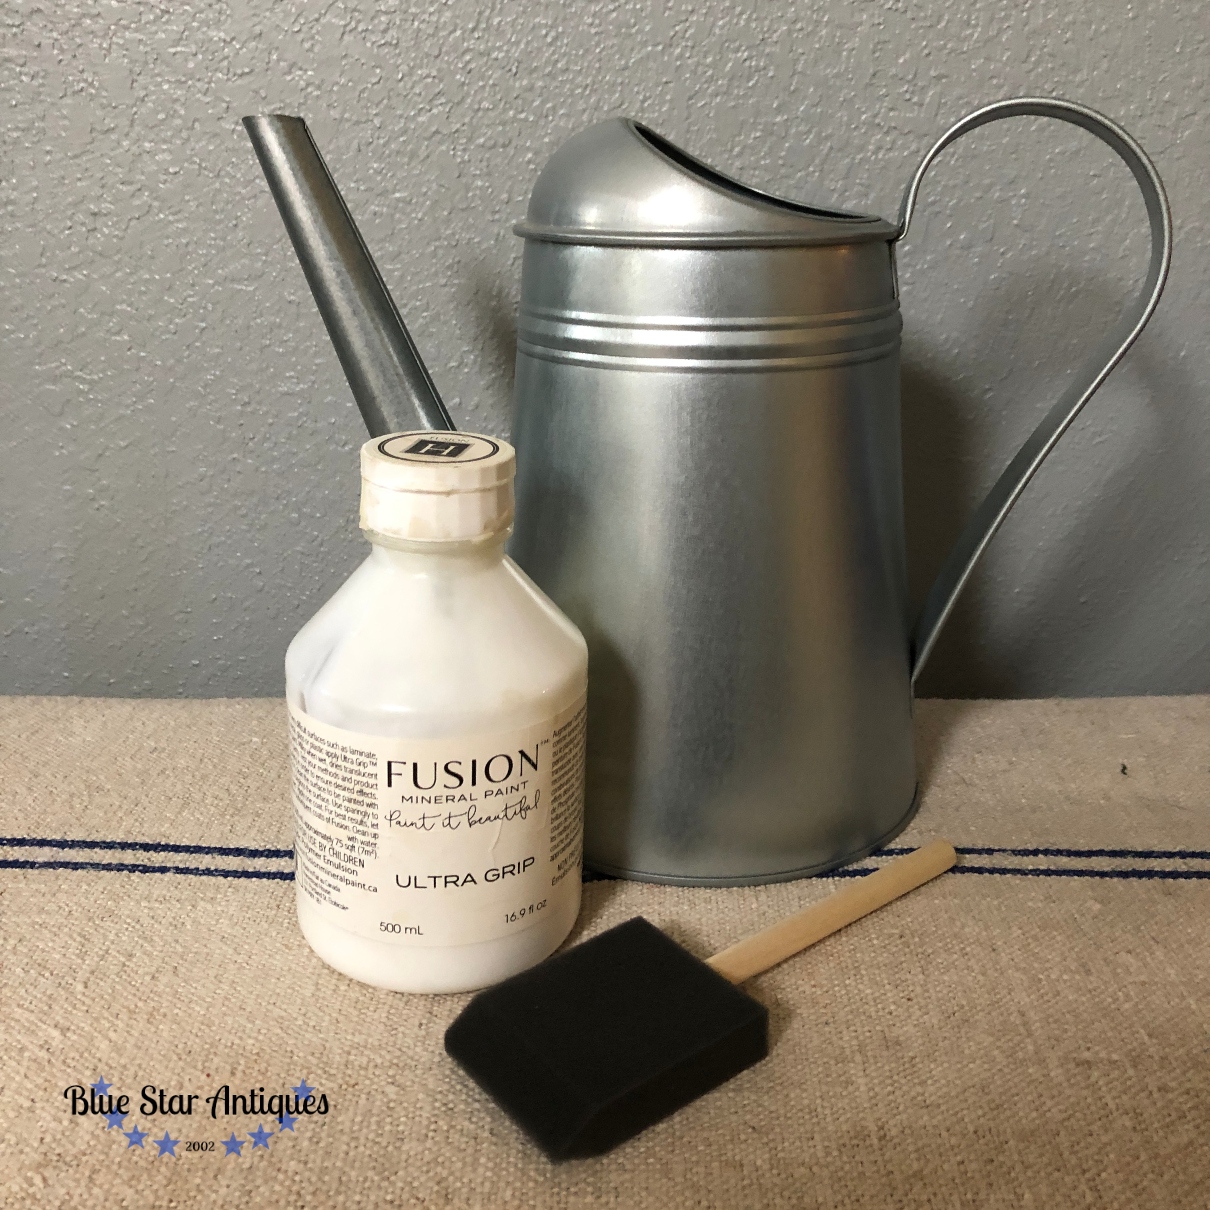
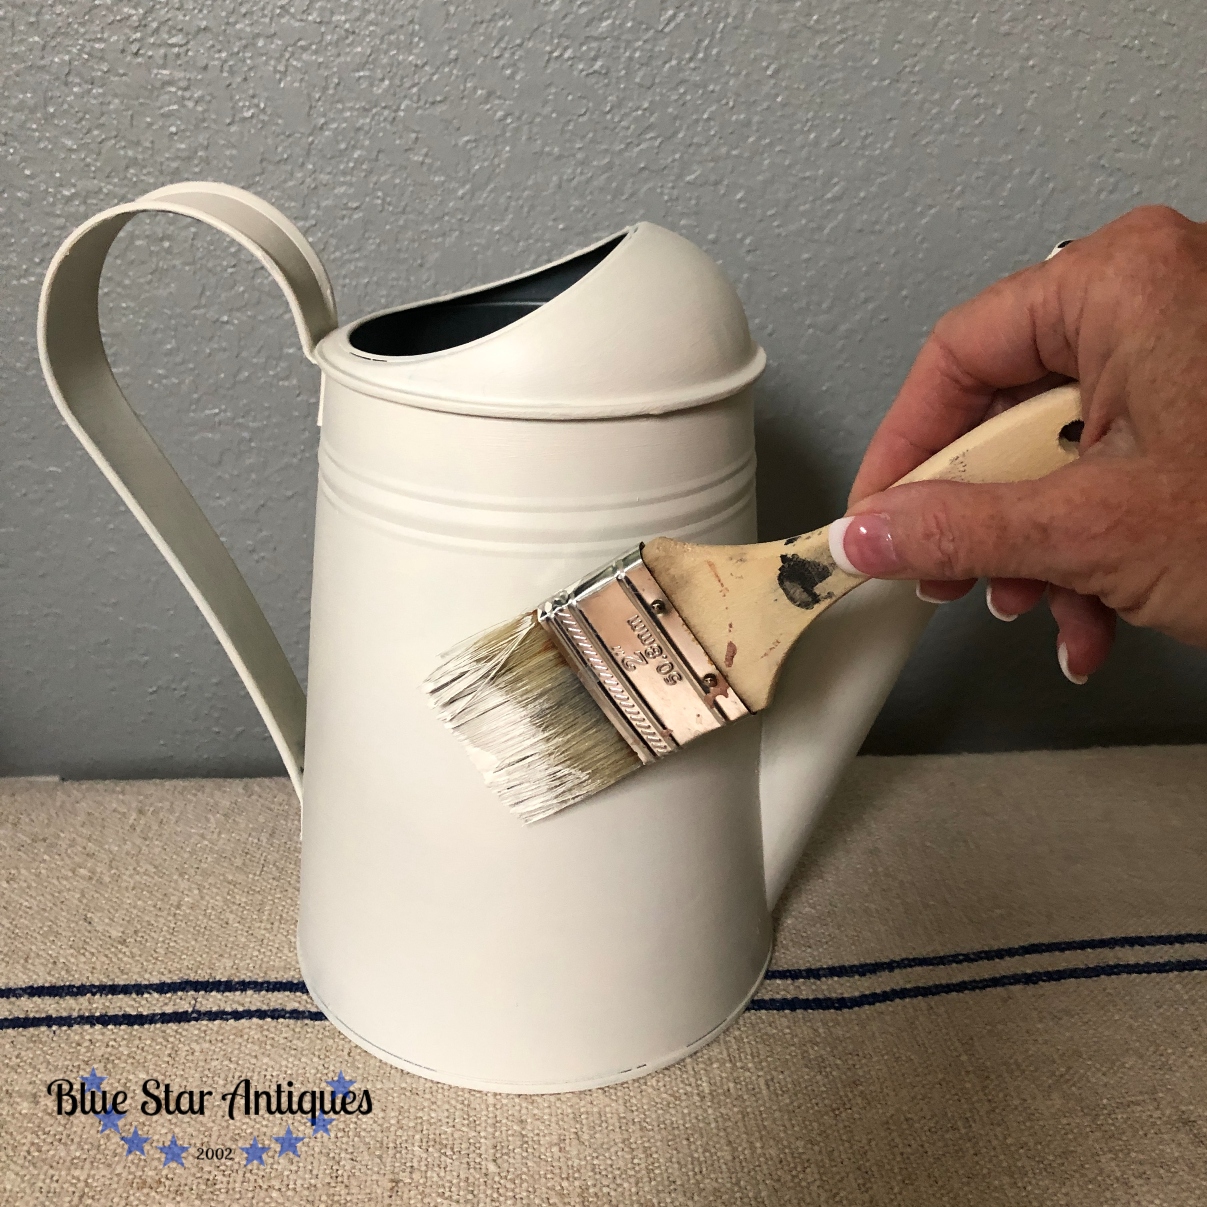
Since the watering can was metal, I knew I’d need to give it a coat of Ultra Grip to ensure the paint would stick. Ultra Grip can show brush strokes so I always use a sponge brush to apply it. I let it dry overnight so it was ready to paint the next day. Then I gave the watering can two coats of Fusion’s Raw Silk.
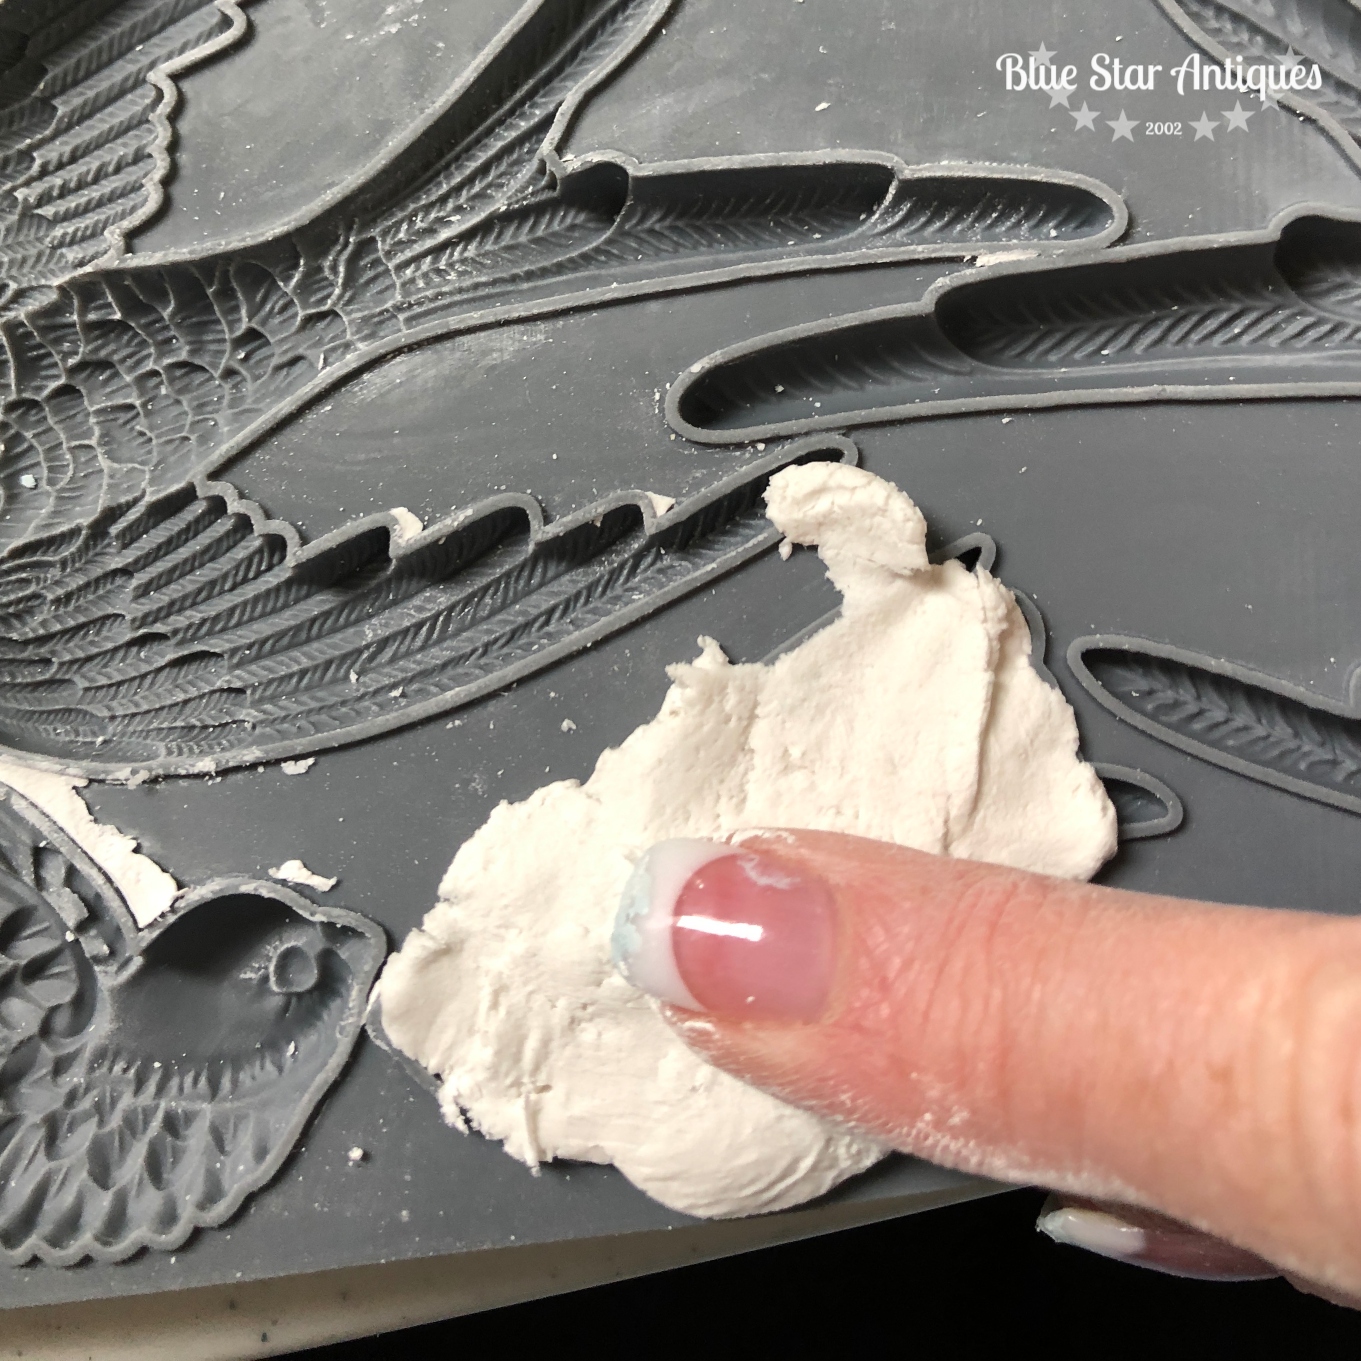
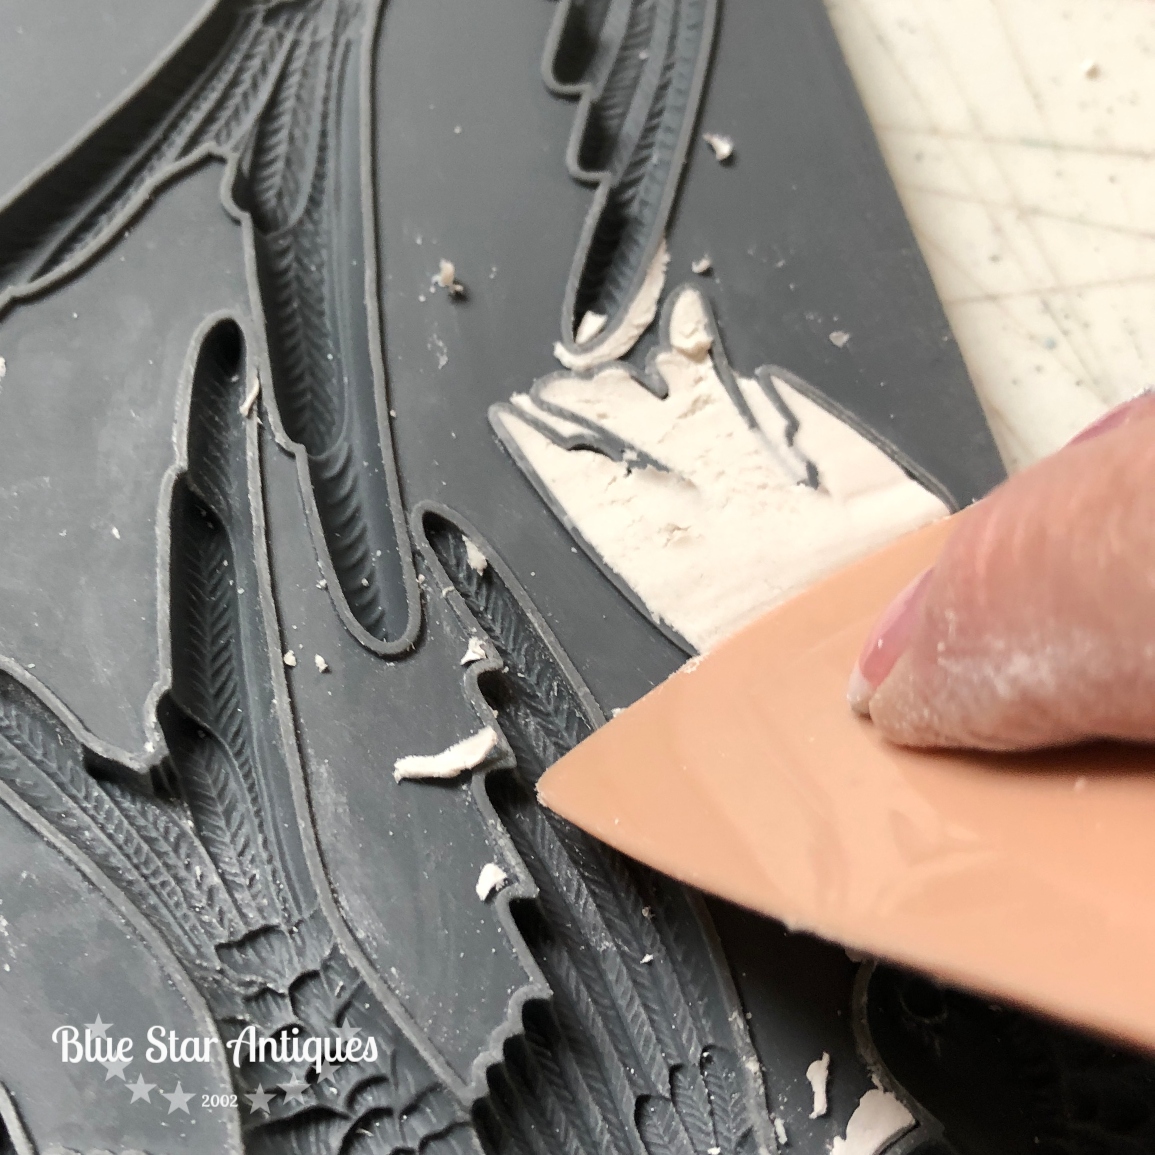
While the paint dried, I began to mould birds. I used the Iron Orchid Design Paper Clay and Birdsong mould. The clay is super soft and pliable and easy to work with! I pulled off a small ball and worked it, pressing it into the mould. Once the clay filled the mould, I used a stiff scraper to scrape off the excess clay. You can use a putty knife. The proprietary micro rim around each image allows you to get a clean applique. Then gently bend the silicone mould and it easily releases the image.
Once the bird was released from the mould, I spread a thin layer of Tite Bond glue on the entire back of the applique and attached it in place while the clay was still wet. This allows me to shape it around the watering can. I did an experiment on this project. One of the moulds I glued onto the watering can and then painted the bird with a small artist brush. Another bird I painted while detached and then glued onto the can. I found it easier to glue on first and then paint. I was afraid that by the time the paint dried the clay would also dry and I would have issues gluing it on. I painted the birds in both Little Whale and Champness. I also moulded some trim from the Trimmings 1 mould to put down the handle.
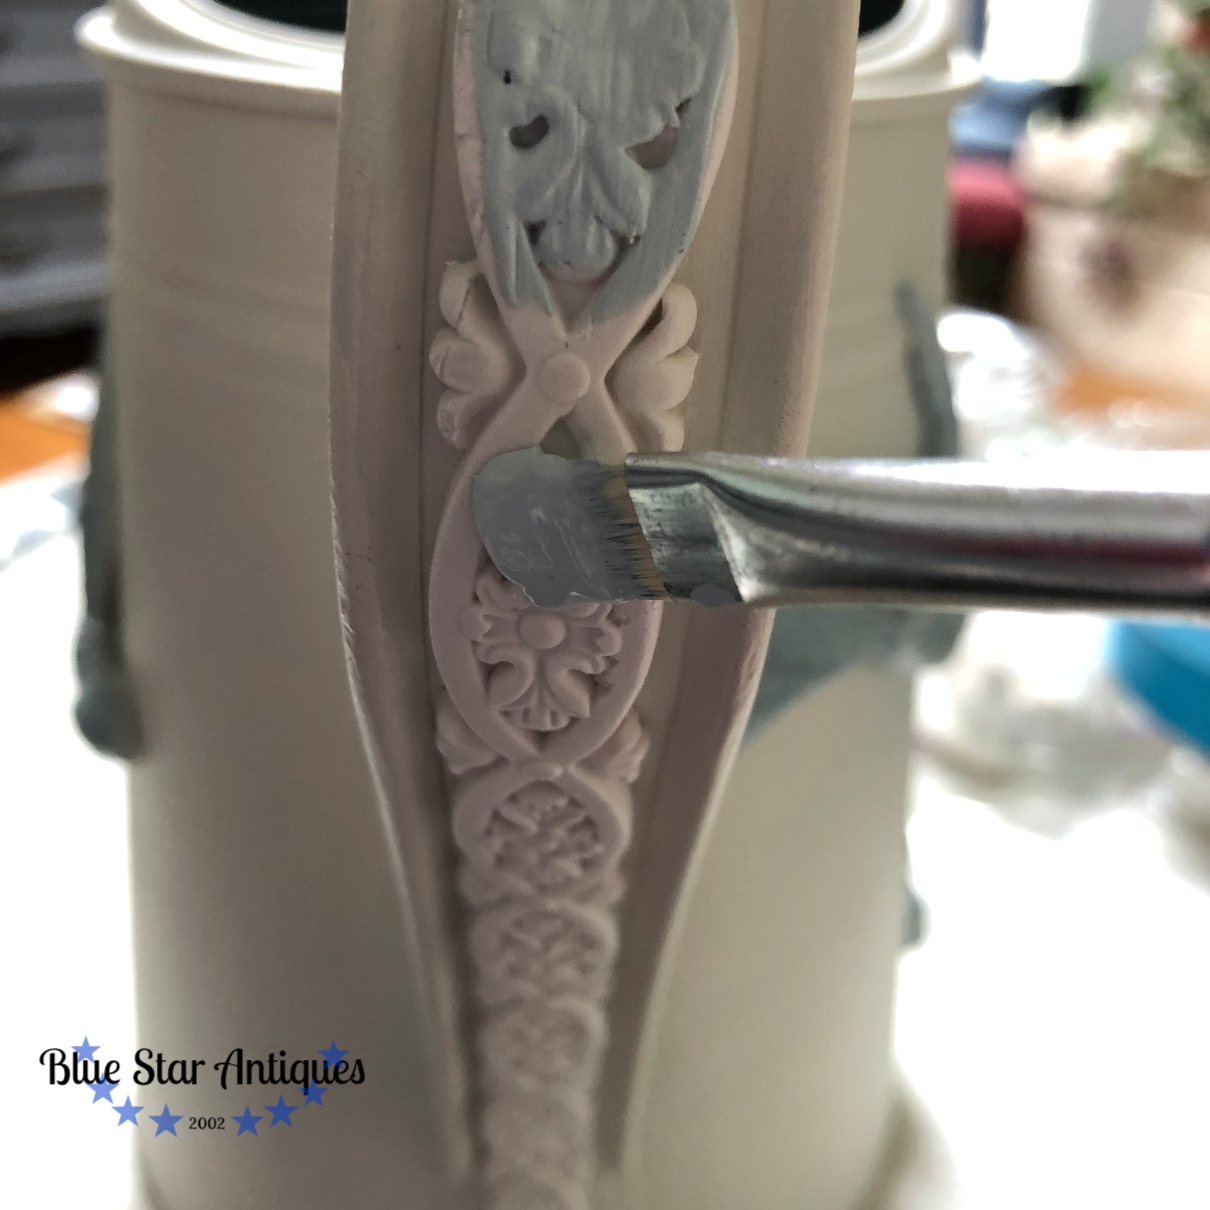
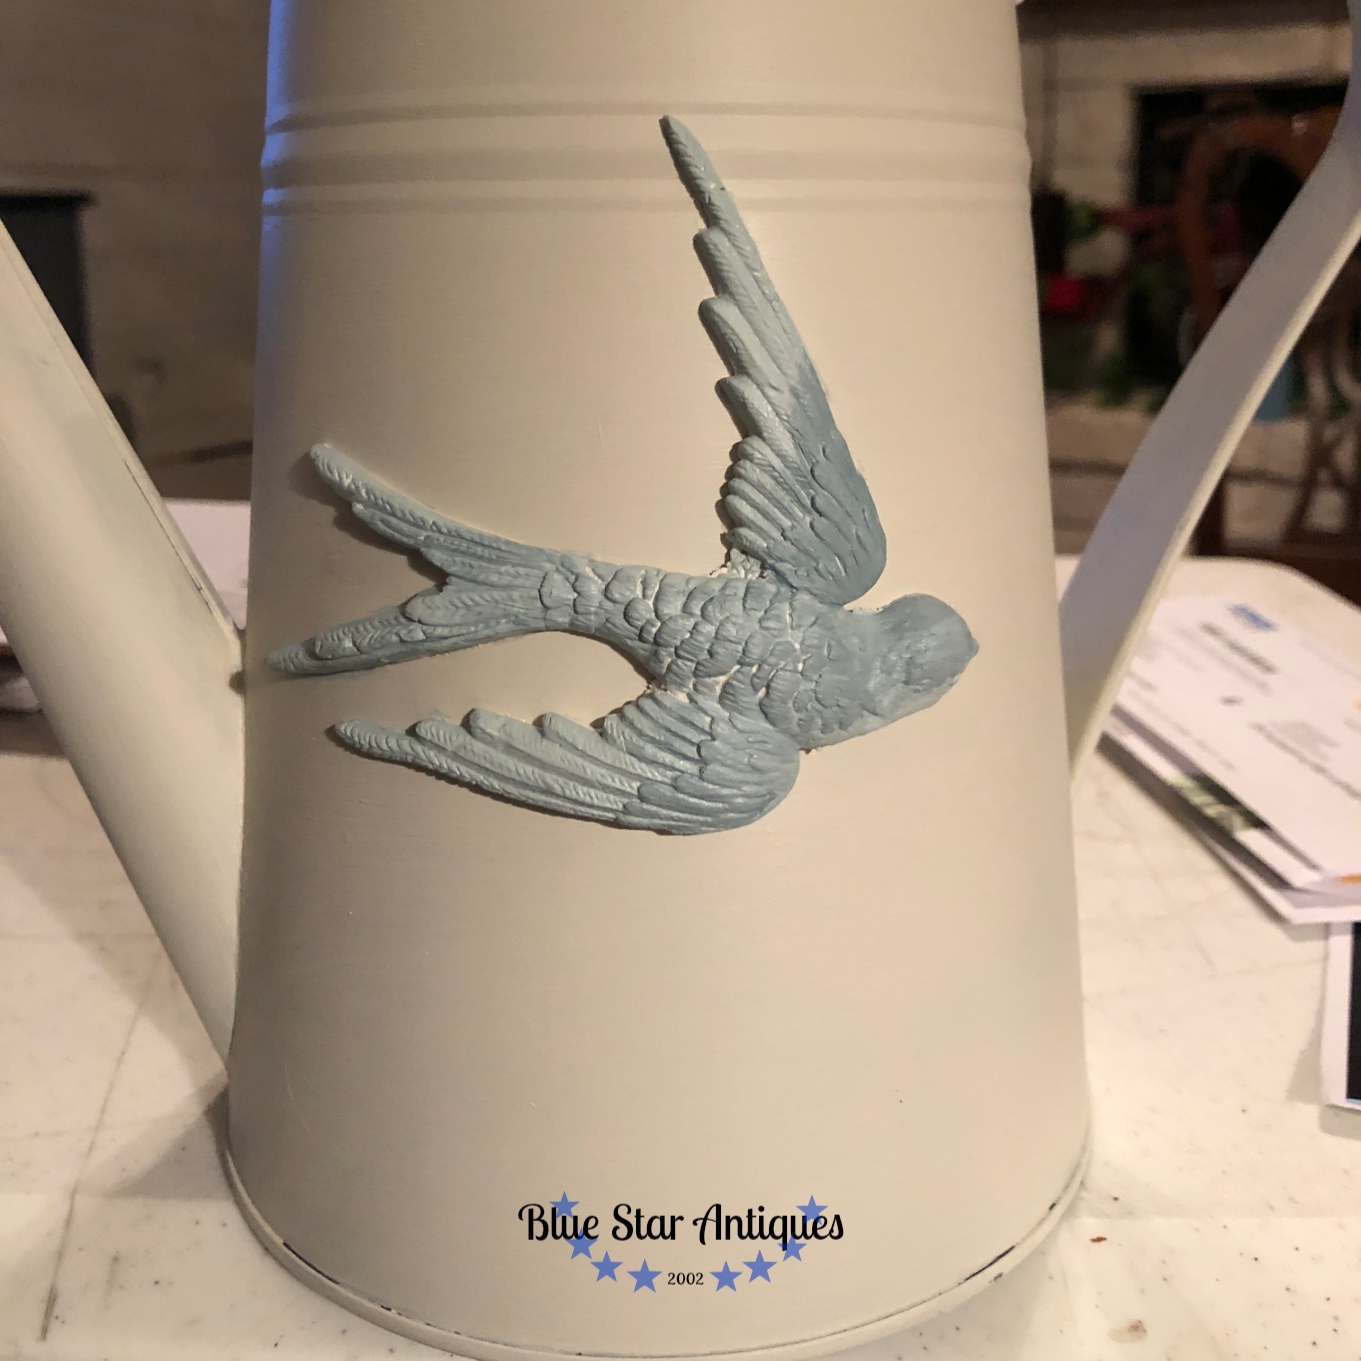
The next morning I went to finish the watering can by applying a glaze. I discovered that the paper clay had shrunk and the spot where I had joined two appliques had separated. I moulded another piece to fill the void, painted it and continued. This can happen with paper clay. It can crack and shrink. I was fortunate to not have cracking on these pieces. I think it helps to paint them while the clay is wet but that’s no guarantee and you have to embrace the character of the pieces.
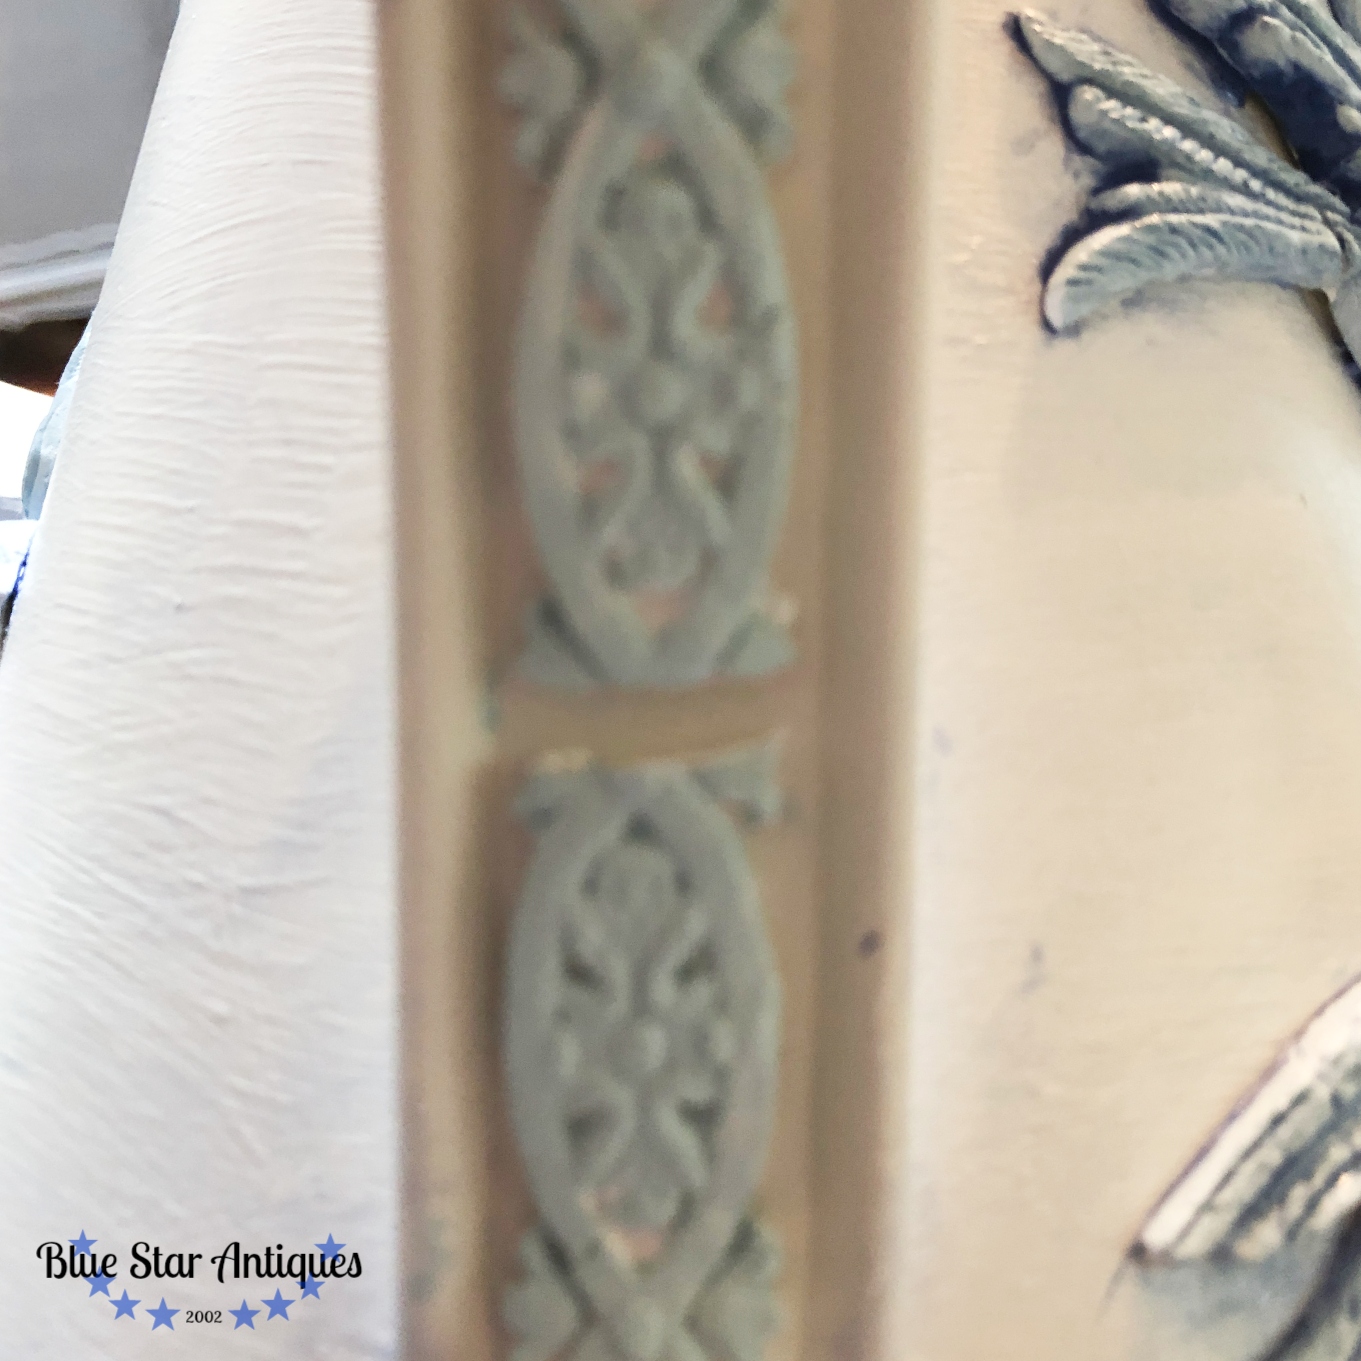
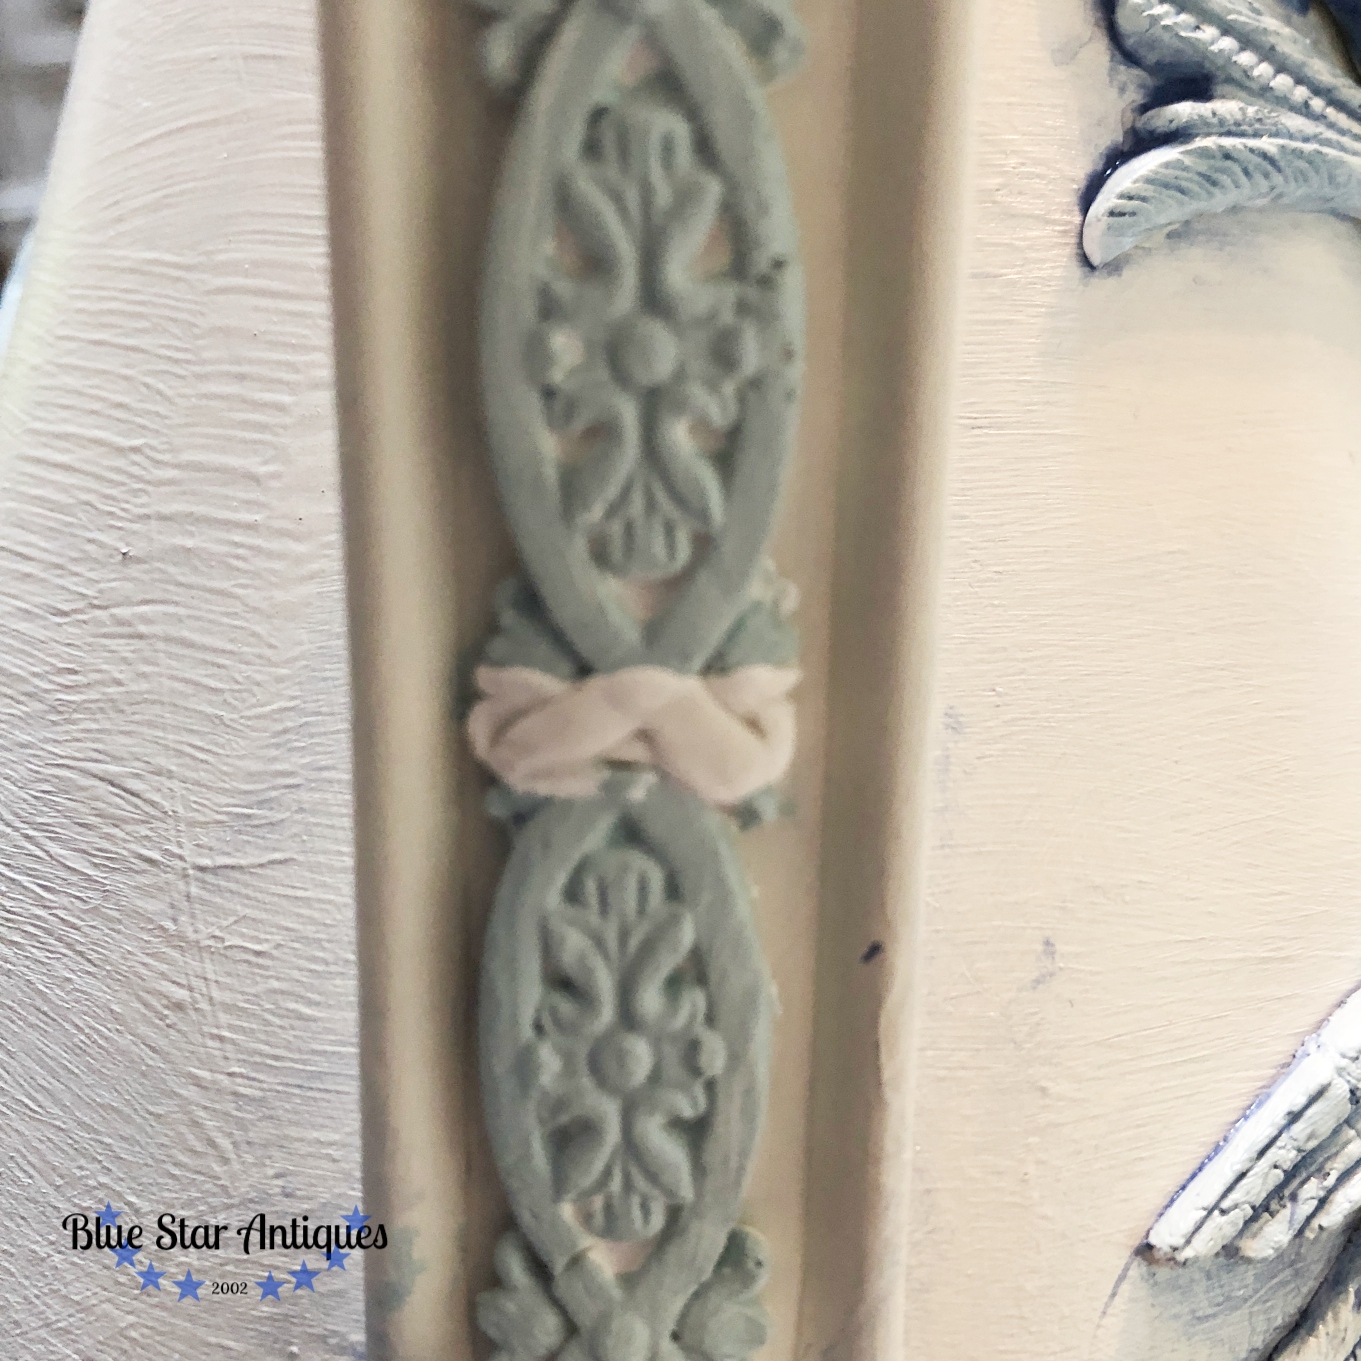
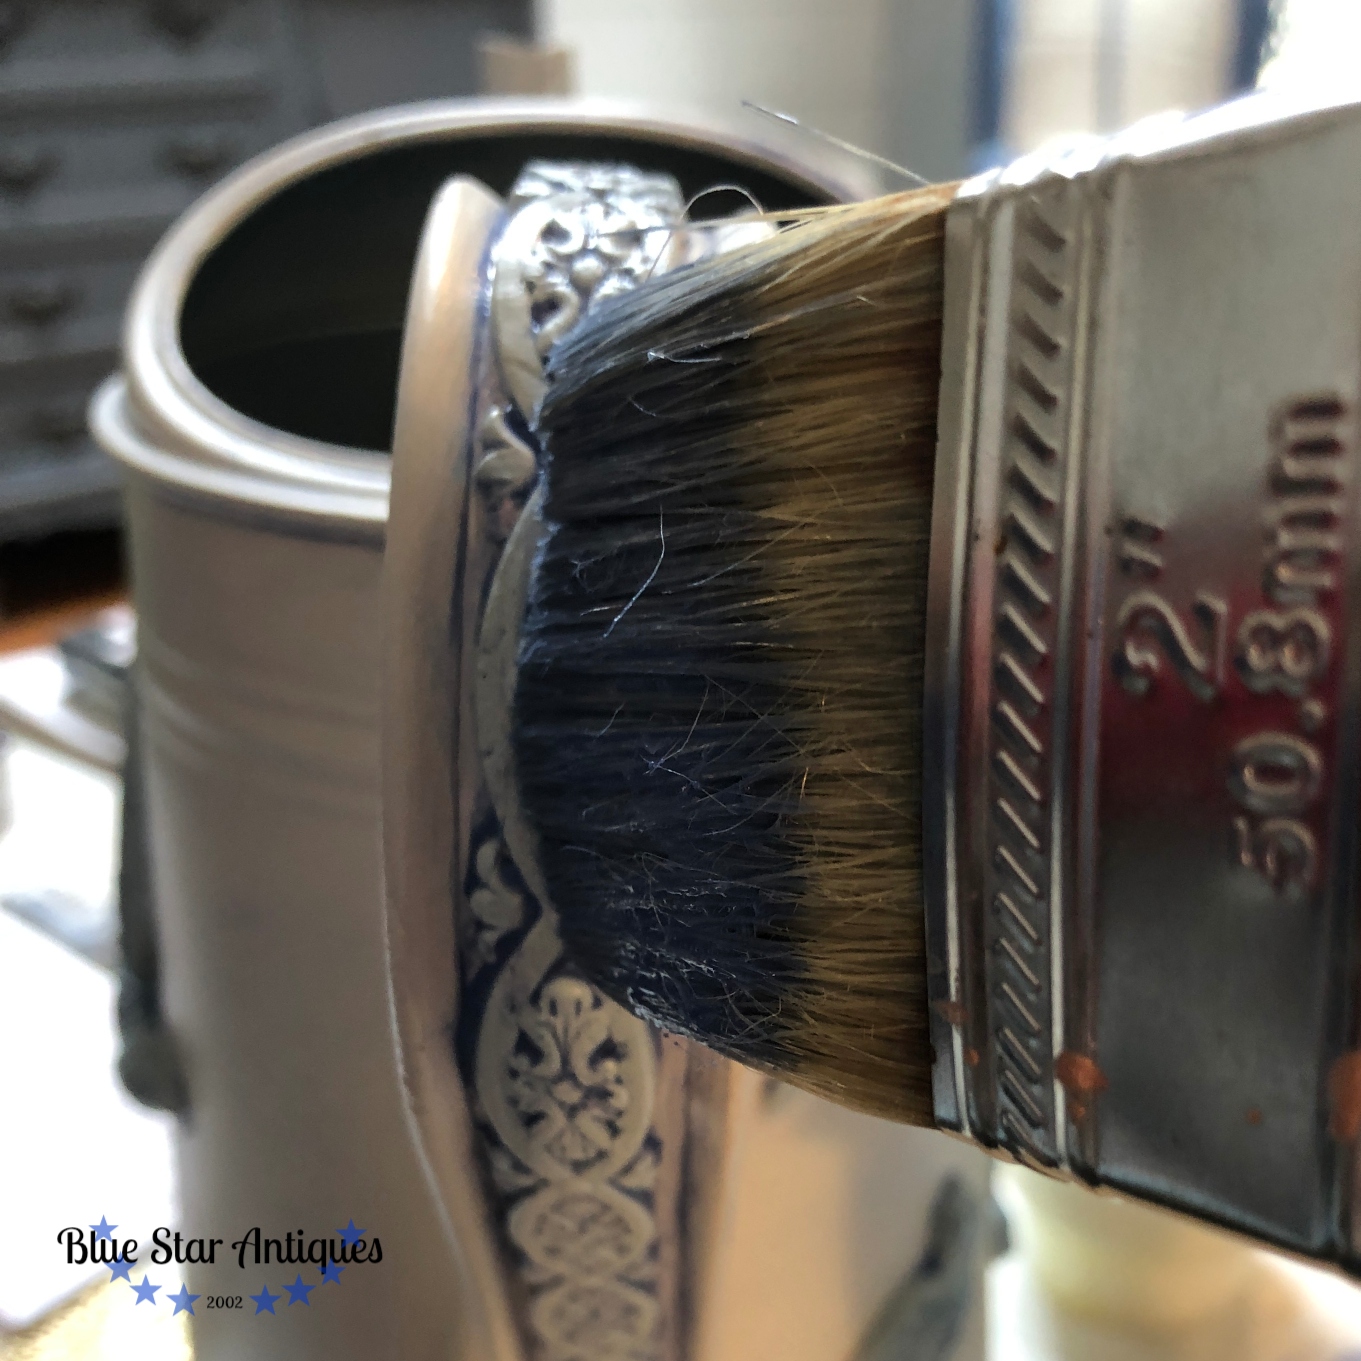
Once the clay and paint had dried, I finished it by brushing on a coat of Fusion’s Clear Glaze mixed with some Liberty Blue paint and then wiping it back. The glaze settled in all of the detail of the appliques and really made the birds pop!
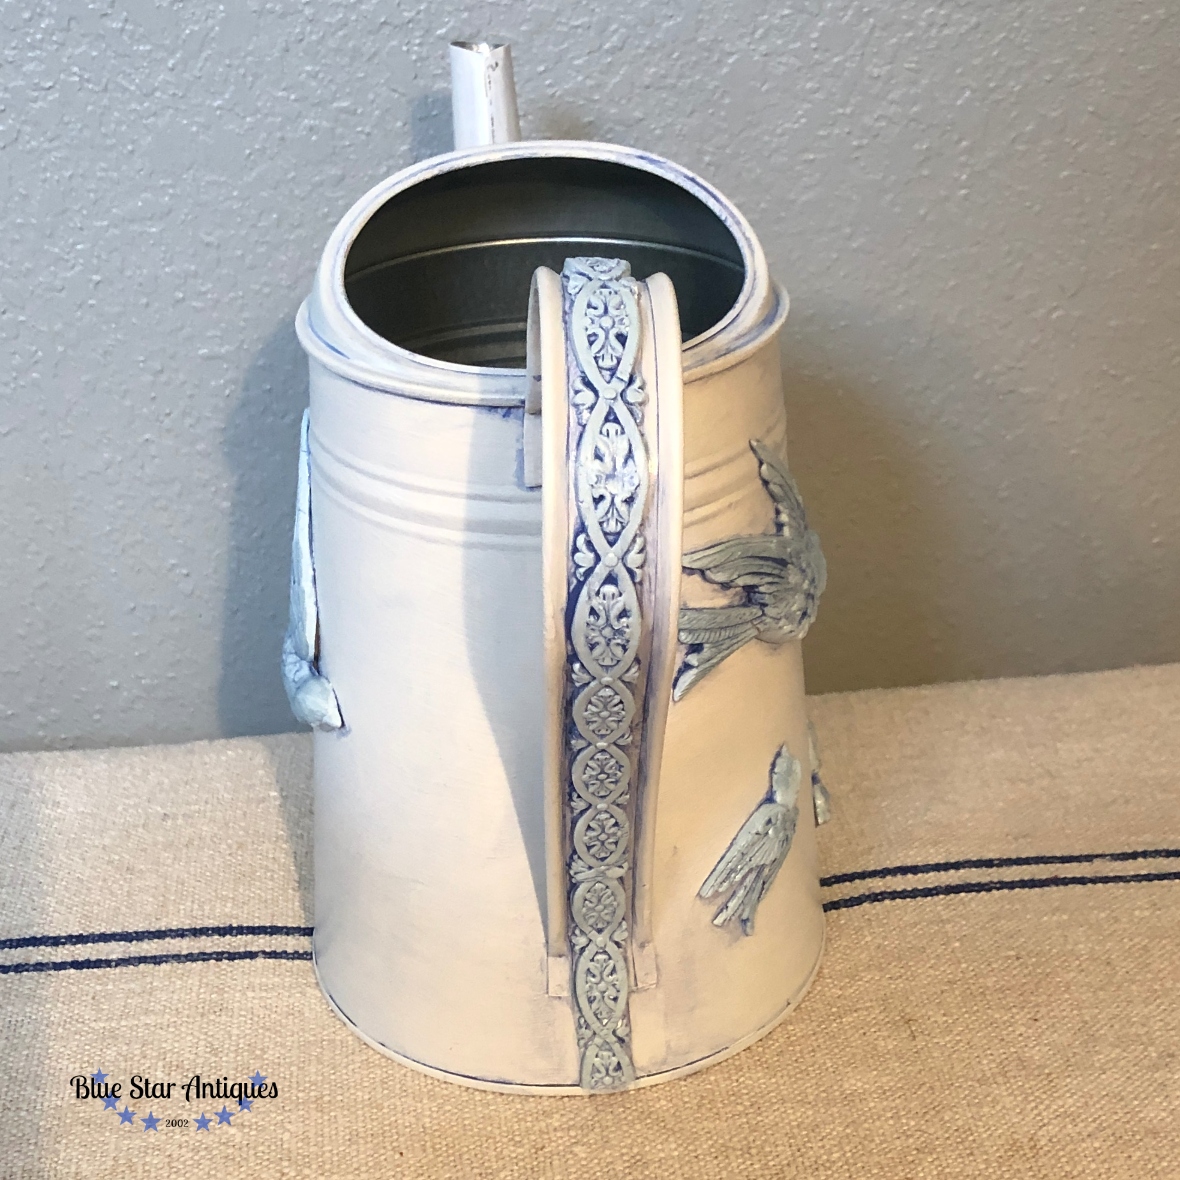
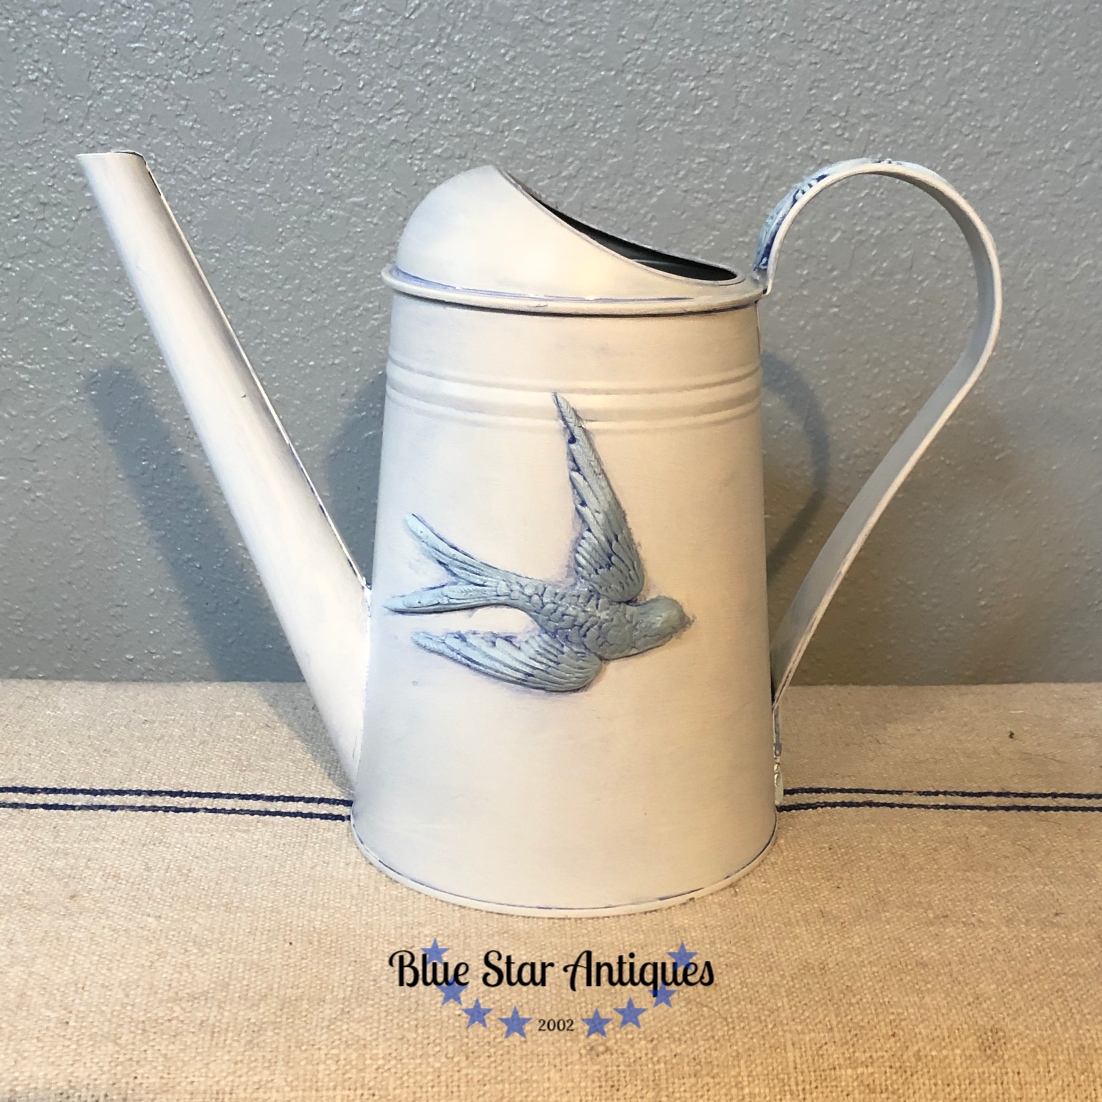
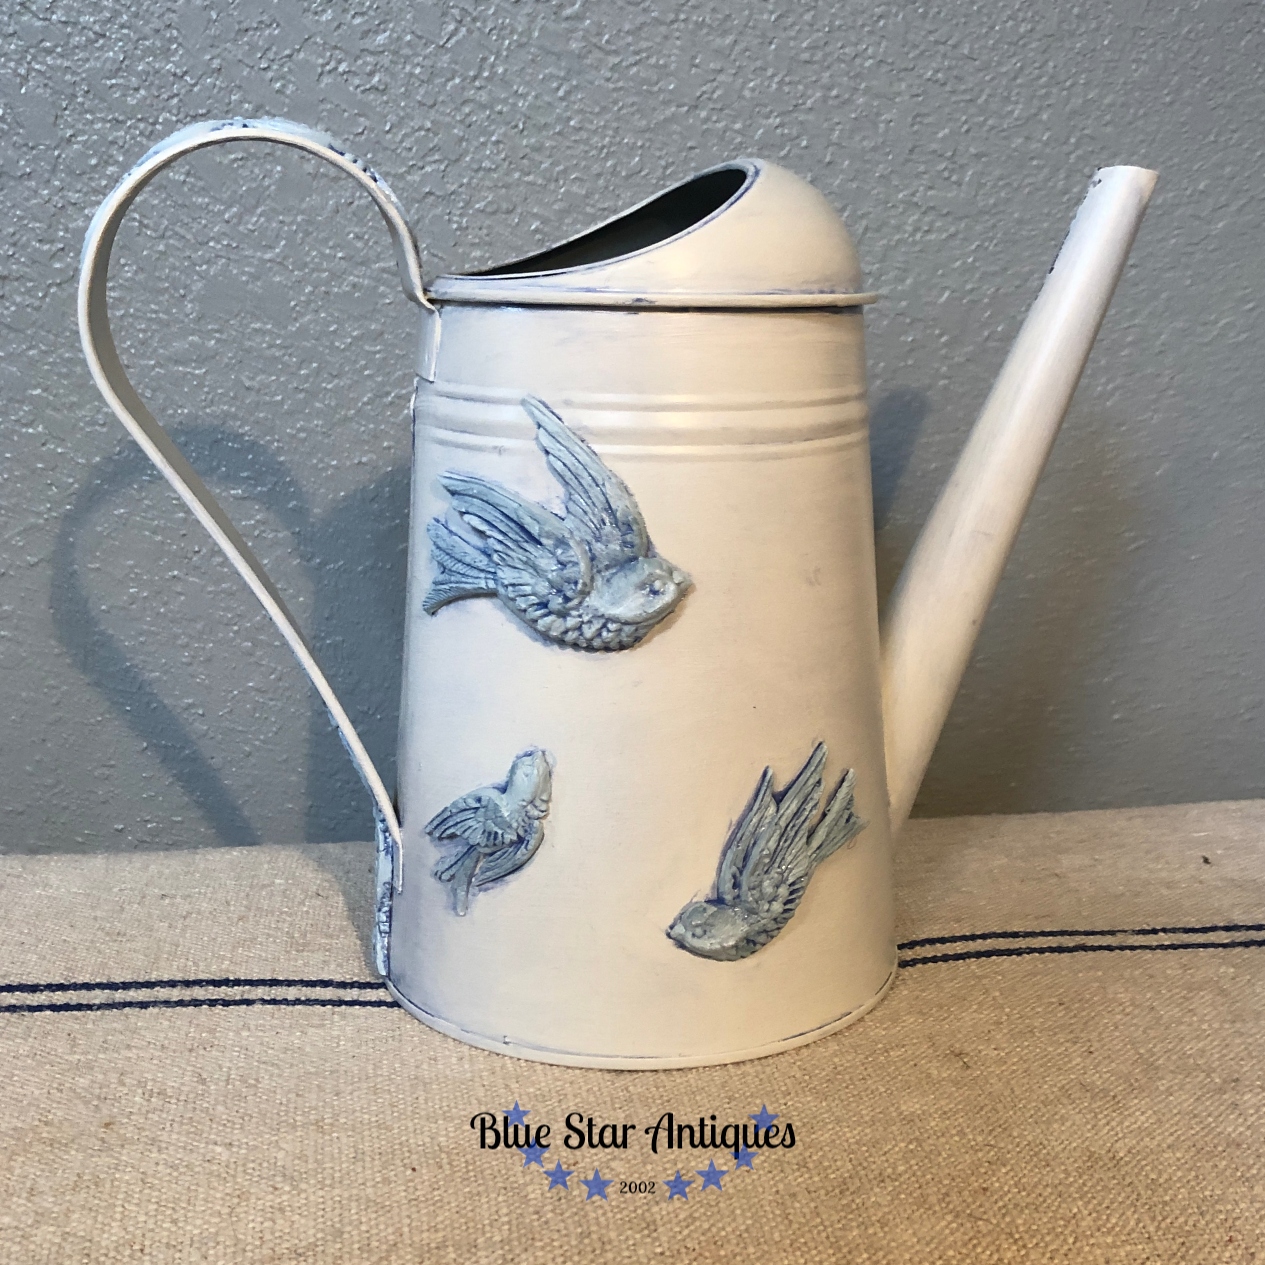
Once the glaze had been brushed on and wiped off, she was done! Now that she’s done I kind of wish I’d stamped some Kindest Regards lettering in the background first. But I love her this way, too!

I love this, Cyndi! I always forget to “think out of the box” from furniture painting and your posts always help me see other opportunities (Christmas presents!).
Makes me want to wander around the house and see what else I can spruce up!