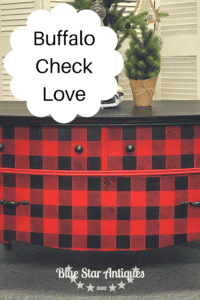
You’d have to have been living in a cave not to know that buffalo check is HOT right now. It’s showing up everywhere from home decor to fashion. I’m crushing on it, too! That’s why I was inspired to add a touch of buffalo check to a piece of furniture!
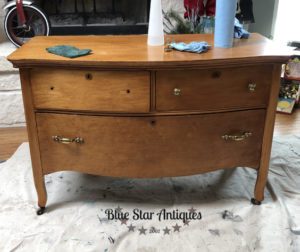
This started out as a lowly chest. I found it at a flea market but it had seen better days. So I gave it a good cleaning with TSP and inspected to determine my approach. The top had deep scratches. I considered stripping and refinishing but the scratches would be difficult to eliminate. The wood is maple and not much grain so I didn’t think stripping and staining would be worth the effort. So I opted for another finish.
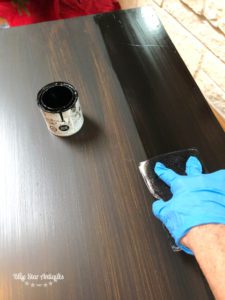
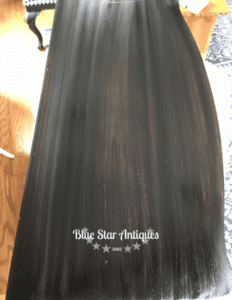
I wanted a black finish but didn’t want it painted black. So, I watered down some Coal Black and brushed on one coat, leaving brush marks to simulate wood grain.
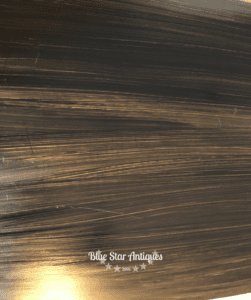
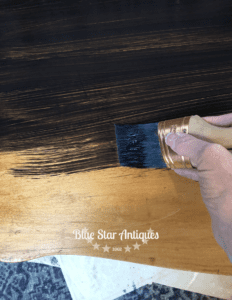
Once dried, I wiped Ebony Stain and Finishing Oil over the black paint. It added a depth of color, a richness to the faux grain, and a soft sheen. Just what I was hoping for! Keep in mind that it takes 24-48 hours for the stain to dry since you’re wiping it on and not wiping it off. The great thing about this stain is that the sealer is built in so no top coat is needed!
Next came two coats of Fort York Red. It’s a fabulous color, but because of the nature of the pigments, frequently needs 3-4 coats to get good coverage. Surprisingly, I only needed two this time! Once it was painted, I was ready to stencil. I used this stencil from Funky Junk Stencils. It’s brilliantly designed by Donna Williams and cut out of 10 mil mylar so it’s sturdy enough to provide a clean design. The secret to a great stencil project is not using enough paint! By that I mean that you use a dry brush and stencil several coats. I use Coal Black to give me the perfect buffalo check look.
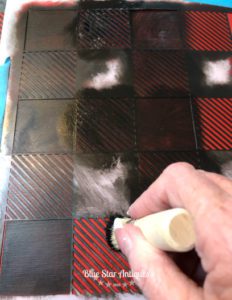
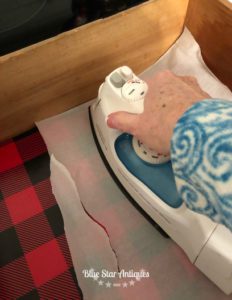
I might have just squealed when I finished stenciling! It was just as I had imagined it would look! And then I knew the finishing touch! I’d picked up a roll of buffalo check gift wrap. It was perfect to line the drawers! I applied two coats of Transfer Gel to the bottom of the drawers. Once dry, I cut the paper to fit and ironed them in place. This iron method is my favorite way to decoupage! The heat from the iron melts the glue and creates great adhesion without bubbles.
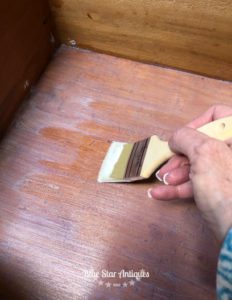
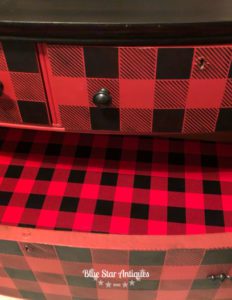
And that was it! She looks beautiful and complicated but really she was so easy! I suspect there will be more buffalo check in my future! What about you? What will you whip up?
Want to create your own masterpiece? The buffalo check stencil is available here as well as all the paint and supplies you’ll need! Order yours today!

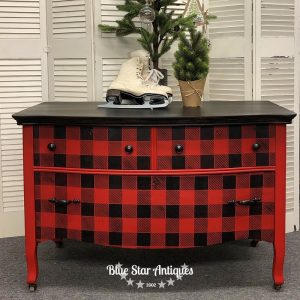
What a beautiful outcome Cyndi! The design of this stencil is so perfect for this piece!
There’s going to be someone in Texas ecstatic to share Christmas with this beauty! I wish it could be me… 🙂
Thank you, Donna! You are always a source of inspiration and I’m grateful to have your quality stencils to work with!
Ok, being a fan of buffalo plaid, this is insane, meaning stunning, out of the box, gorgeous, gratitude for the mini tut. well done girl.
Thank you, Claudette! It was fun to do!
ps. what is coal black? is that the name brand? ty
Coal Black is Fusion’s black paint.
How do I get a coupon code?
Hey Debbie! Enter your email address on the homepage and you’ll get an email with the code. Some people have mentioned that the email went to their spam folder so be sure to check there if it’s not in your inbox.
I’ve been practicing the iron on method with a couple of different products (fusion ultra grip and Modge Podge) when I iron some area wrinkle and bubble. How can I achieve with bubbles and wrinkle?
Hey Karen! Hmmm, I haven’t tried it with Mod Podge or Ultra Grip, although I’ve heard of others that have used it with success. Are you putting on two coats and letting it dry before ironing? Are you ironing with a dry iron and high heat?