There’s a local legend that says that when the mesquite trees start to bud there will be no more freezing weather and spring is coming. I noticed today the young buds on the neighborhood mesquite trees so Spring is around the corner! That means Easter isn’t too far behind. Now seemed to be the perfect time to begin some craft projects for Easter decorating, so I decided to decorate some eggs today. The great thing about these eggs is that they’re perfect to leave out all spring.

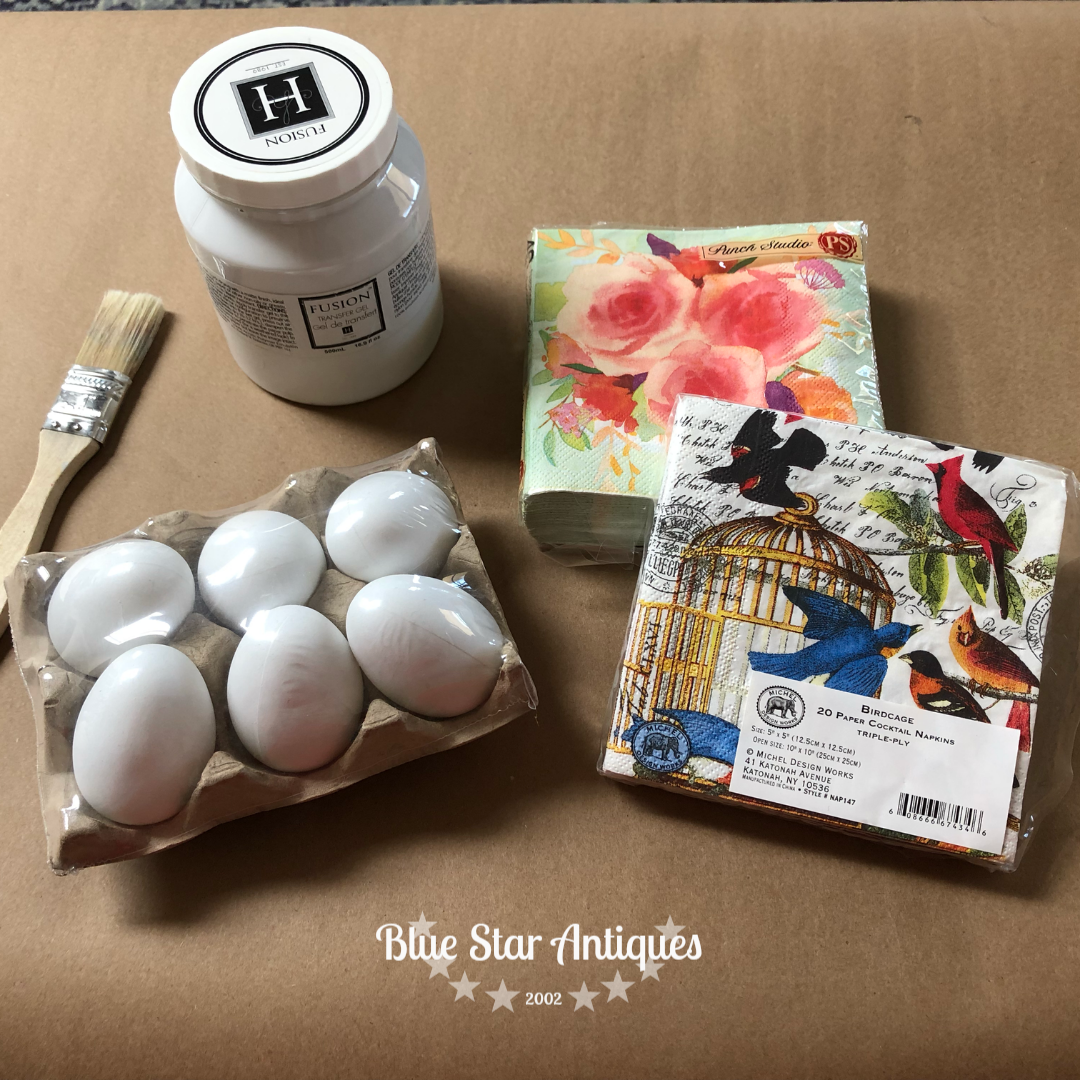
These eggs aren’t your typical Easter eggs. In less than 2 hours I decorated a dozen of these eggs. Here’s what you’ll need if you want to make your own:
- plastic decorative eggs (I found mine at Big Lots)
- Fusion’s Decoupage and Transfer Gel
- 2″ craft brush
- decorative napkins
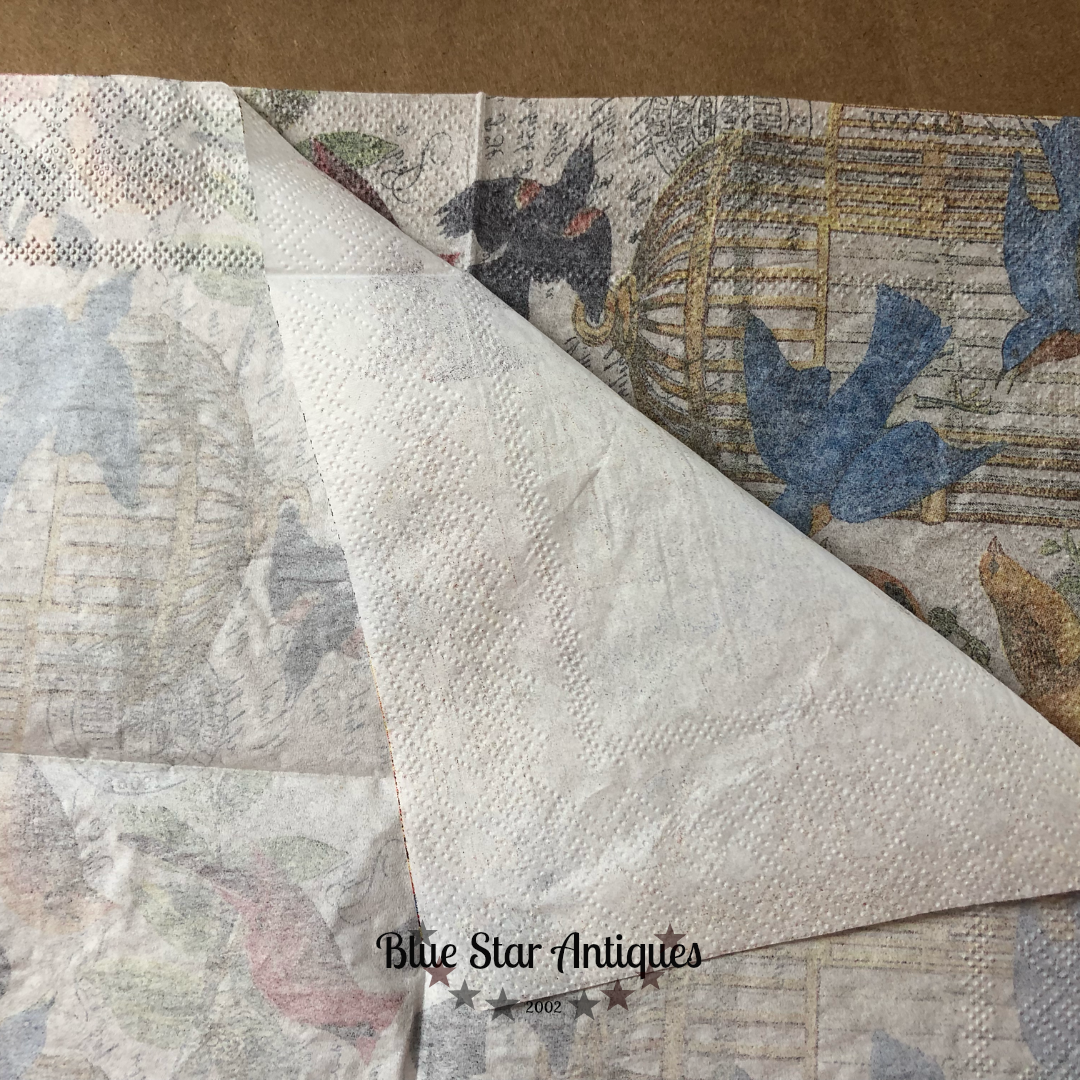
Start off by reading the label on the napkins to find out how many ply there are in each napkin. Some are two ply and some are three. You’re going to want to peel away the extra plies of paper until you have one ply with the image on it. The first ply typically comes off pretty easily. I’ve found it easier to make a small tear in the edge of the napkin to help separate the last two plies. If the back of the napkin is white it’s a sign that there’s still a ply of paper to remove.
The best way to decoupage the eggs is to tear the napkin into bits and glue them onto the egg. So I start off by tearing the napkin into bits. You don’t want to cut them or the cut edge will be noticeable on the egg. I really love using Fusion’s Decoupage and Transfer Gel for these projects. It’s thicker than regular glue making it easier to use for decoupage projects. Brush a thin coat of gel on the egg and smooth the paper in place.
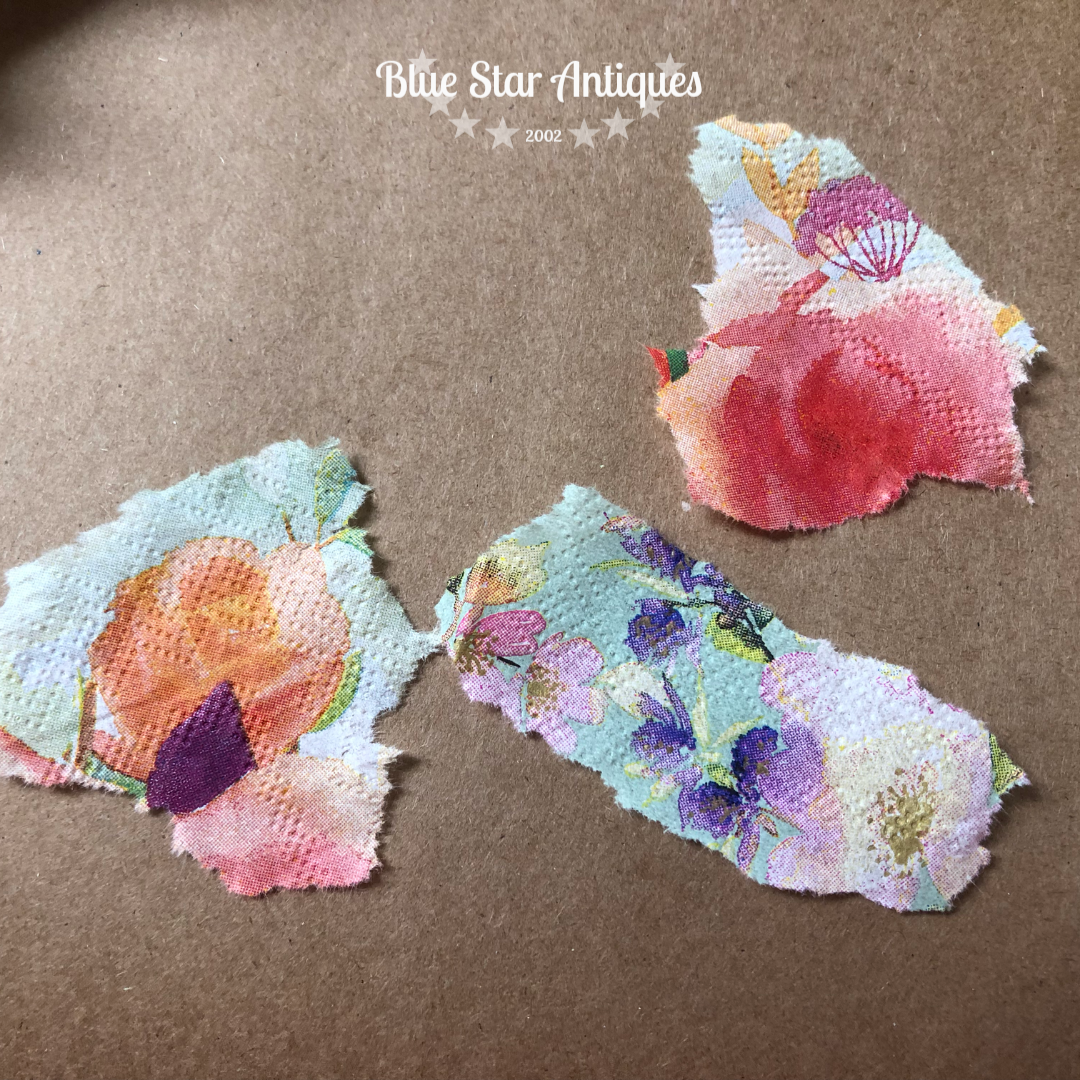
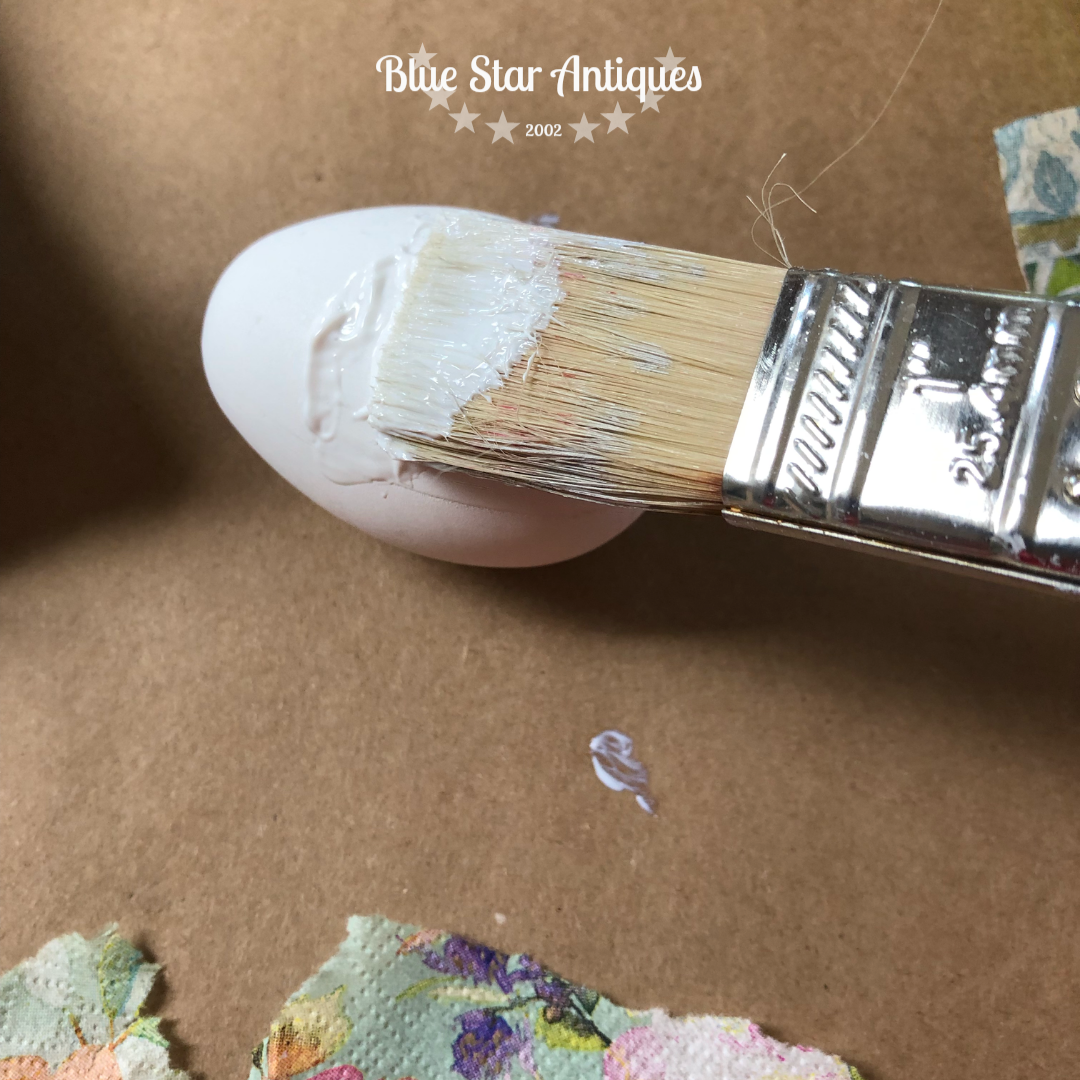
Larger pieces of napkin will wrap further around the egg and will crease more. That’s ok. When it’s done, you won’t even notice. Brush a coat of Decoupage Gel over the napkin to seal and smooth the creases and edges. Because the napkin is sheer, you can overlap slightly and it gives the effect of a smooth transition between papers. You can use pieces from one napkin per egg or mix and match piece.
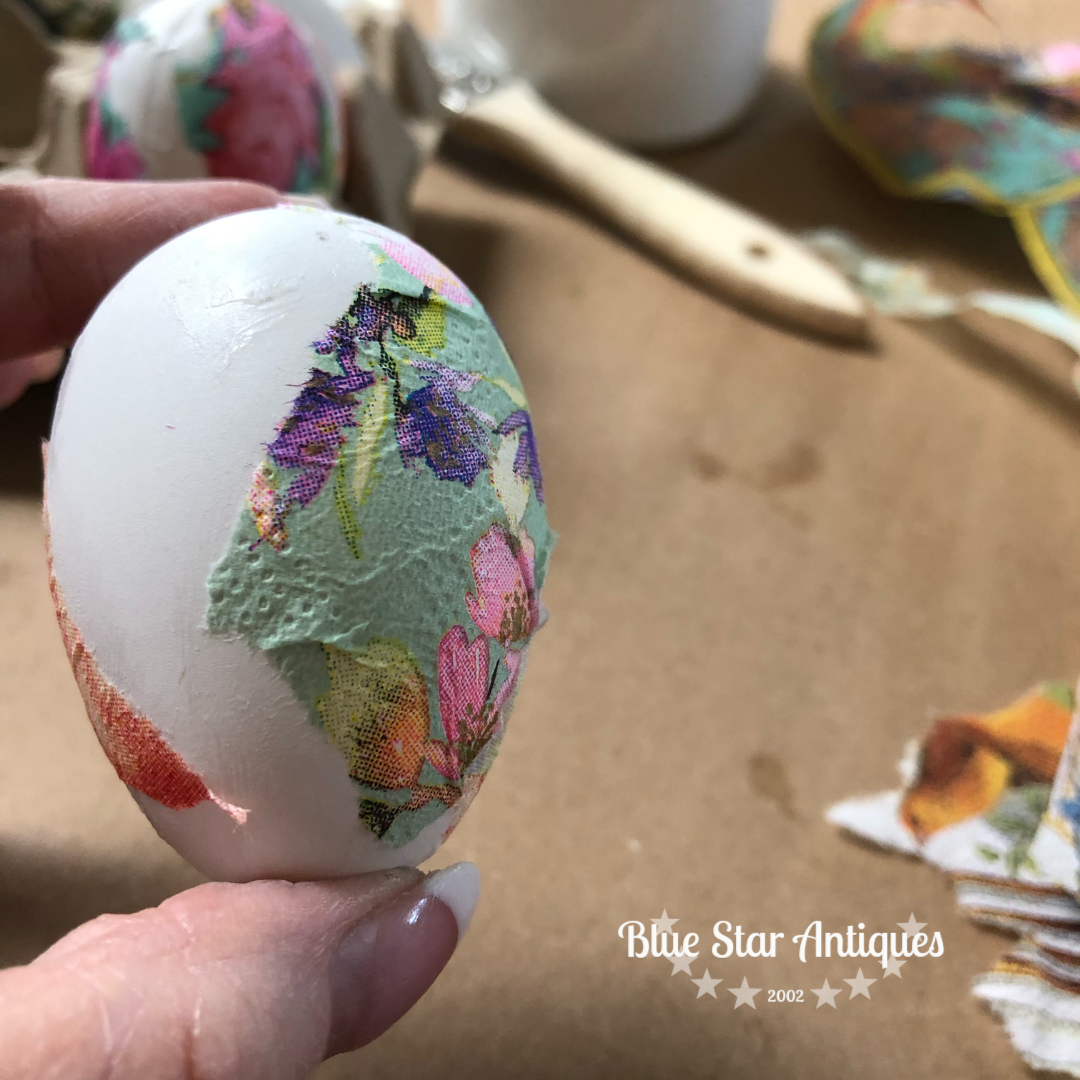
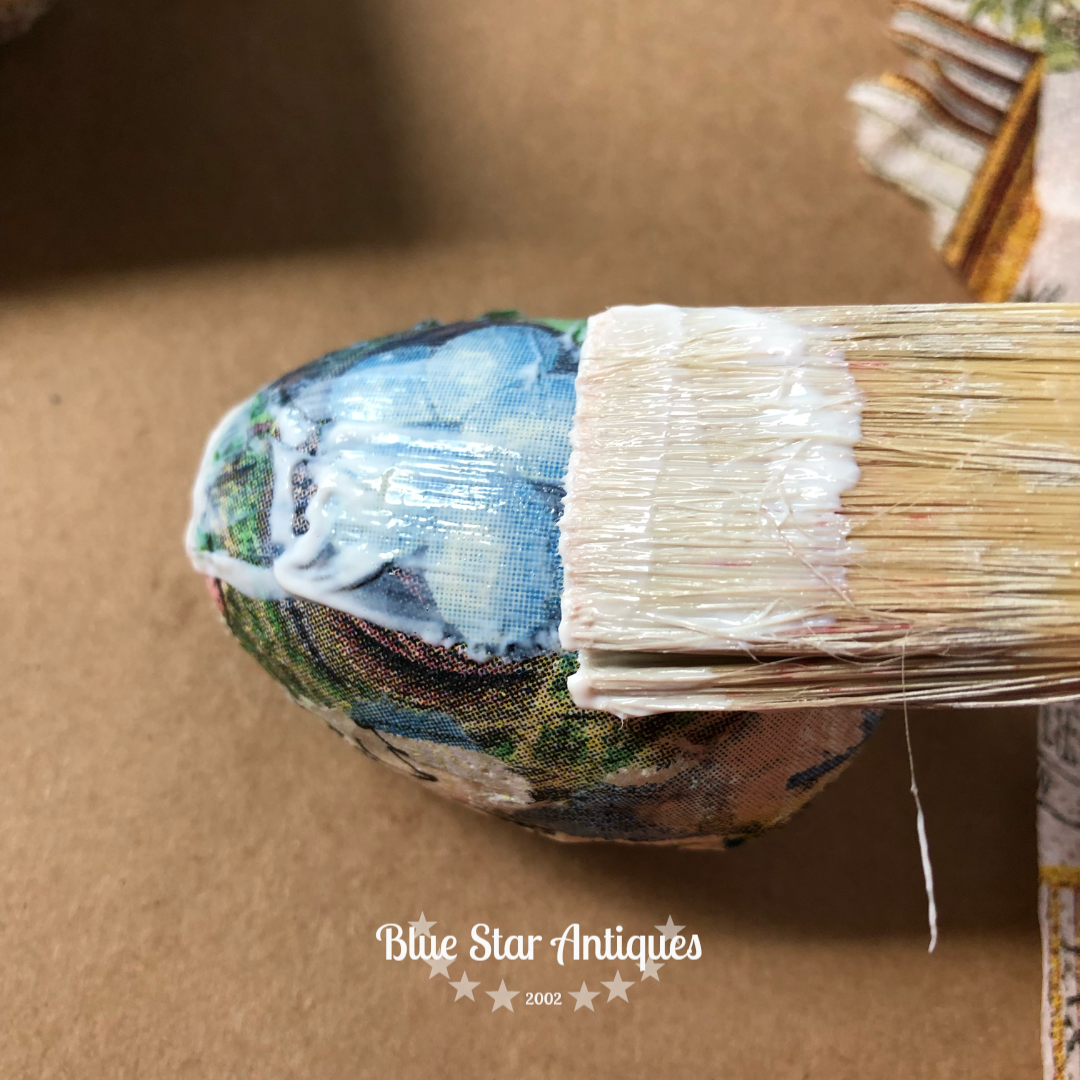
Once you have covered the egg with paper and covered the paper with Decoupage Gel, give them time to dry and you’re done! Your last challenge is to find a cute bowl or basket to display them in!
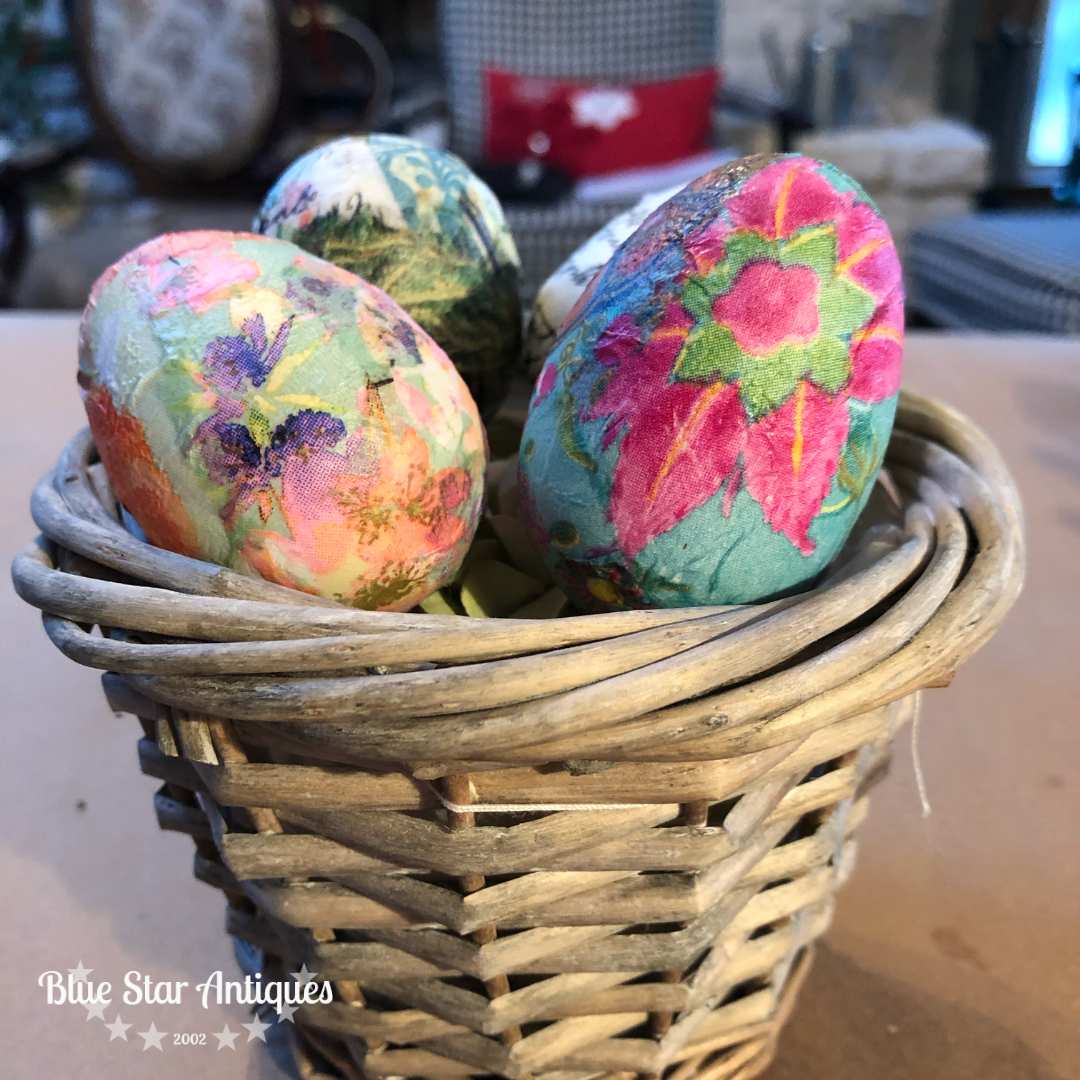
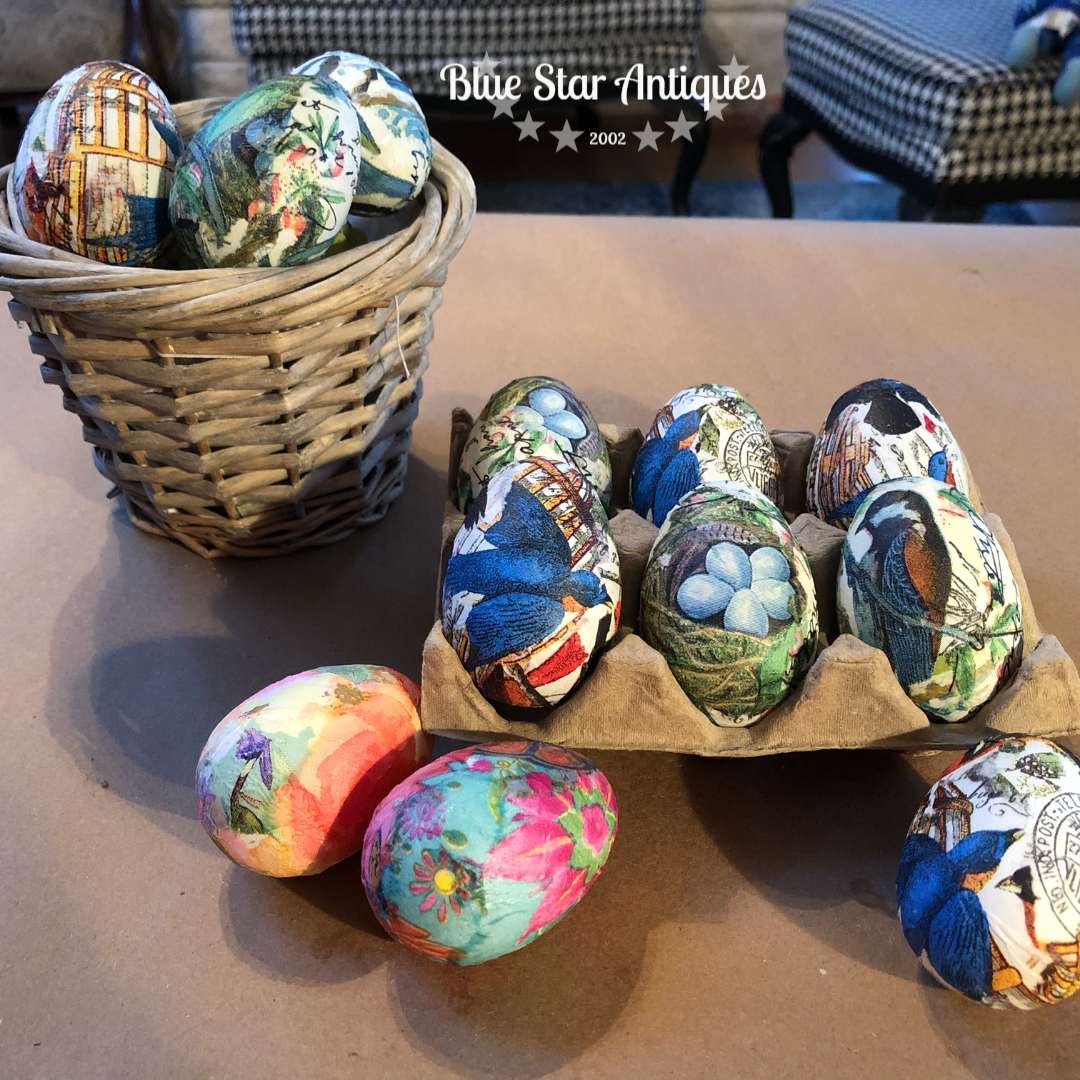
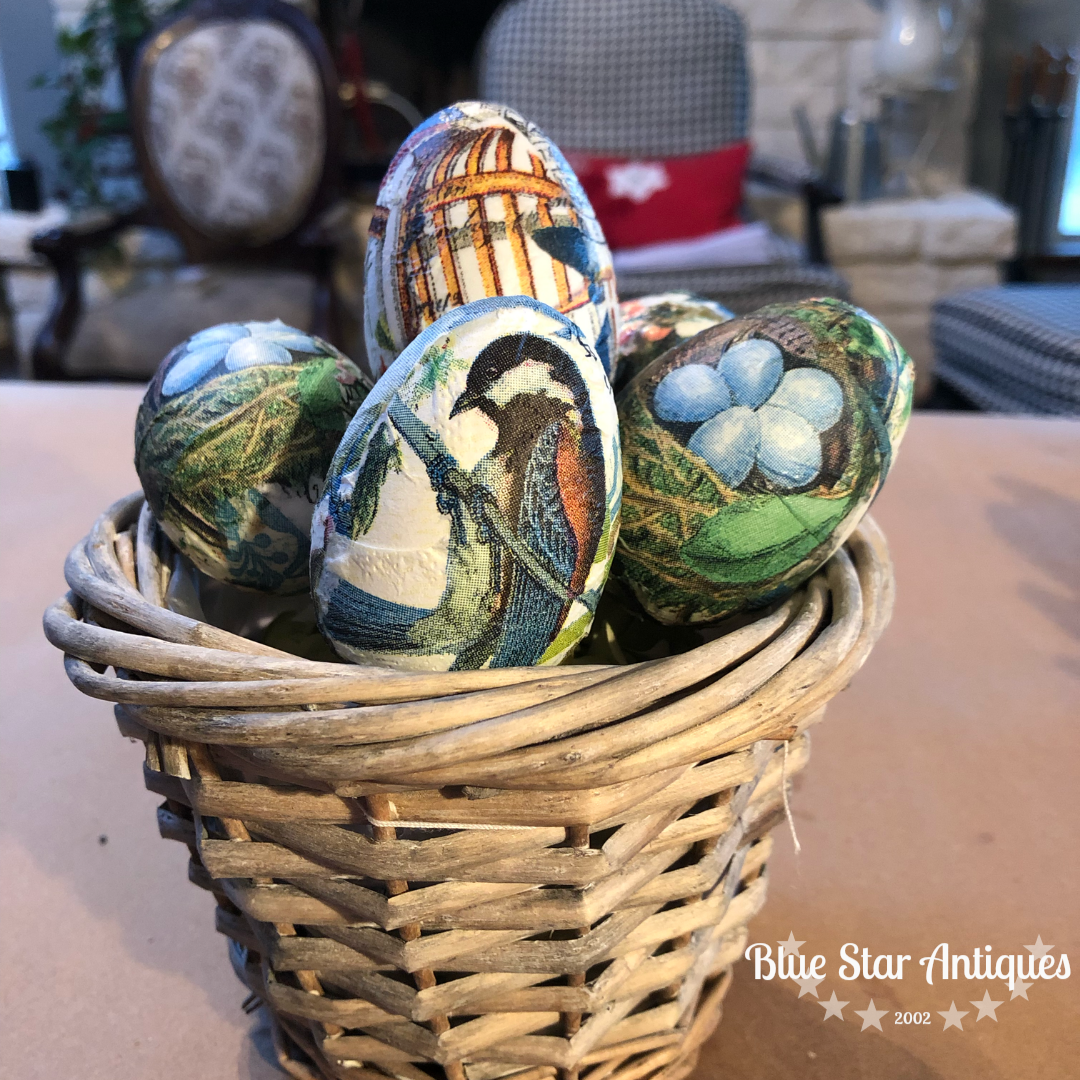
Let me know if you make a batch of eggs. I’d love to see your creations. You can email them to me at [email protected]. Show me what ‘cha got!

Thank you for sharing. Nice.
Thank you!!
Great idea! I’m gonna give it a try. Thanks for sharing.
Great idea! Thanks for sharing. I’m gonna give it try.