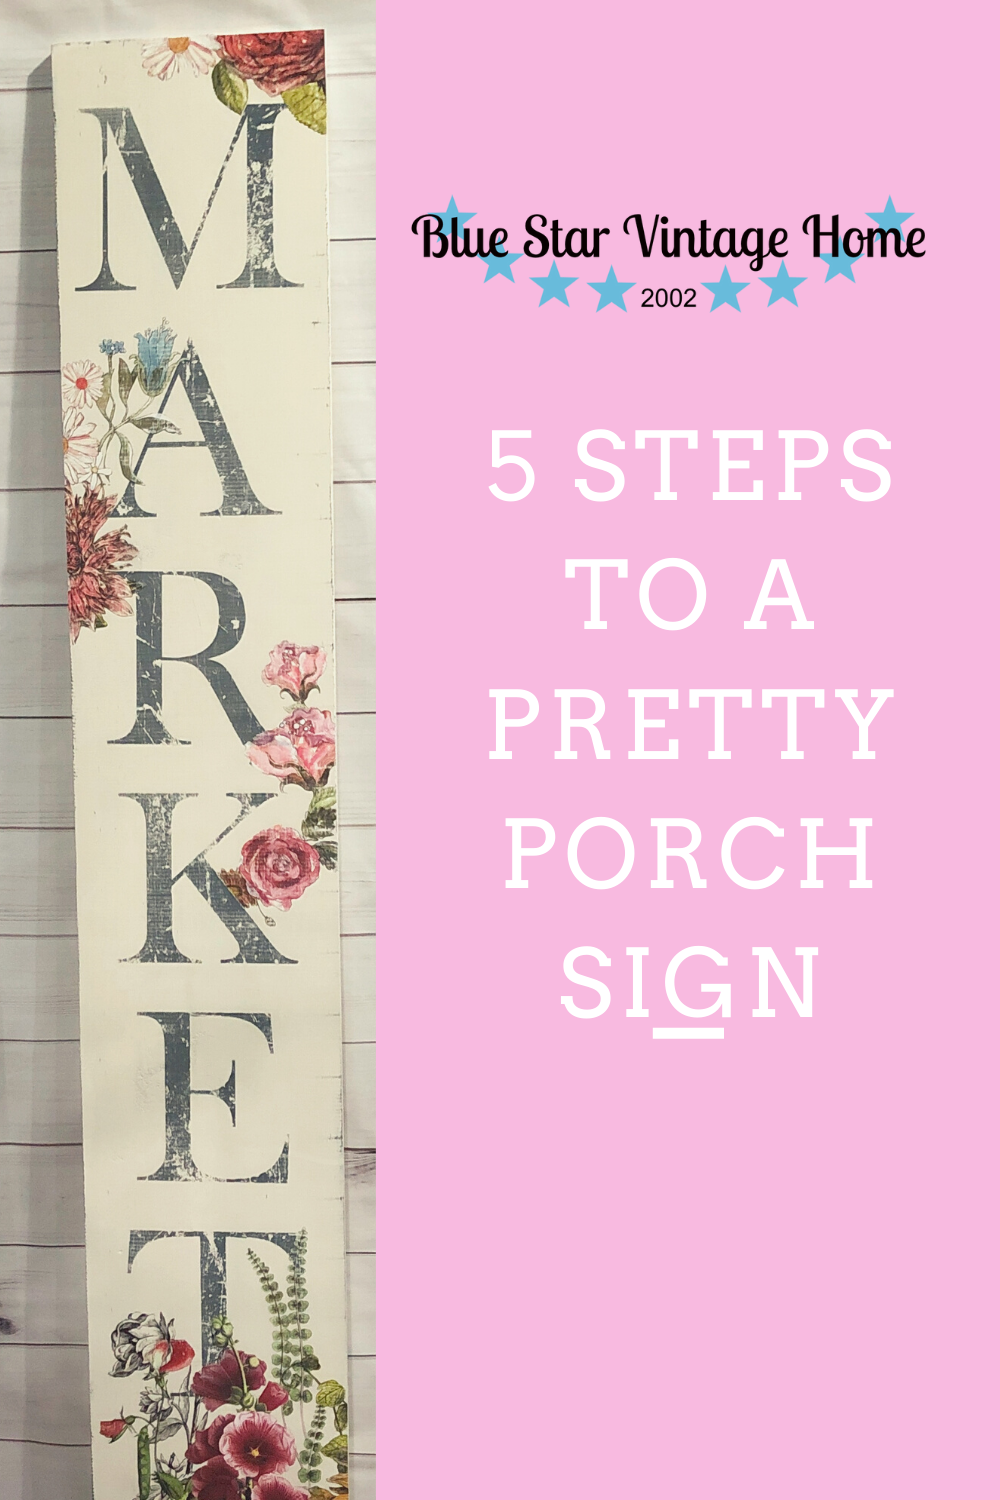
Today, let’s make a quick, adorable porch sign! First, round up your supplies:
-
one 12″ x 6′ pine board
-
spray shellac
-
-
-
-
-
IOD Market transfer (retired)
-
-
Step 1: Spay the knots on the pine board with shellac. Pine knots can have tannin bleed through which will stain your paint pink!
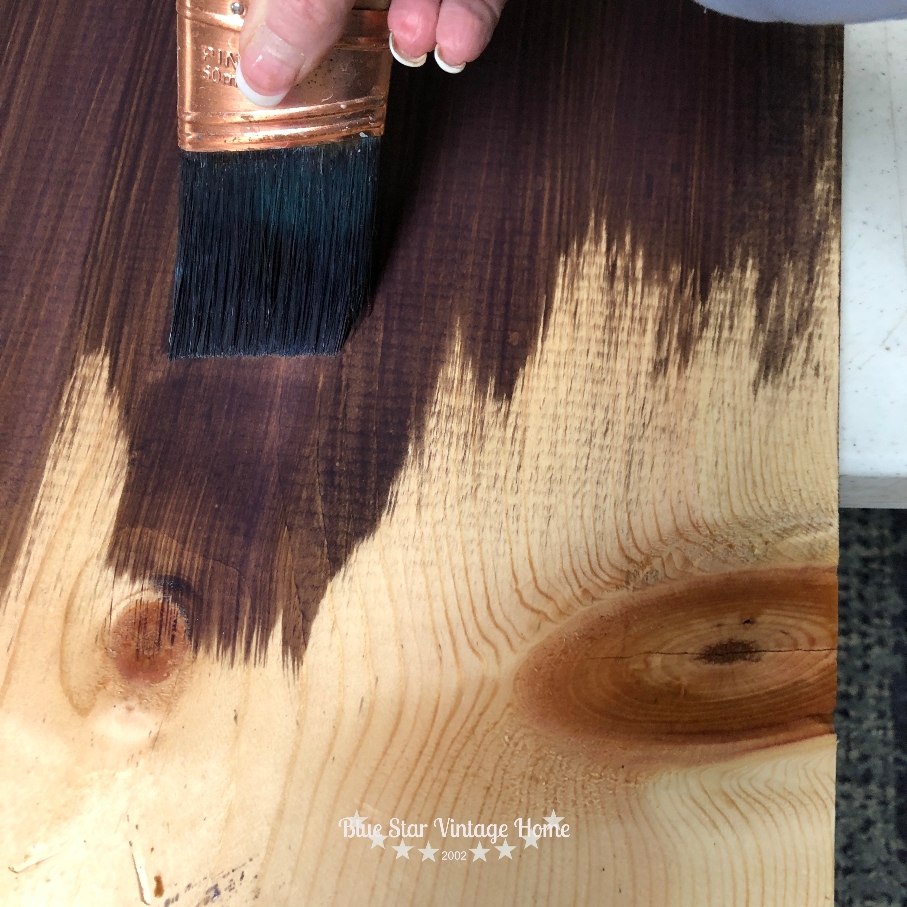
Step 2: You’ll be distressing the paint so let’s give the wood a quick stained look. This is easily achieved by watering down some Fusion Chocolate paint. Brush on one coat and it looks like stained wood!
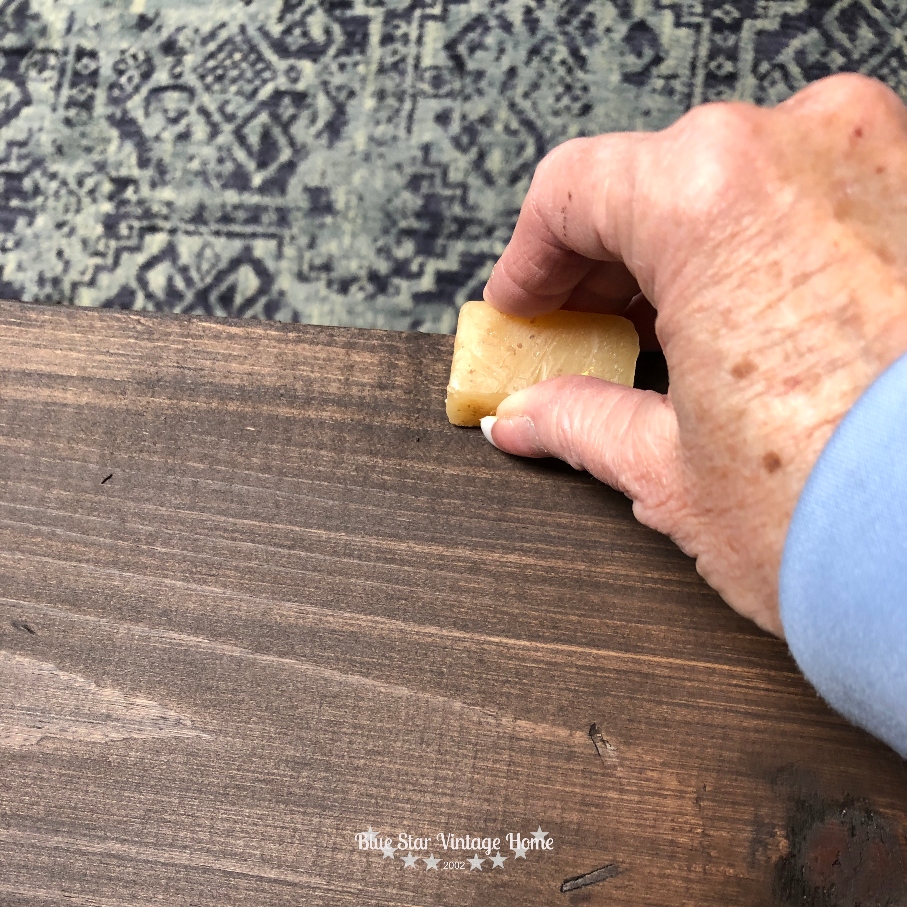
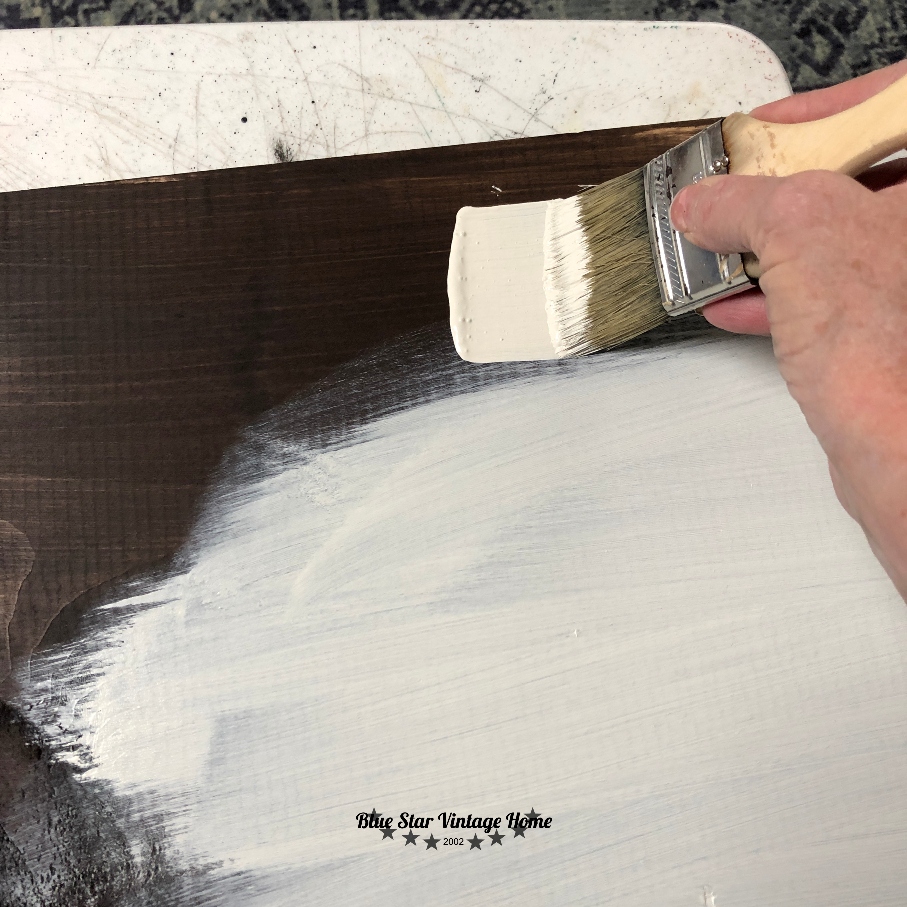
Step 3: Before you give your board a coat of paint, rub a Beeswax Block along the edges. The wax creates a resist that makes distressing easy! Then give your board two coats of Casement.
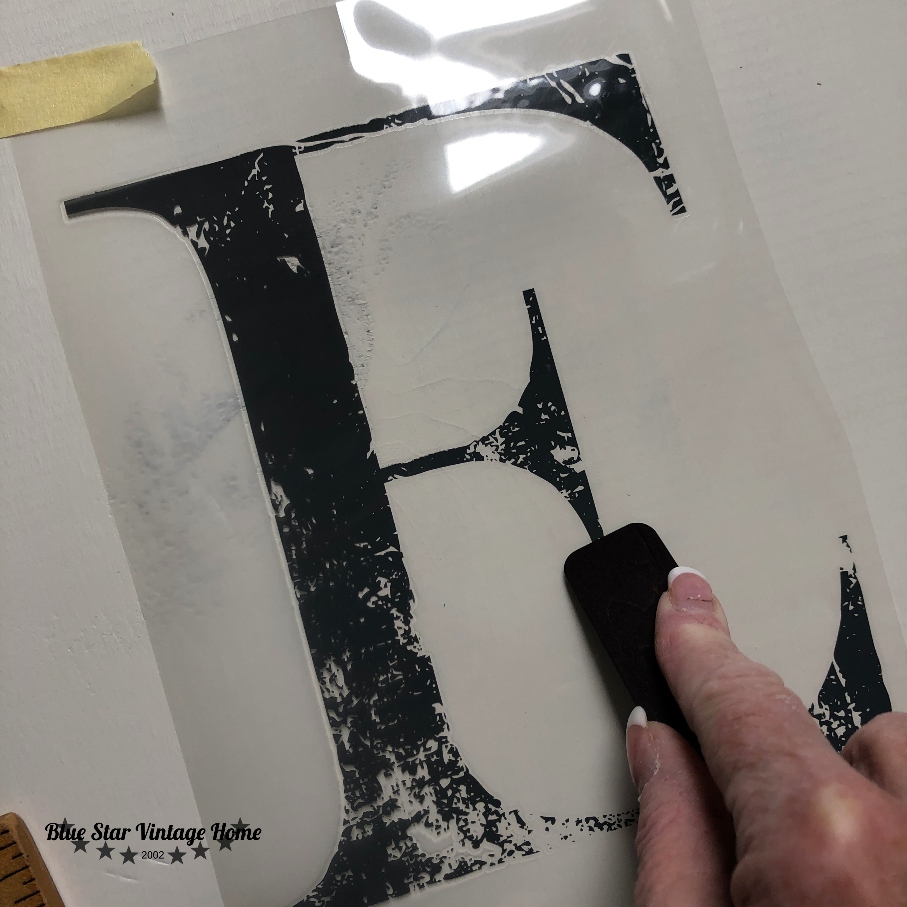
Step 4: Cut the letters from the IOD Market transfer out. The transfer is lined out horizontally. By cutting out the letters you can arrange them vertically. You could choose to stencil your choice of words here if you prefer. Once cut out, tape the letters in place, remove the white paper backing, and rub to transfer the ink to the board. Once the letters are done, you can choose to adorn your sign with flowers from the Midnight Garden, Botanist Journal, Wander, or Redoute.
Step 5: Once you’ve got your transfers applied, make sure you’ve burnished the edges well by rubbing over them with a soft cloth. Your final step is to apply a sealer. You can rub on a thin layer of wax or Tough Coat to protect and seal the transfer.
That’s it! Five quick and easy steps to make an adorable porch sign or cute decor for any room in your home! Keep in mind that the IOD transfers are not UV stable and will fade in direct sunlight!



I love this. I’ve been making 4 ft. Signs. So much fun
Aren’t they?? And the transfers make them so easy!
Love this Ms. Cyndi. Thank you for sharing.
Oh good! Glad it was helpful!